 |
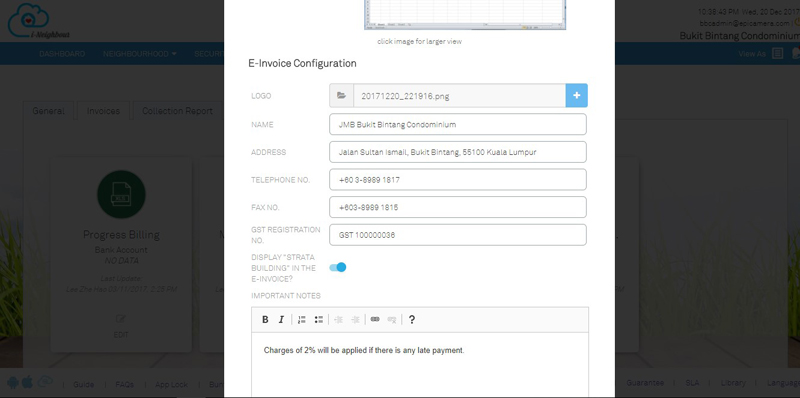
| E-Billing: Invoice Settings |
| Administrators can now configure the company or neighbourhood’s information through invoice settings. These information will then be displayed at E-Invoice. For more details, please click on this module at the top menu bar: E-Billing > Settings > Invoices. |
|||
 |
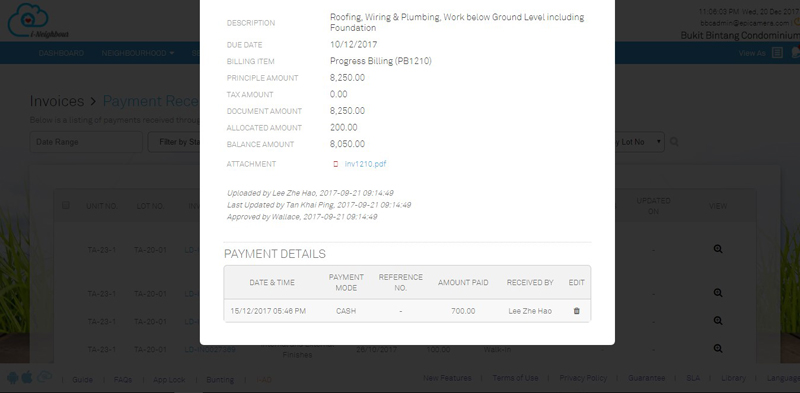
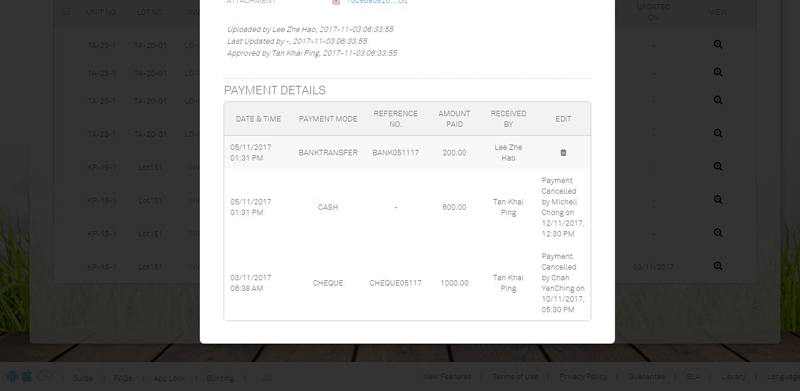
| E-Billing: Invoices |
| Cancel Received Payment feature is now available for administrators to cancel the walk-in payment made by residents if necessary. Once the payment has been successfully cancelled, the payment amount will be added back to the invoice. Note that when an administrator cancelled a received payment, the data will be recorded under payment details. This allows both the management team and residents to keep track of their payment activities. |
|||
| 1. | Payment Details Pop Up | ||
 |
|||
 |
|||
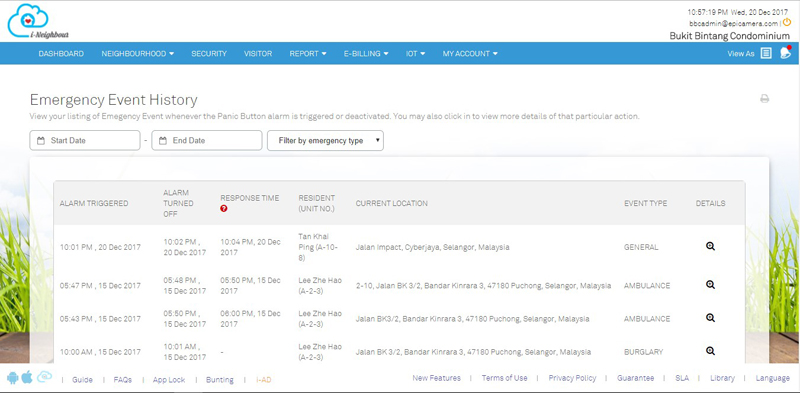
| Emergency Event History |
| Emergency Event History is now available in Web Portal for residents to view the details of each triggered Panic Alarm event. Note that the Emergency Event Listing will include the Panic Alarm events which were triggered personally or by the emergency contacts.
Moreover, the listing table is also enhanced to display the emergency type. This is to help ease the users from differentiating the seriousness of each Panic Alarm event. Sample screenshots are shown as below: |
|||
| 1. | Emergency Event Listing | ||
 |
|||
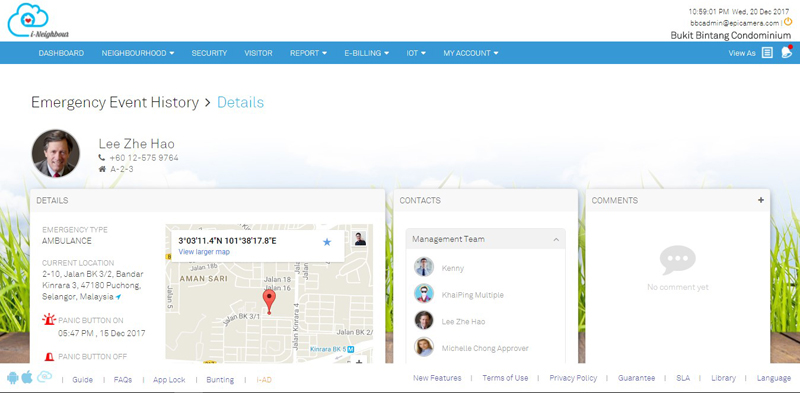
| 2. | Emergency Event Details | ||
 |
|||
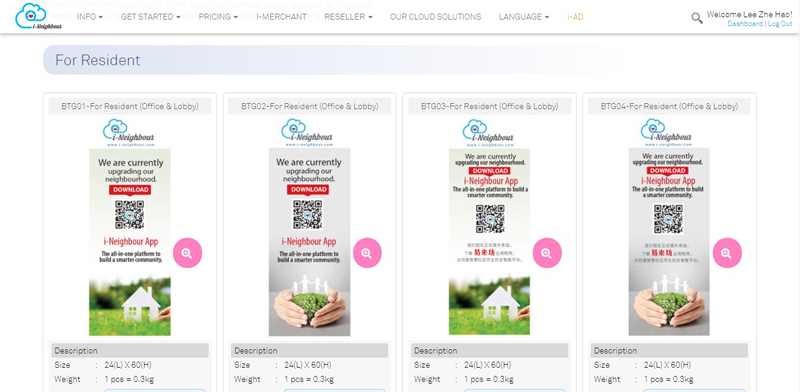
| i-Neighbour’s Bunting and Banner |
| i-Neighbour also provides various types of bunting and banner for the communities to select from and place on the common areas within the neighbourhood. This is to notify the residents about our Smart Community solution and could even help boost the download and usage of the i-Neighbour App by the residents.
Complete list of banners and buntings can be obtained at this link. |
|||
 |
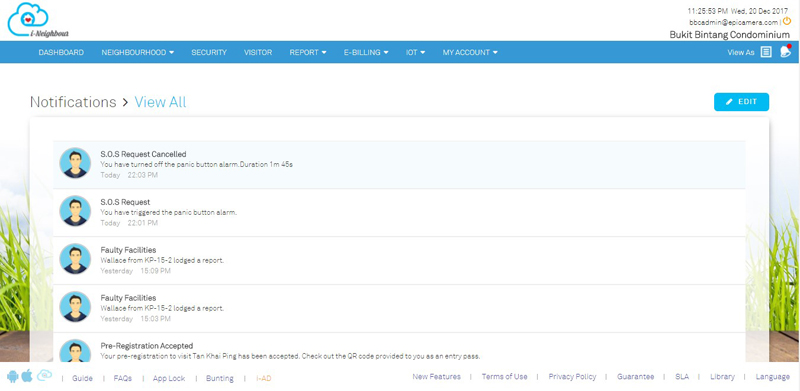
| Notifications Center |
| Through Web Portal, users can now view the full listing of notifications which will allow the users to view previous or upcoming activities. Additionally, Remove Unwanted Notification is also available by clicking on “Edit” at the top right corner. | |||
 |
|||
 |
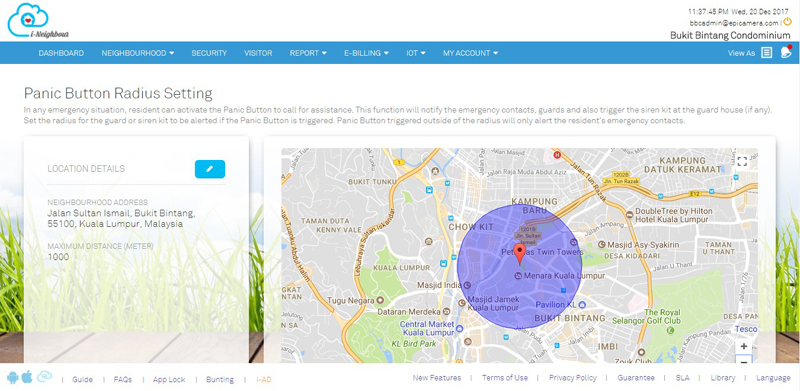
| Panic Button Radius Settings |
| In any emergency situations, the residents are able to trigger the Panic Alarm to call in for assistance. This function will notify the emergency contacts, security guards and even activate the Siren Kit installed at the guard house (if any).
Panic Button Radius Settings allow administrators to set the distance for the guards to be alerted if the Panic Alarm is triggered within the preset distance. Note that Panic Alarm triggered outside of the preset distance will only alert the resident’s emergency contacts. |
|||
 |
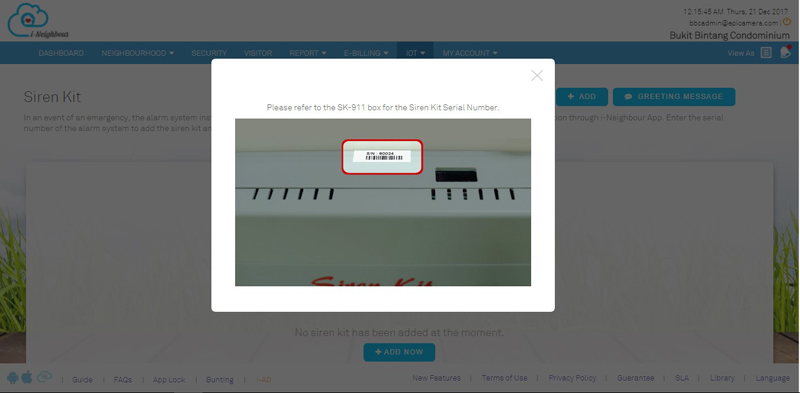
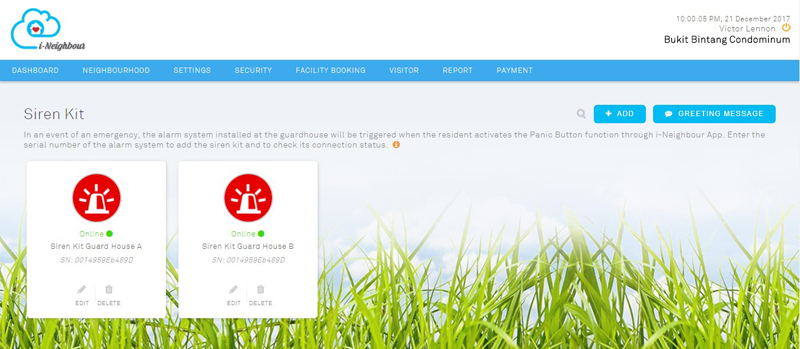
| Siren Kit Module |
| In any emergency situations where a resident pushes the Panic Button from i-Neighbour App, the i-Neighbour Siren Kit will display the resident’s unit number on the LED panel, and set off the siren to alert the on-duty security guards for further assistance.
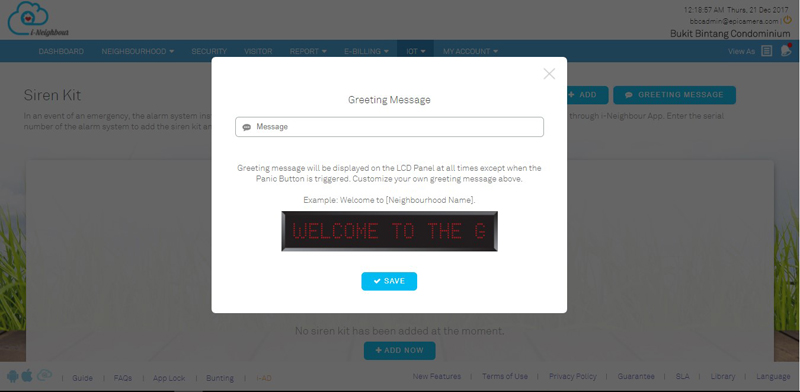
Administrator is also able to connect the installed Siren Kit easily by entering its serial number, obtained from the Siren Kit hardware. Moreover, the message on the LED panel is customizable and will display personalized messages whenever there is no panic event. For more details, please click on this module at the top menu bar: IOT > Siren Kit. |
|||
| 1. | Siren Kit Serial Number | ||
 |
|||
| 2. | Siren Kit Listing | ||
 |
|||
| 3. | Greeting Message on LED Panel | ||
 |
|||
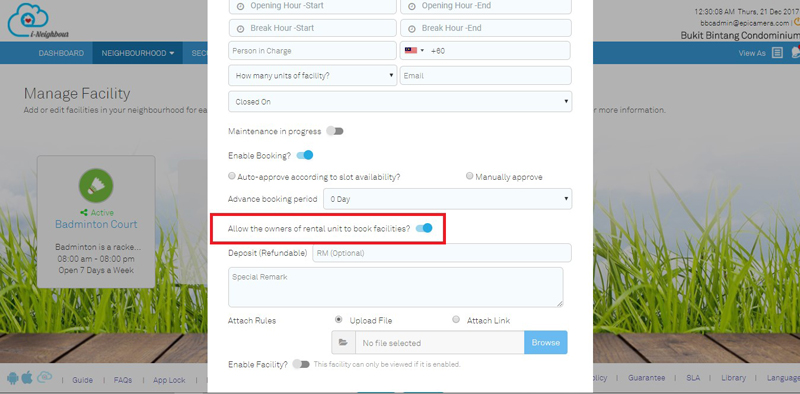
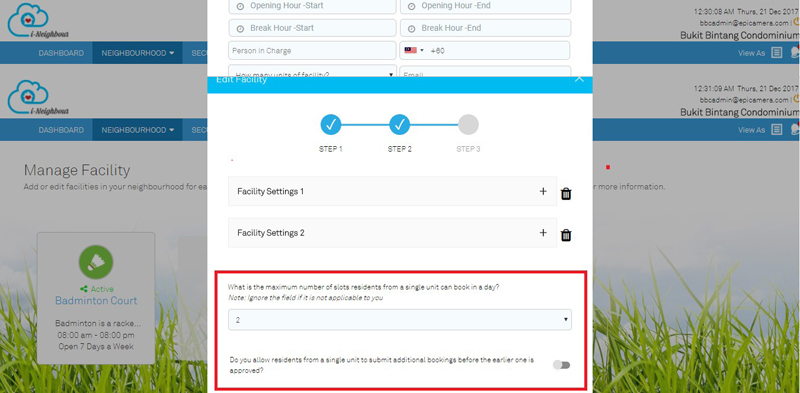
| Manage Facility: Settings Enhancement |
| This module allows administrator to add or edit facilities within the neighbourhood to ease the management on facility booking. When adding a facility, various settings can be allocated to allow administrator to set the limitation on resident’s booking based on the neighbourhood rules and regulations.
The added settings are shown as below: |
|||
 |
|||
 |
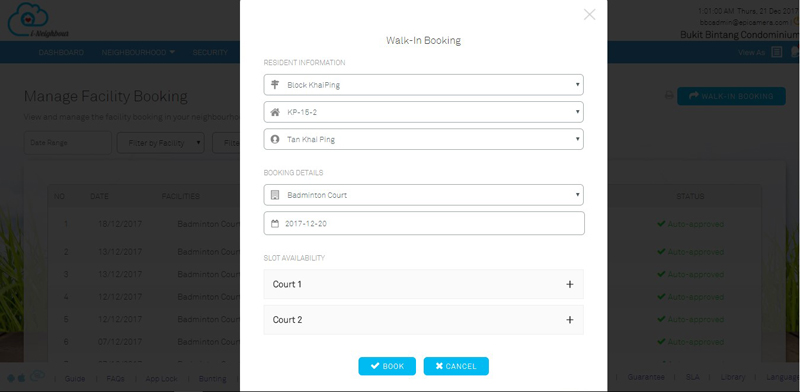
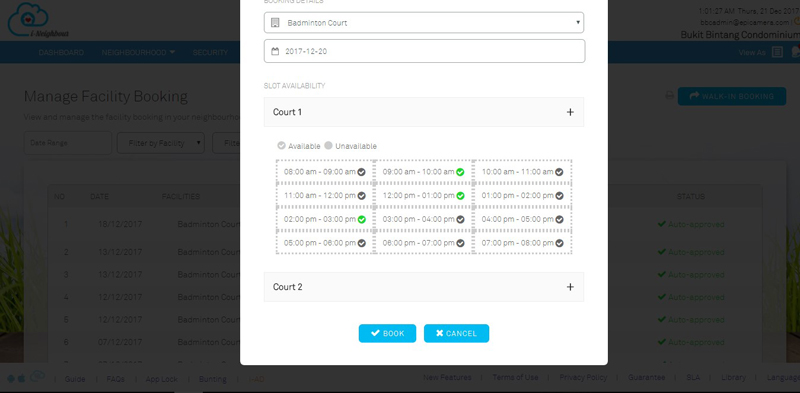
| Facility Booking Module: Walk-In Booking |
| Administrators can now perform Facility Booking through Web Portal. This feature is available at Facility Booking > Walk-In Booking. Note that the status of Walk-In Booking will be auto-approved once the booking has been successfully submitted.
Sample screenshots are shown as below: |
|||
| 1. | Walk-In Booking Form | ||
 |
|||
| 2. | Available Slots Selection | ||
 |
|||
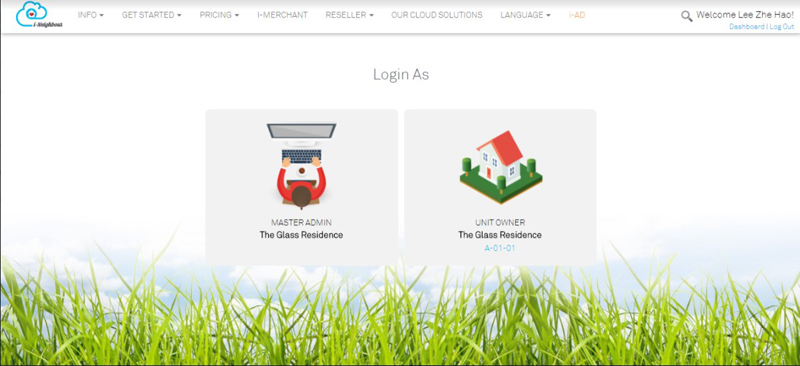
| Multiple Accounts Login |
| User with multiple units within a neighbourhood or more can now get rid the burden of memorizing multiple sets of login details for every units.
i-Neighbour is able to allow users with multiple units to sign up his/her accounts using the same login details, which only require one set of email address and password. Besides, he/she can now switch between accounts easily without having to logout and signing back in again. Users can simply click on “View As” at the top menu bar to switch between accounts. Sample screenshots are shown as below: |
|||
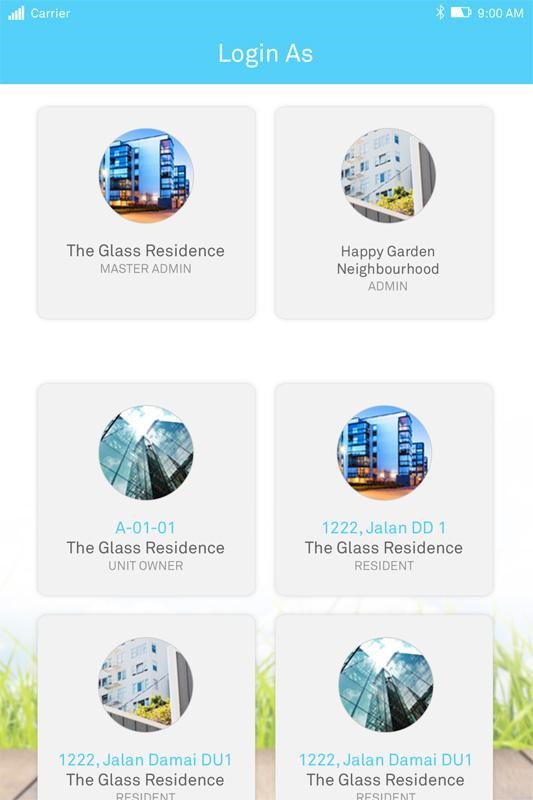
| 1. | Login As | ||
 |
|||
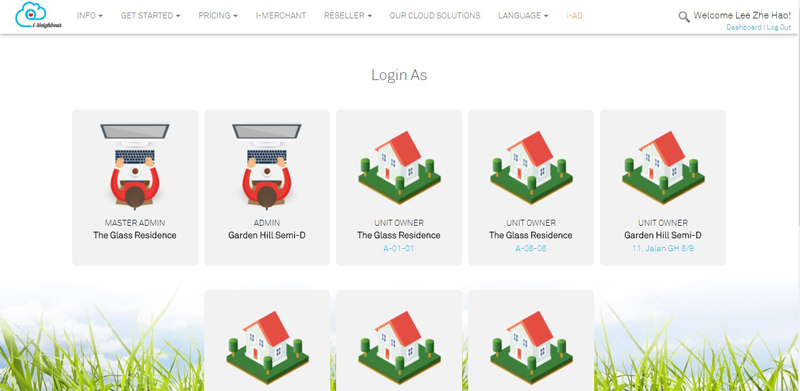
| 2. | Login As (With Multiple Units) | ||
 |
|||
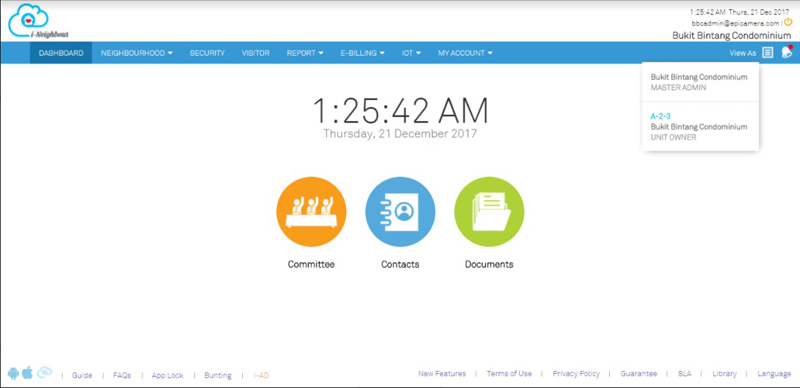
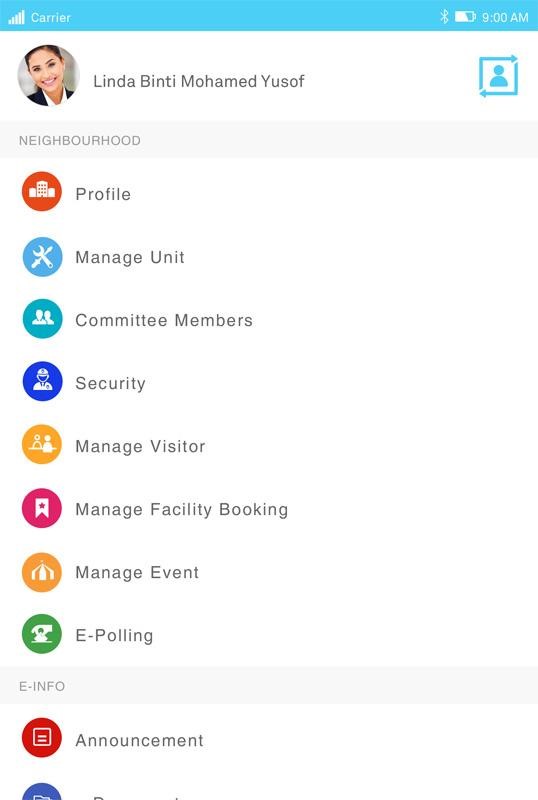
| 3. | View As | ||
 |
|||
| i-Neighbour App Updates |
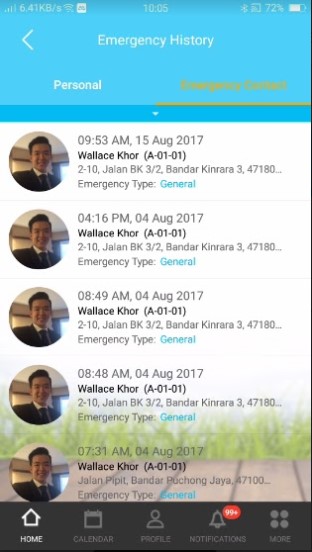
| 1. | Emergency Event History | ||||||
| ● | Users can now view the Emergency Event listing of personal and emergency contacts whenever he/she triggered panic alarm. Additionally, emergency type will be displayed as well in the listing page to ease the users in differentiating the seriousness of each panic event. | ||||||
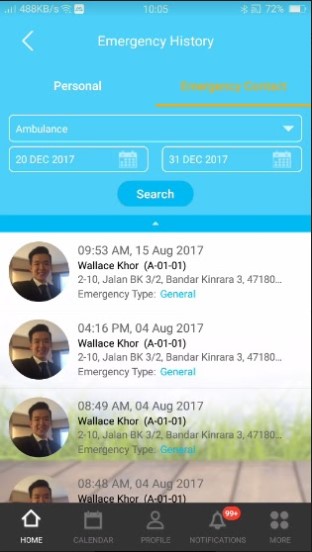
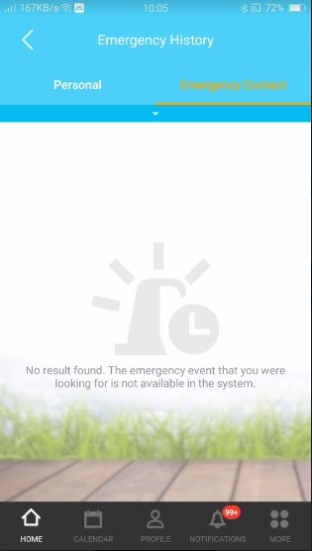
| ● | Filters and search options are also available for users in order to ease the search for specific events. | ||||||
|
|||||||
|
|||||||
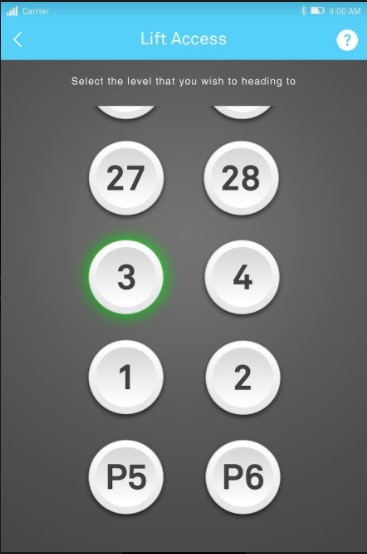
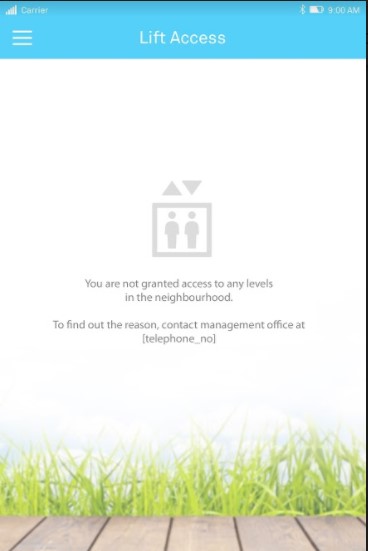
| 2. | BLE-16 Lift Access | ||||||
| ● | TimeTec Lift Control Panel BLE-16 is a lift controller that utilizes Bluetooth Low Energy 4.2 technology and the power of a smartphone for lift access in high-rise residentials and skyscrapers. | ||||||
| ● | Furthermore, TimeTec Lift Control Panel BLE-16 ensures that the access is more secure and convenient, whereas the administrator is allowed to control the accessible levels of each residents and visitors. | ||||||
| ● | Through i-Neighbour Mobile App, users can now perform lift access without having to carry any access cards. | ||||||
|
|||||||
|
|||||||
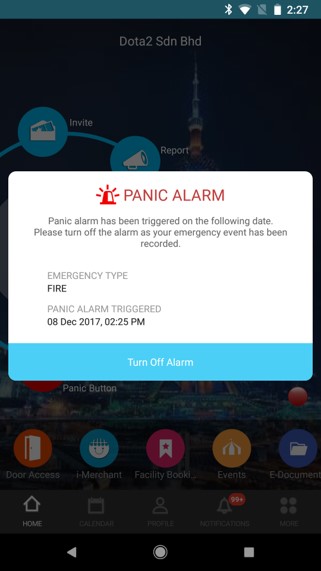
| 3. | Panic Alarm: Turn Off Alarm Feature | ||||||
| ● | Residents who have not turn off the triggered Panic Alarm will be alerted whenever they login back into their account. This feature helps to ensure that the siren kit installed at the guard house will not keep displaying the same resident’s details for a period of time even though the Panic Alarm has been acknowledge. | ||||||
 |
|||||||
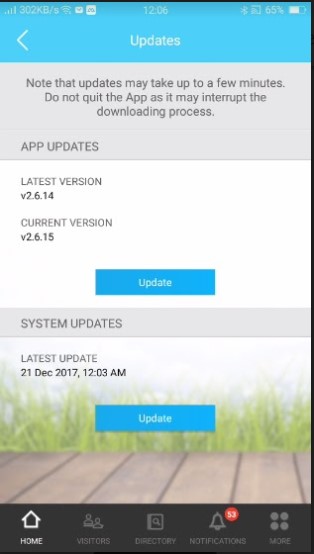
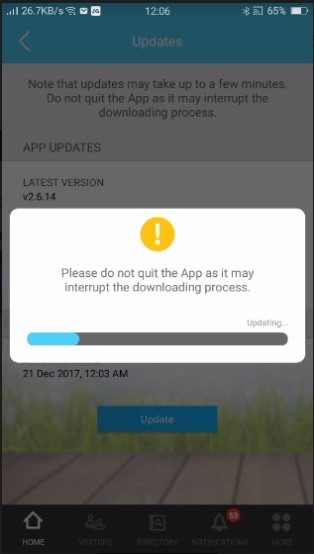
| 4. | Security Guard’s Mobile Synchronization | ||||||
| ● | For security guard’s login, mobile synchronization will be available for guards on duty to download the resident’s information such as Unit No. and Contact Numbers into local storage. Note that the resident’s contact number will be kept hidden due to privacy concerns. | ||||||
| ● | Furthermore, App version will also be displayed to alert the guards on duty to ensure that the App is updated to the latest version (if any). | ||||||
|
|||||||
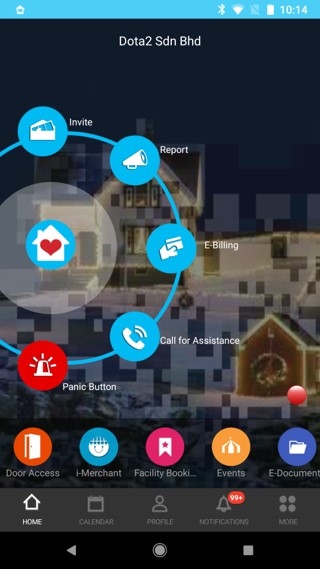
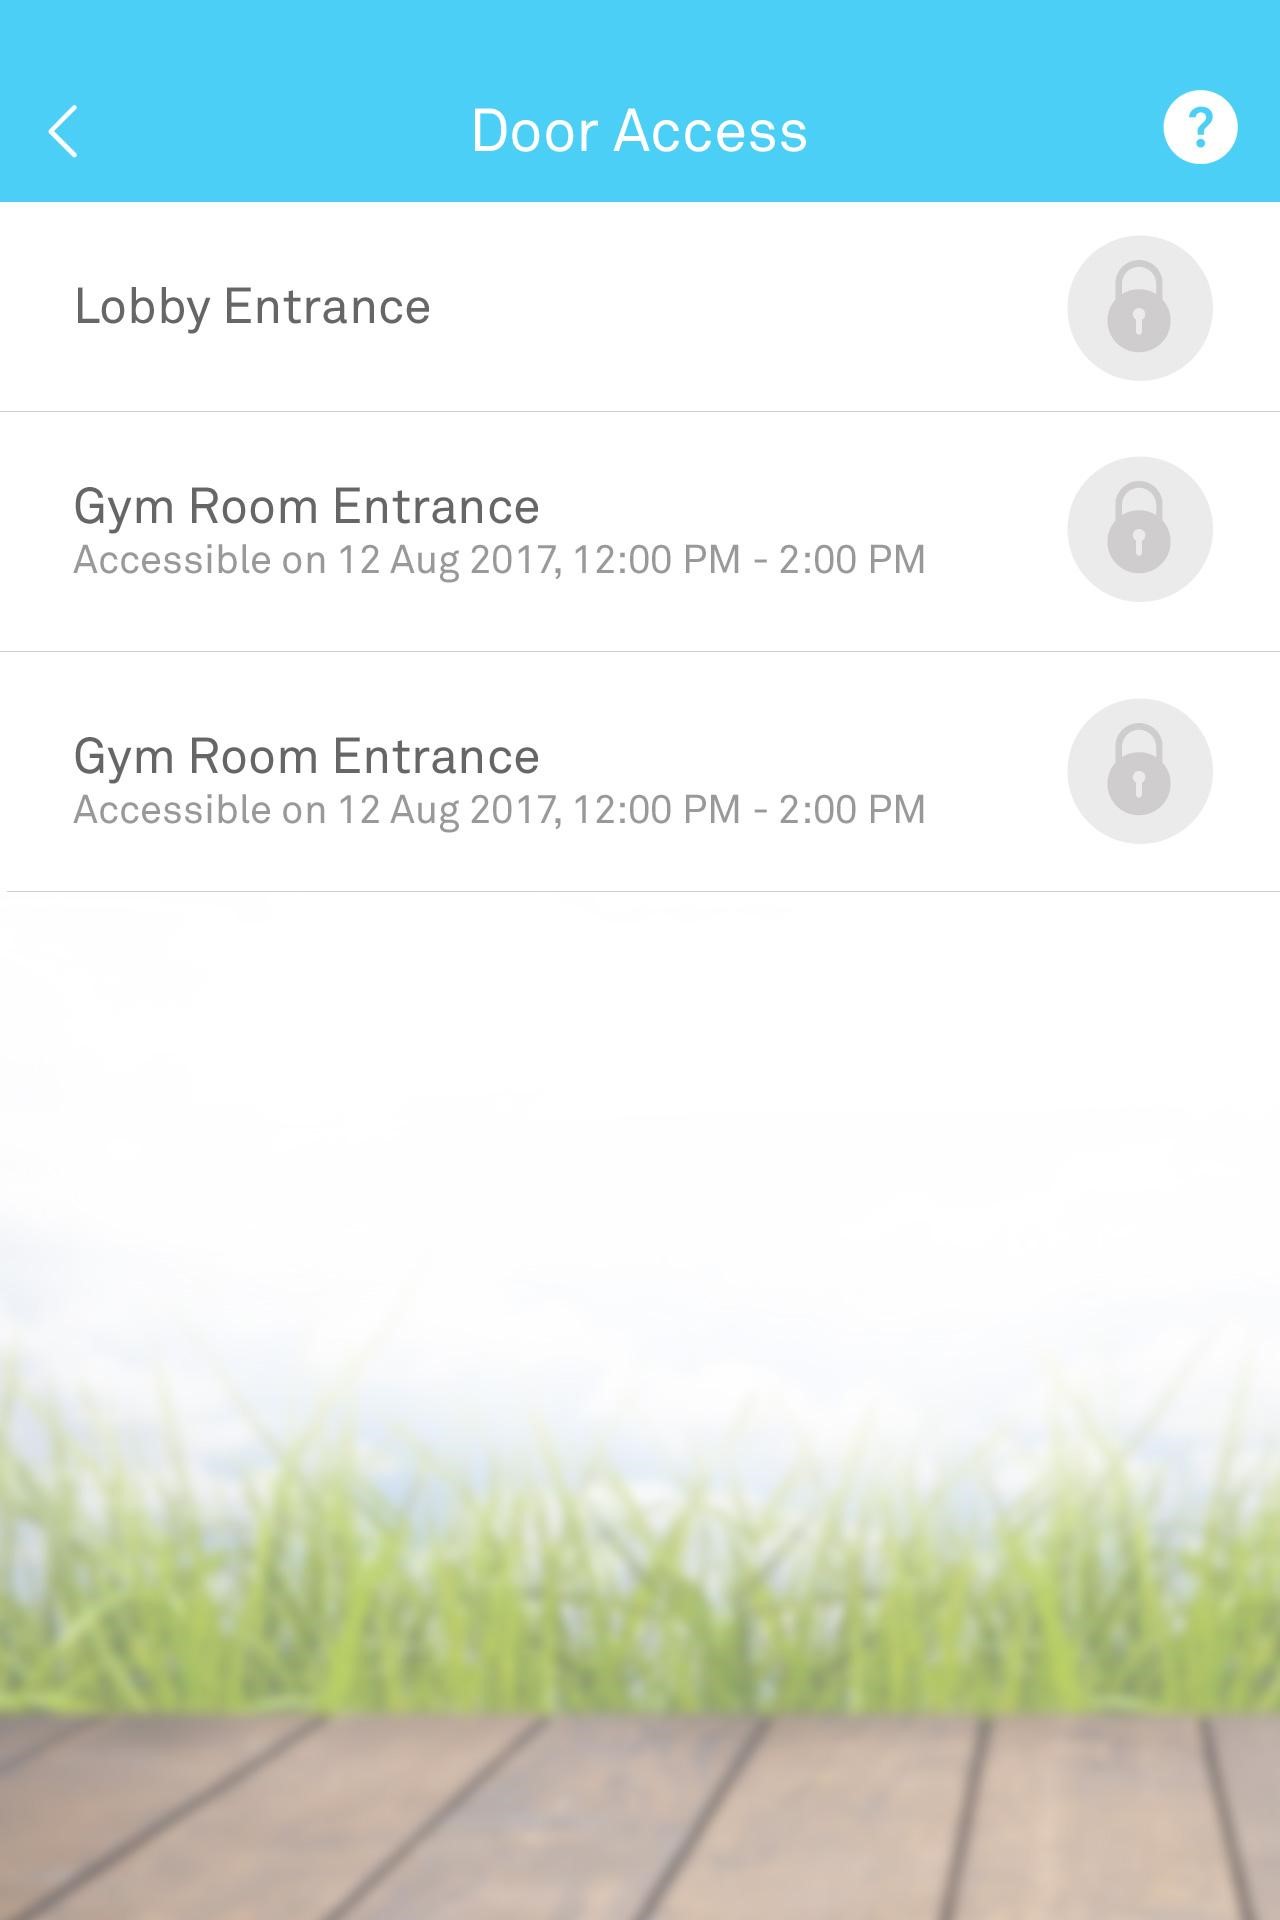
| 5. | Door Access | ||||||
| ● | FingerTec Smart Lock/Reader is a smart mechanical door lock system designed to fit doors built for houses, restricted compounds or even individual rooms. Through Web Portal, administrator can now add in the Smart Lock/Reader installed within the neighbourhood to i-Neighbour system for a more secure and convenient environment. | ||||||
| ● | For i-Neighbour App, accessible users can now perform entry access without using any cards or keys. | ||||||
|
|||||||
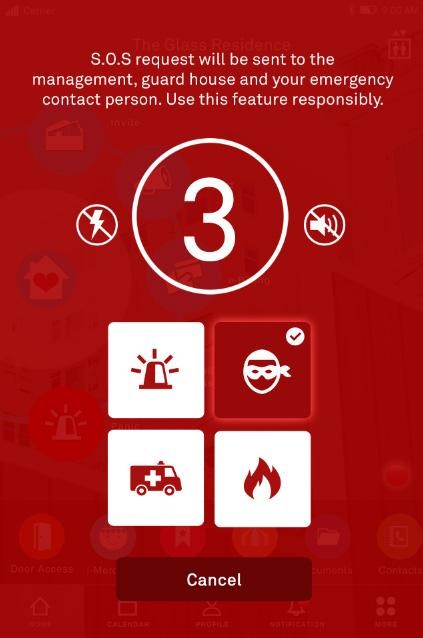
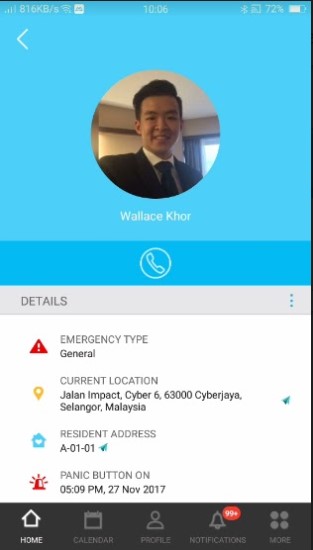
| 6. | Panic Button Triggered Page | ||||||
| ● | Residents can now select the emergency type while triggering the Panic Button. With this, the recipients are able to define the seriousness of the emergency and act accordingly. | ||||||
| ● | Available emergency types are: General, Ambulance, Burglary and Fire. | ||||||
 |
|||||||
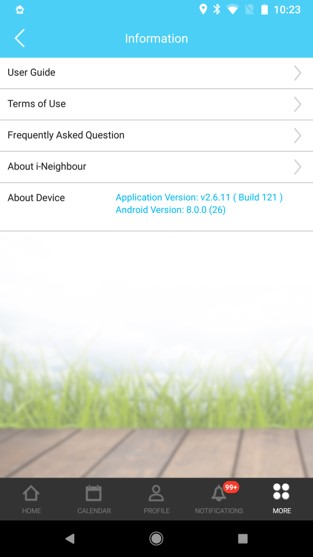
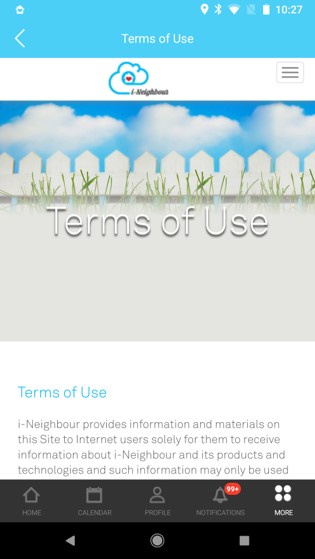
| 7. | Terms of Use | ||||||
| ● | Users can now view the i-Neighbour: Terms of Use through the Mobile App. Kindly go to More Listing > Settings/Information > Term of Use for detailed information. | ||||||
|
|||||||
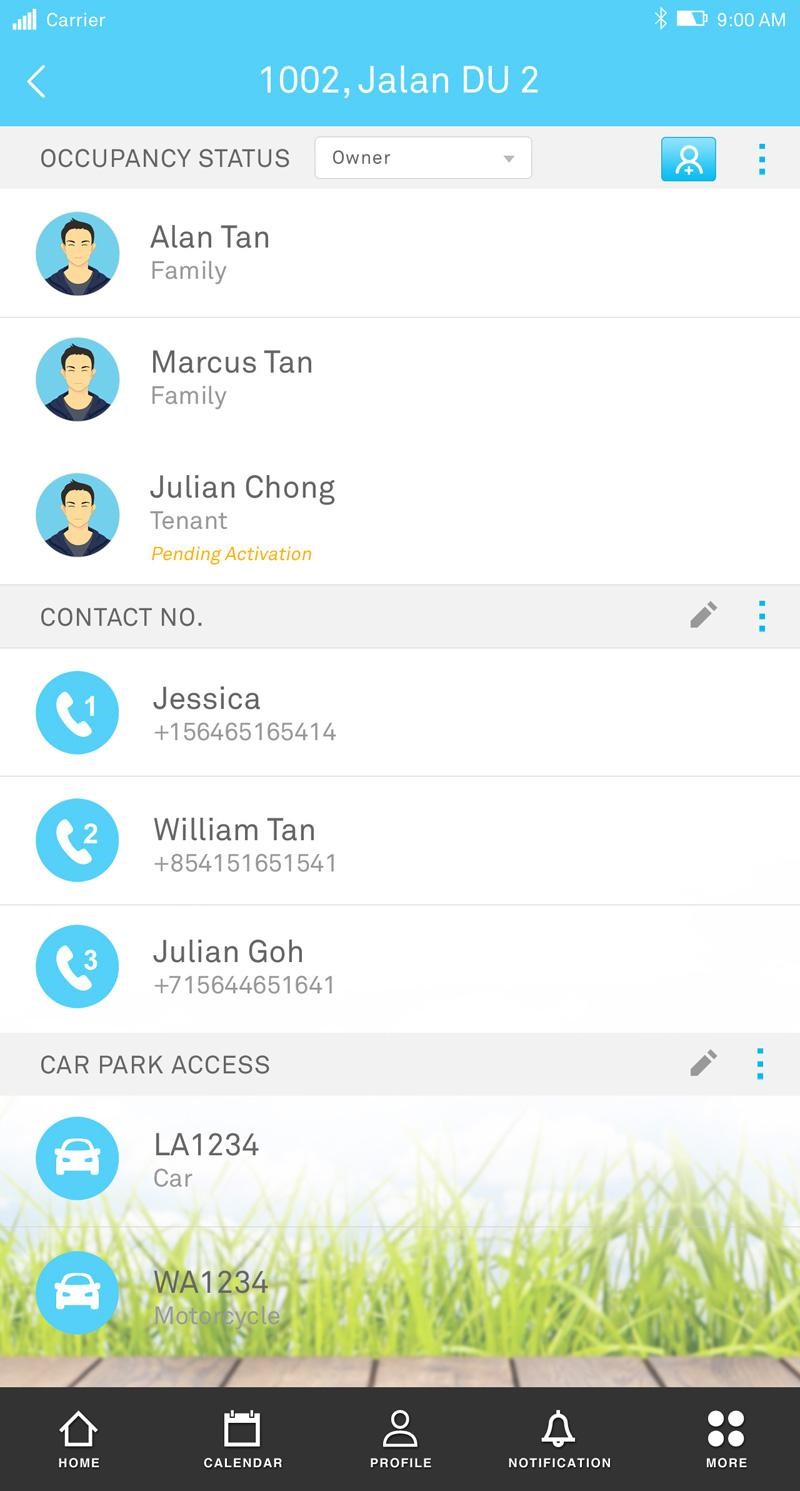
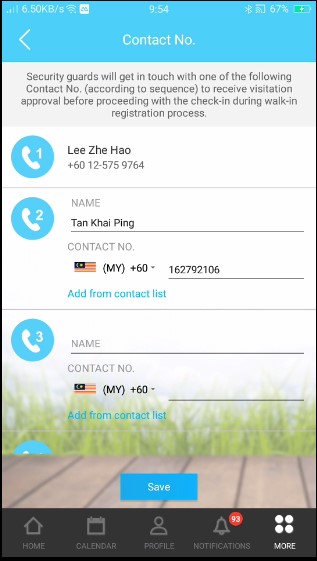
| 8. | Resident’s Contact List | ||||||
| ● | Unit owners can now setup the resident’s contact list for their units. This feature enables the security guards to get in touch with one of the added Contact No. (according to sequence) to obtain the necessary visitation approval before proceeding with the check-in during walk-in registration process. | ||||||
|
|||||||
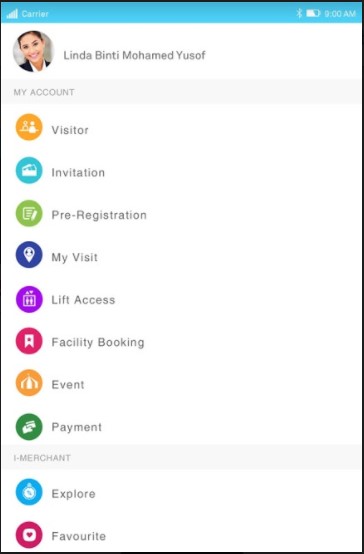
| 9. | Multiple Accounts Login | ||||||
| ● | Similar to the Web Portal, users with multiple units or roles can now sign up using the same login details, which only require one set of email address and password. | ||||||
| ● | Additionally, for users with multiple units or roles, they can now switch between accounts easily without having to logout of the App and signing back in again. Note that Switch Account can be performed at More Listing > Switch Account icon which is placed at the top right. | ||||||
|
|||||||
| Previous Issue: November 2017 • October 2017 |
| Note: Some of the screenshots viewed here might be different from the ones in the current system due to our continous effort to improve TimeTec from time to time. |