 |
| Reports Module |
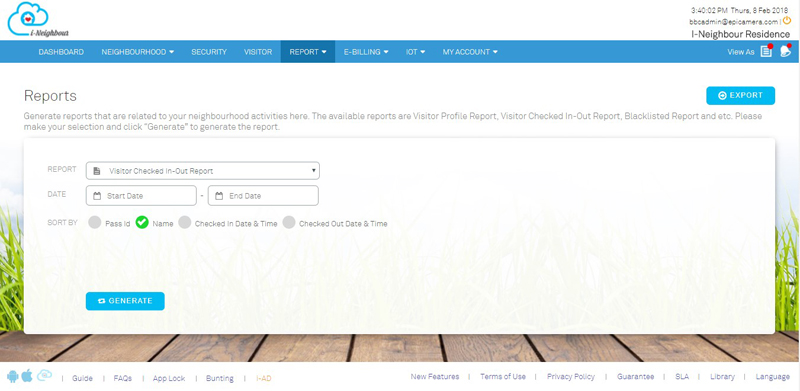
| Administrators can now generate reports that are related to the neighbourhood activities. Specifically, the added reports are Visitor Profile Report, Visitor Checked In-Out Report, Blacklisted Visitor Report, Total Visitor Report and Pre-Registered Visitor Report. Furthermore, Administrators can also choose to export all of the available reports into Excel format by simply clicking on the “Export” button at the top right of the page. Note that the Administrators can also customize the type of fields and even set its arrangement sequence in the report. Sample screenshots are shown as below: 1. Generate Report |
|||
 |
|||
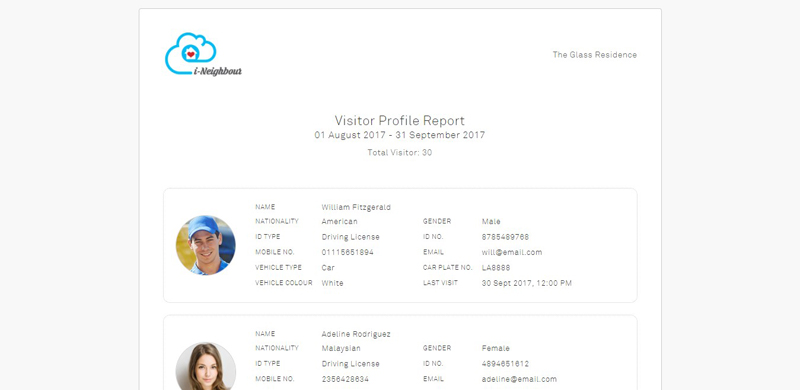
| 2. | Visitor Profile Report | ||
 |
|||
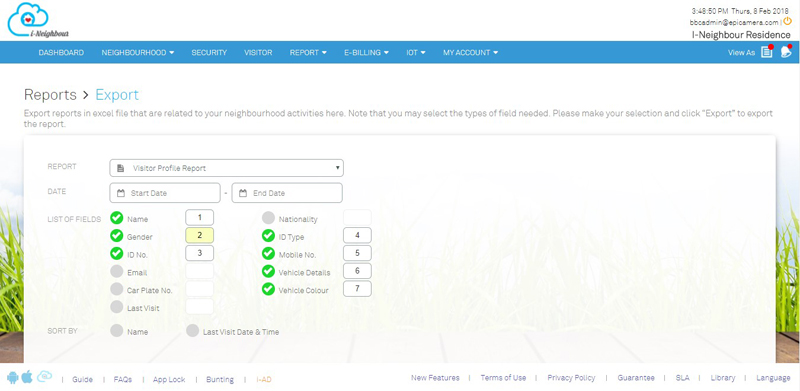
| 3. | Export to Excel Format | ||
 |
|||
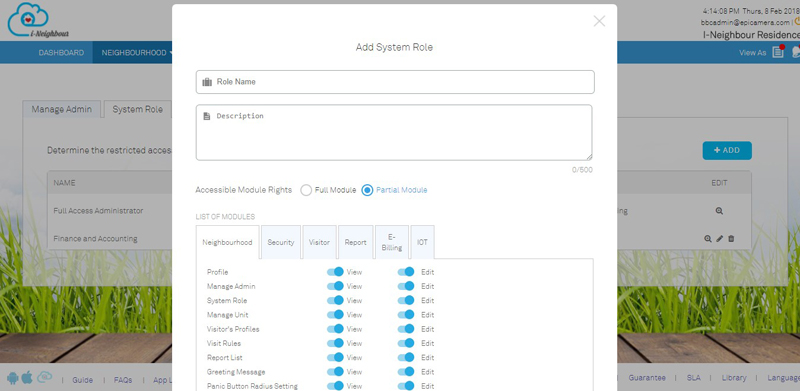
| System Role: Module Updates |
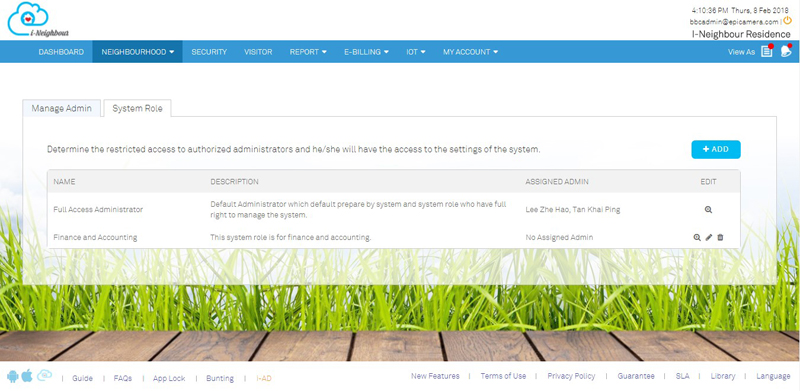
| System Role module now allows Master Administrator to create and customize the restricted access to limit administrators’ access in the System settings.
For more details, please click on this module at the top menu bar: Neighbourhood > Manage Admin > System Role. |
|||
| 1. | System Role Listing | ||
 |
|||
 |
|||
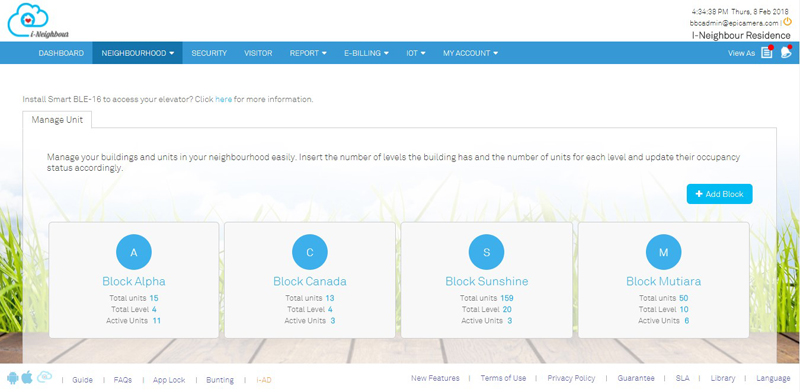
| Manage Unit: Show Active Units |
| Administrators can now view the total number of activated units at unit listing, without having to proceed further into Unit Details Page. | |||
 |
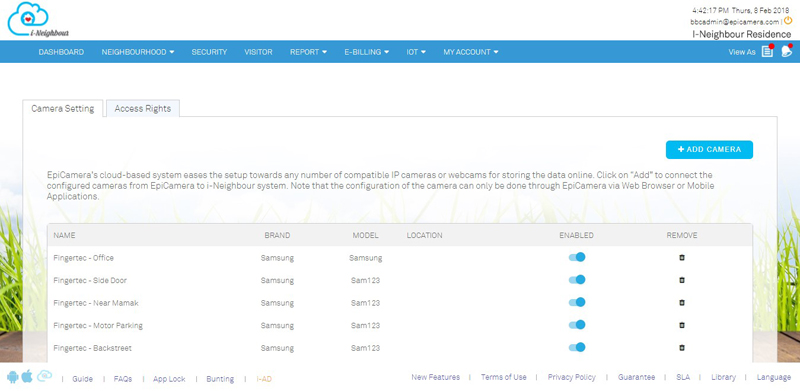
| EpiCamera: Camera Settings and Live View/Stream |
| Through Camera Settings page, Administrators are allowed to click on “Add” to connect the configured cameras from EpiCamera to i-Neighbour system. Note that the configuration of the camera can only be carried out through EpiCamera via Web Browser or Mobile Application. By configuring the user’s access in Access Rights, Administrators can determine which users are authorized to view the camera.
View more details on EpiCamera here. Sample screenshots are shown as below: |
|||
| 1. | EpiCamera Listing | ||
 |
|||
| 2. | Add Camera Pop Up | ||
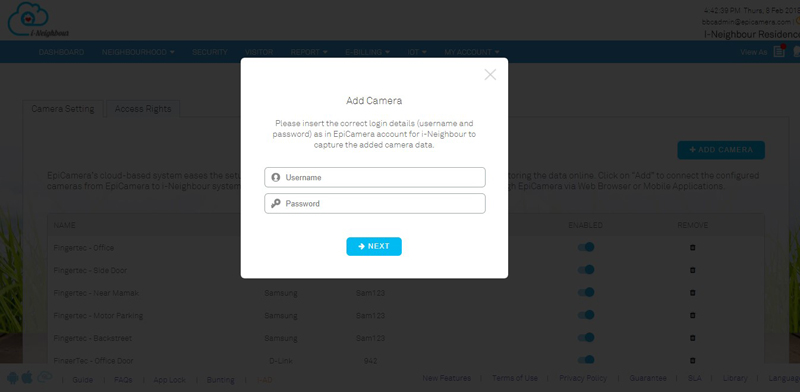 |
|||
| 3. | Access Rights (Administrators and Guards) | ||
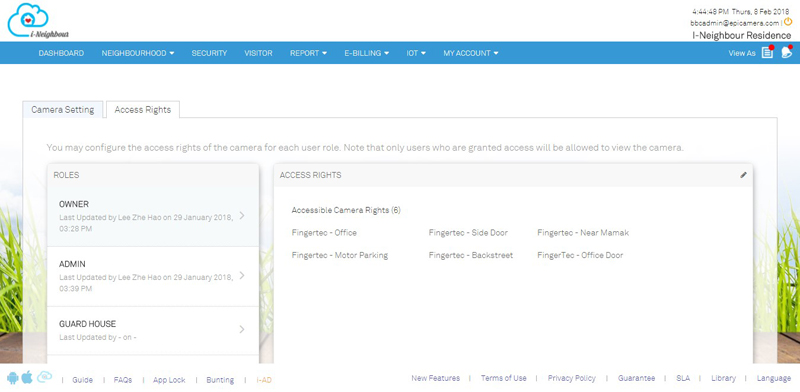 |
|||
| 4. | Access Rights (Residents) | ||
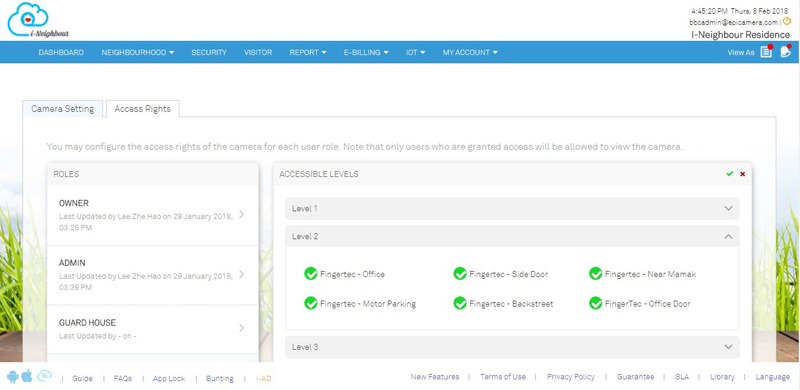 |
|||
| 5. | Live View/Stream | ||
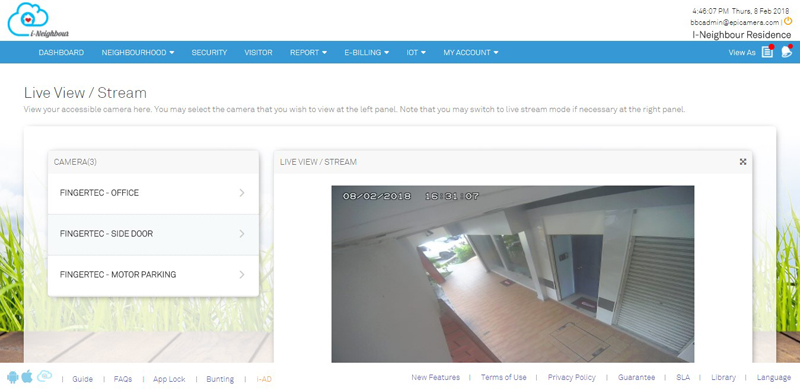 |
|||
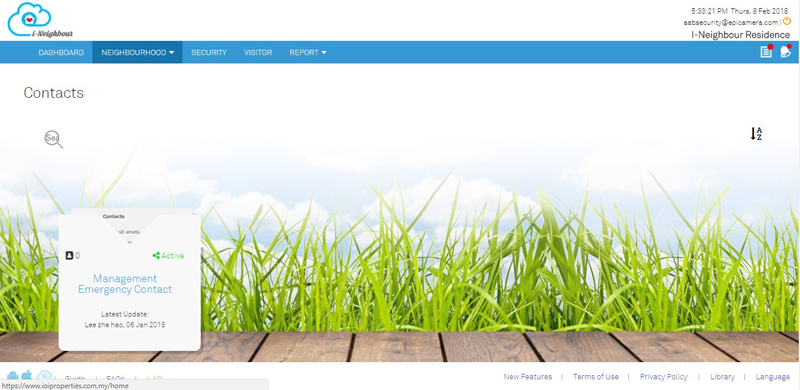
| Security Guards: Contacts Module |
| Contacts module has been added into Security Guard’s account, which allows guards on duty to be informed of important contacts such as building manager, nearby police station, hospital and etc.
Note that the uploading of Contacts can only be carried out by the Administrators. While, Security Guards are allowed to view the Contacts only. |
|||
 |
| i-Neighbour App Updates |
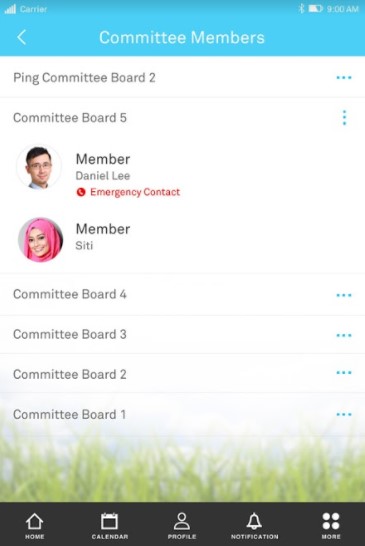
| 1. Committee Member as Emergency Contact Person | |||||||
| ● | Through i-Neighbour Web Portal, Administrator is now able to appoint Committee Members as Emergency Contact Person. | ||||||
| ● | Appointed Committee Members will then receive Panic Alarm Alert whenever residents trigger the Panic Alarm. This helps to alert the Committee Members and allow them to respond immediately. | ||||||
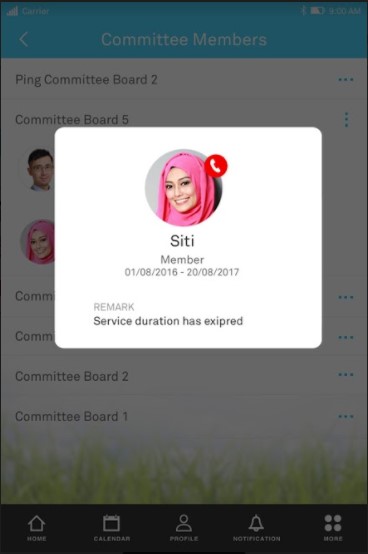
| ● | As for residents, they are now able to view the list of Committee Members who have been assigned as Emergency Contact Person through the Committee Members module. | ||||||
|
|||||||
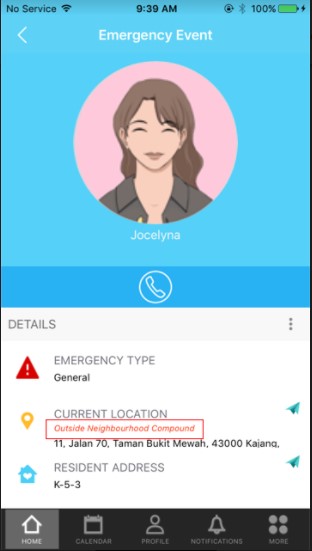
| 2. Panic Button Radius Settings | |||||||
| ● | Panic Button Radius Settings allow the Administrators to set the distance for the Administrators and Guards to be alerted if the Panic Alarm is triggered within the preset distance. | ||||||
| ● | Note that if the Panic Alarm is triggered outside of the neighbourhood, the Administrators and Guards will not be alerted. | ||||||
| ● | However, resident’s Emergency Contact Person will still receive the Panic Alarm Alert and a “Outside Neighbourhood Compound” notification will be remarked in the Emergency Event Details. | ||||||
 |
|||||||
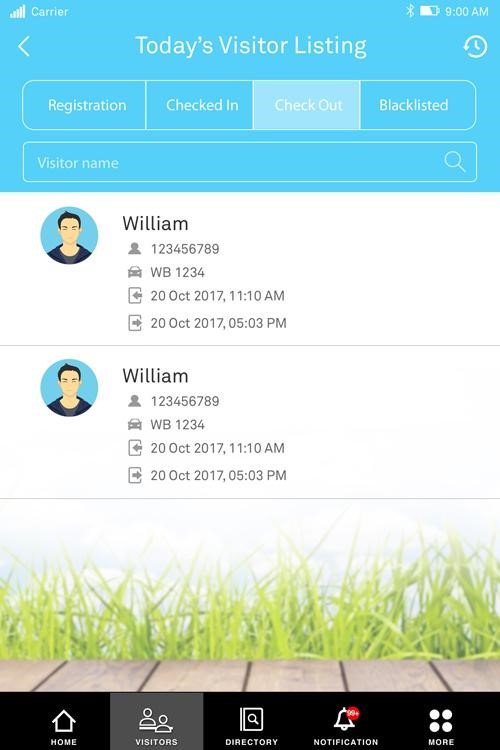
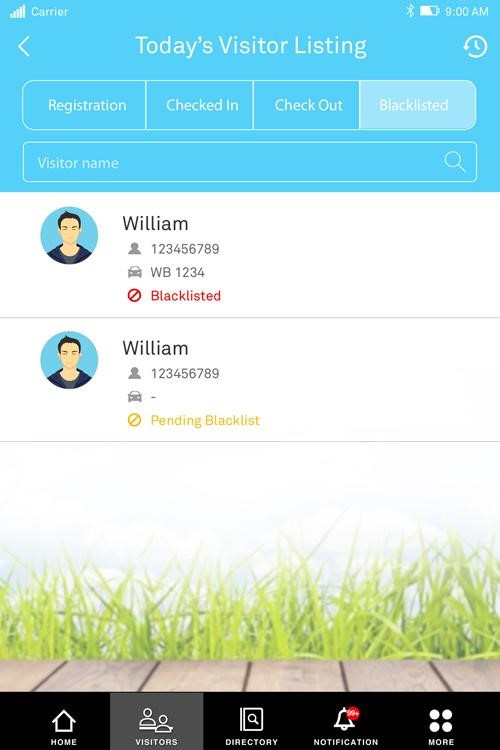
| 3.Today’s Visitor Listing | |||||||
| ● | Today’s Visitor Listing for both Administrator’s and Guard’s Account has been enhanced to display Car Plate No. and ID No. | ||||||
| ● | This is to ease the Administrators and Guards in searching for the visitor’s details easily. | ||||||
|
|||||||
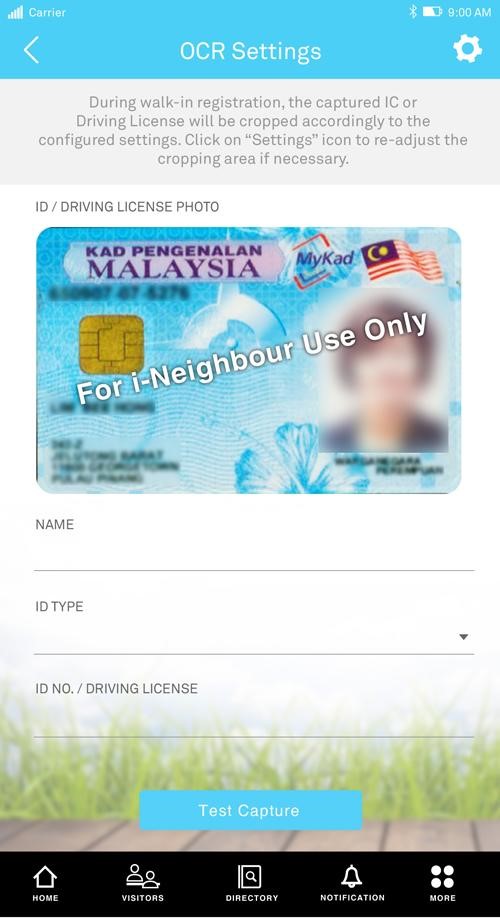
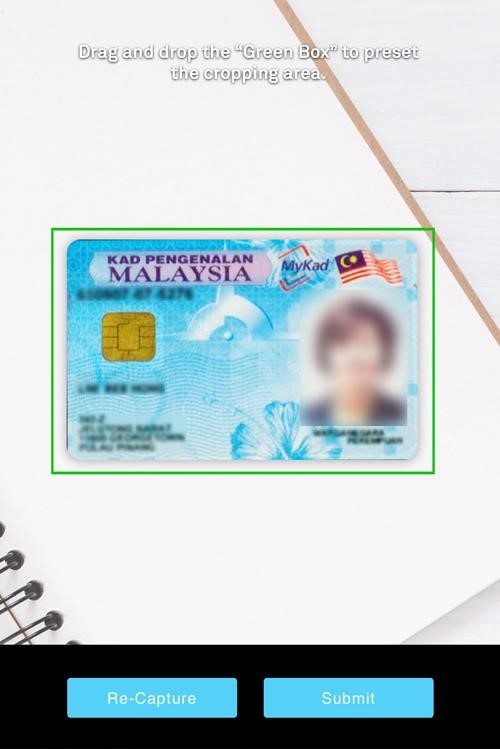
| 4. Smart Panel: OCR Module for Walk-In Visitors | |||||||
| ● | Optical Character Recognition (OCR) is now available to reduce the time during check in whereby personal data (Name and ID No.) can be converted into machine-encoded text just by capturing the ID. | ||||||
| ● | This feature is highly recommended for the Guard House Tablet Panel in order to obtain the most perfectly cropped ID Photo and accurate personal data. | ||||||
| ● | Administrators or Guards are advised to configure the OCR Settings first before proceeding with the OCR feature. Please go to More > Settings > OCR Settings to proceed with the configurations. | ||||||
|
|||||||
| Previous Issue: January 2018 • December 2017 • November 2017 |
| Note: Some of the screenshots viewed here might be different from the ones in the current system due to our continous effort to improve TimeTec from time to time. |