 |
| E-Billing Guideline |
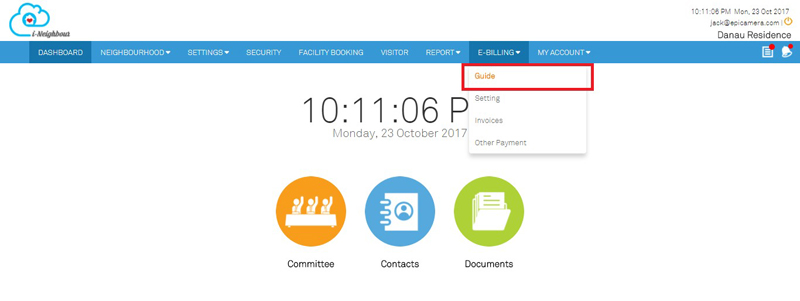
| In E-Billing Module, we have added Admin’s Guideline to support users in the process of payment configurations such as payment settings, import invoices, upload collection reports, approval process for the uploaded documents and etc. At the top menu bar, select E-Billing > Guide for more details. |
|||
 |
| E-Polling Module |
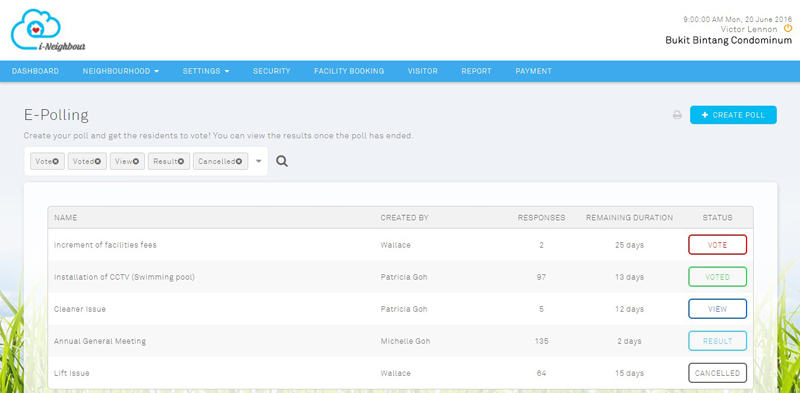
| Through i-Neighbour Mobile App or the Web, admins can now conduct simple survey and collect votes and opinions from the administrators, committee members and residents without having to call up for an actual meeting. E-Polling Module offers a series of settings configuration such as poll expiry date, acceptance rate and many more. Sample screenshots are as shown below: |
|||
| 1. | E-Polling Listing | ||
 |
|||
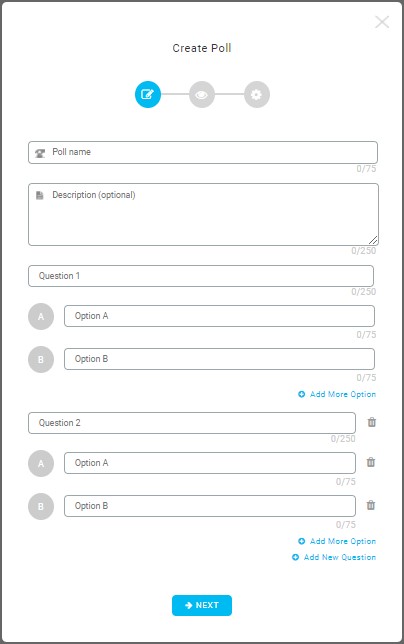
| 2. | Create Poll | ||
 |
|||
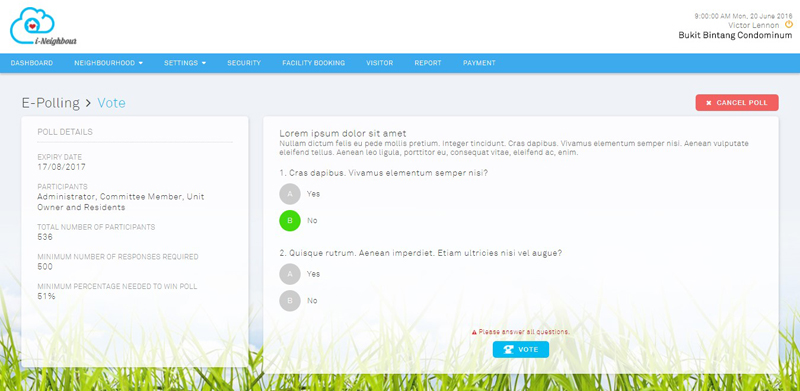
| 3. | Poll Voting | ||
 |
|||
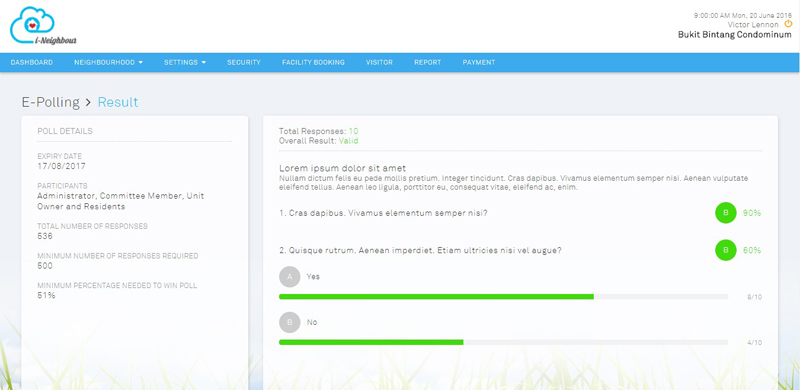
| 4. | View Results | ||
 |
|||
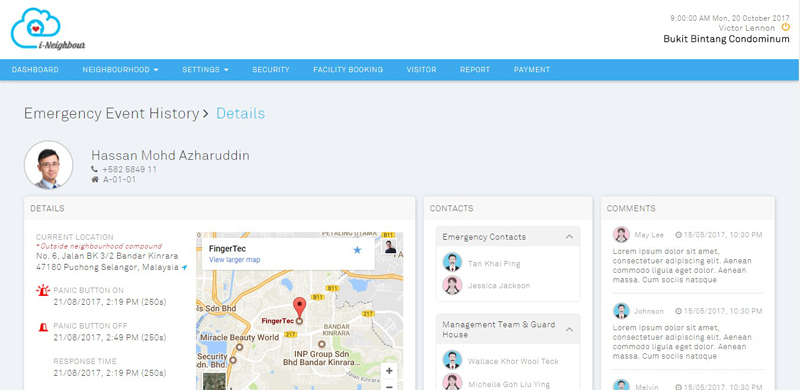
| Emergency Event History |
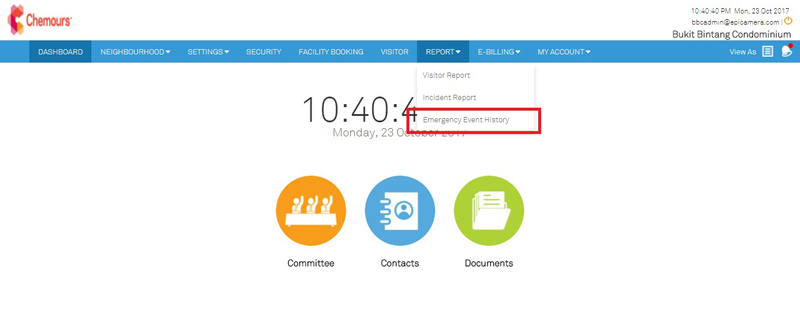
| Emergency Event History is now available in Web Portal for administrators to monitor and view the details of each triggered panic alarm event. Note that comments are also allowed for administrators to place remarks or reply to the resident’s inquiry. For more details, click on this module at the top menu bar: Report > Emergency Event History. |
|||
| 1. | Module Placement at Top Menu Bar | ||
 |
|||
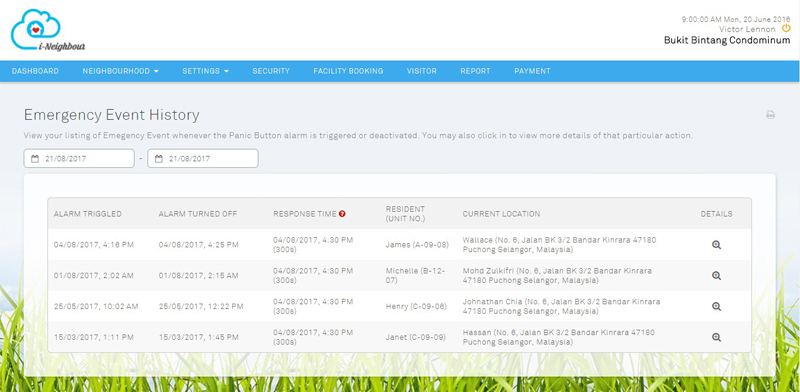
| 2. | Emergency Event History Listing | ||
 |
|||
| 3. | Emergency Event Details | ||
 |
|||
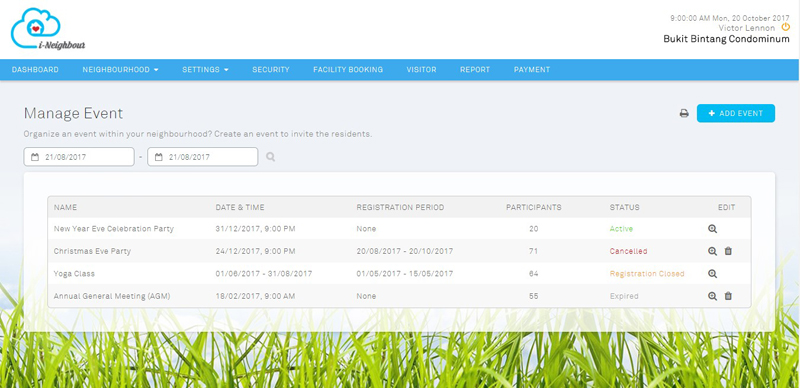
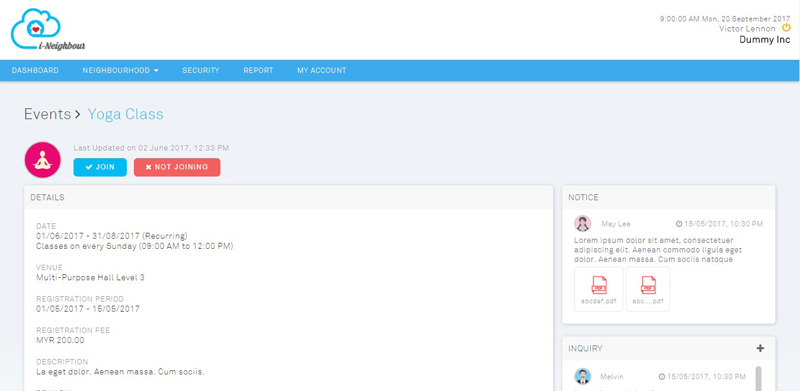
| Event Module |
| Administrators are able to create events within the neighbourhood such as Yoga Class, Chinese New Year Celebration Party, Swimming Competition and many more. Additionally, administrators can also attach multiple photos to said event and send notice about the event as well as view its participants. On the other hand, residents are able to send in inquiries or respond to the event. | |||
| 1. | Event Listing | ||
 |
|||
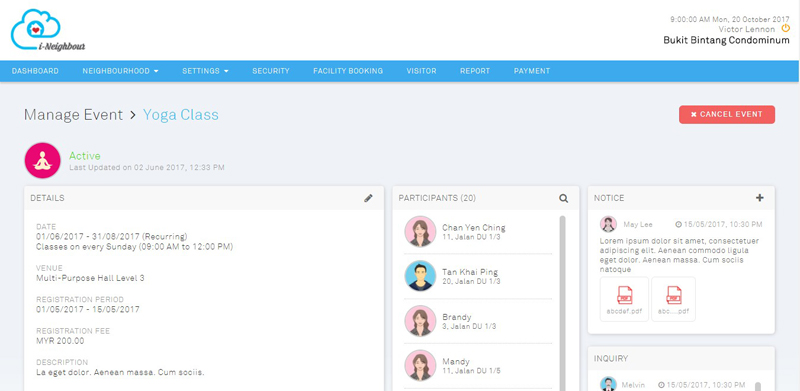
| 2. | Event Details | ||
 |
|||
| 3. | Edit Gallery Pop Up | ||
 |
|||
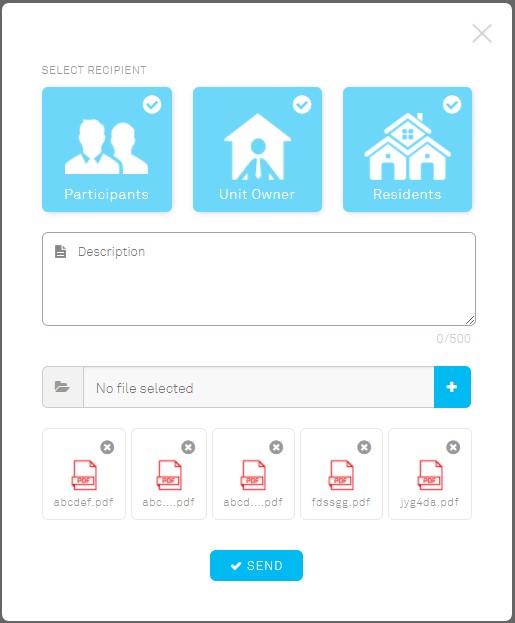
| 4. | Send Notice Pop Up | ||
 |
|||
| 5. | Resident’s View: Event Details | ||
 |
|||
| i-Neighbour App Updates |
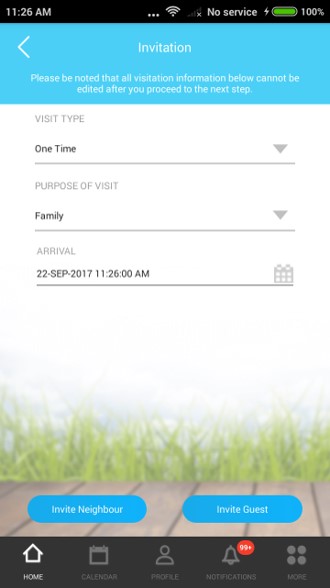
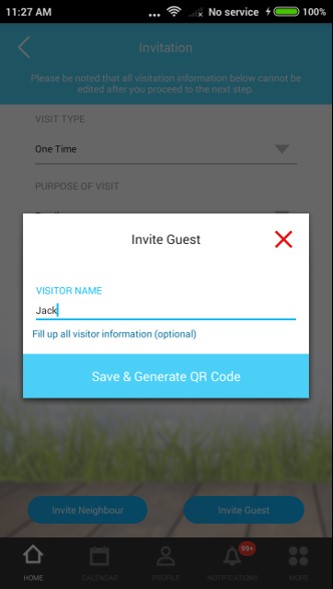
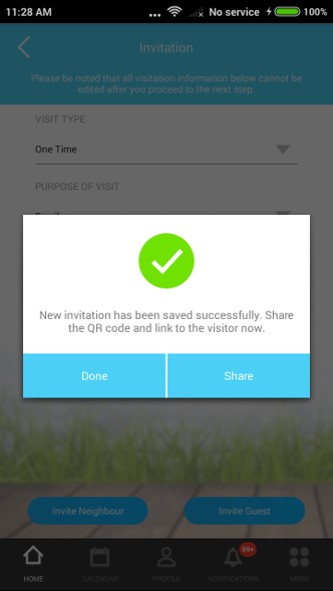
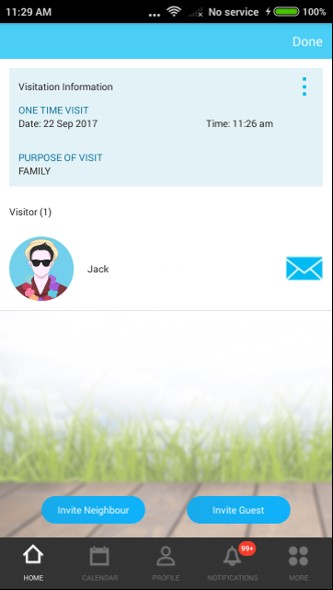
| 1. Invitation Module | |||||||
| ● Invitation feature has been enhanced to allow for invitation to be made more easily. Therefore, after entering the visitor’s name, the system will then generate a QR code and link in which the resident can send to the visitor via Mobile App. ● QR code serves the purpose of quick verification for access at the guard house, while the link is for the visitors to fill up his/her information before proceeding to the guard house. |
|||||||
|
|||||||
|
|||||||
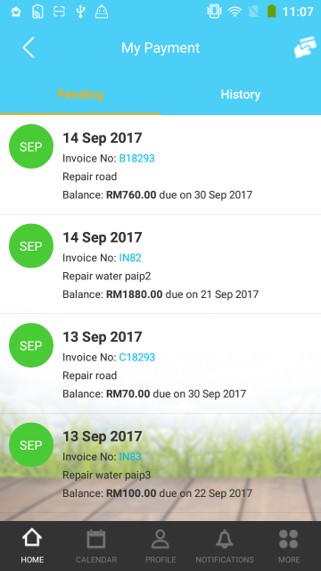
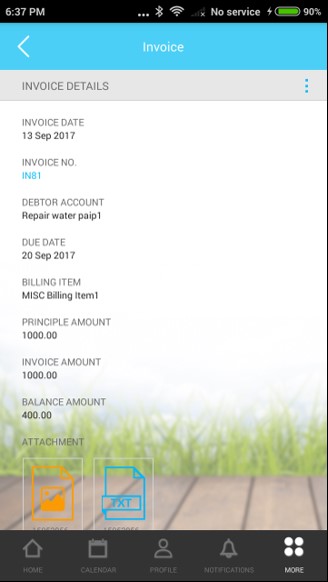
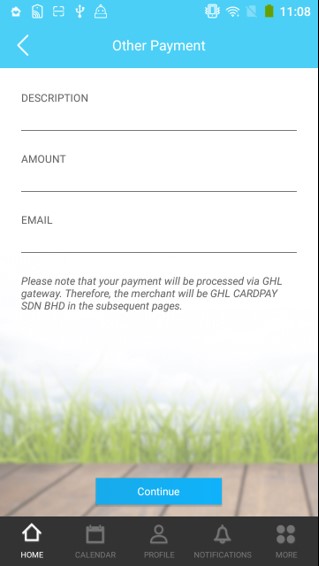
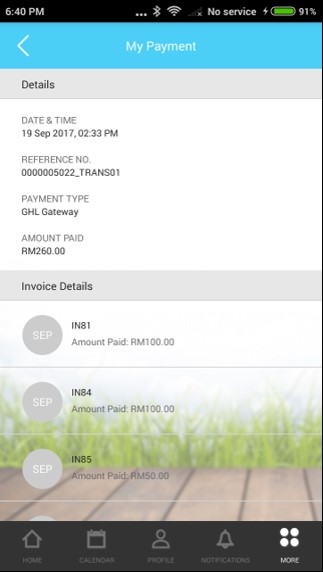
| 2. E-Billing | |||||||
| ● i-Neighbour’s E-Billing Module is developed to be integrated with IFCA Accounting Software that is widely used by all major developers in Malaysia. Furthermore, residents can now view and pay the outstanding balance invoices which are uploaded by the administrators through web portal. ● Payment History is also available for residents to easily keep track or even save a copy of successful payment details for future reference. |
|||||||
|
|||||||
|
|||||||
|
|||||||
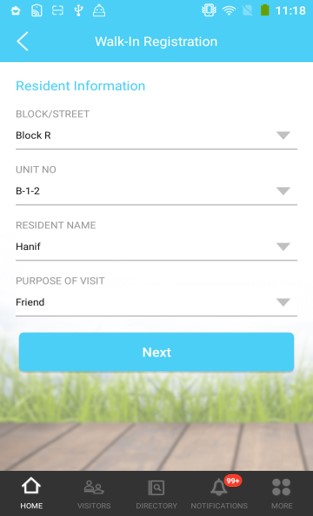
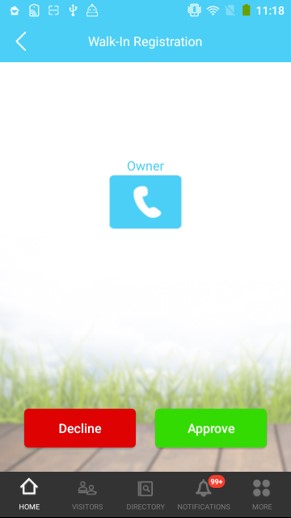
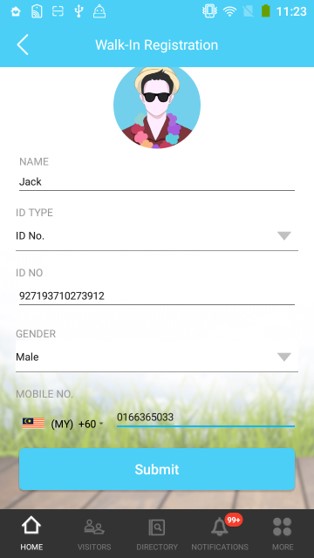
| 3. Walk-In Registration Form | |||||||
| ● Walk-In Registration has been enhanced to speed up the time taken during registration process. Note that after the resident’s information has been filled up, security guard will be required to call the respective resident for visitation approval (if applicable), and then only proceed with the visitation/personal information page before checking the visitor in. | |||||||
|
|||||||
|
|||||||
 |
|||||||
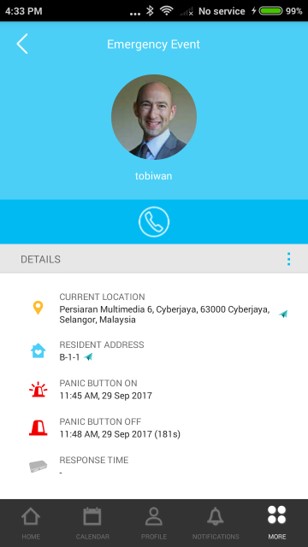
| 4. Emergency Event Details | |||||||
| ● UI design for Emergency Event has been improved. Emergency contact person and security guards will now be able to view the details of the panic alarm whenever it is triggered by the residents via i-Neighbour Mobile App. | |||||||
|
|||||||
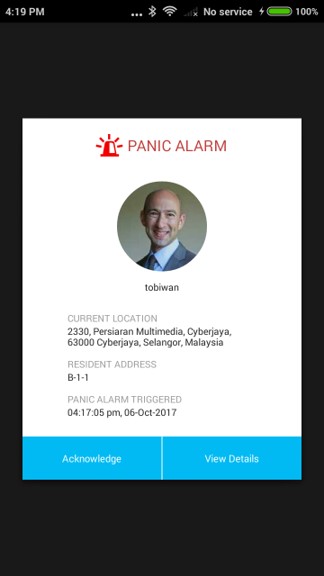
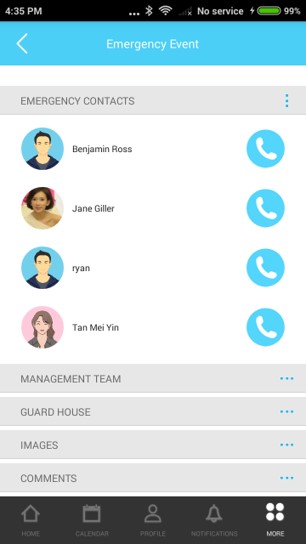
| 5. Panic Alarm Alert | |||||||
| ● Security guards will now receive a pop up alert whenever residents triggered the panic alarm. Response time will also be captured if the guards on duty respond to the panic alarm by clicking on the ‘Acknowledge” button. Additionally, security guards can proceed to view more details about the added emergency contacts, uploaded photos or even the comments added by the residents. | |||||||
 |
|||||||
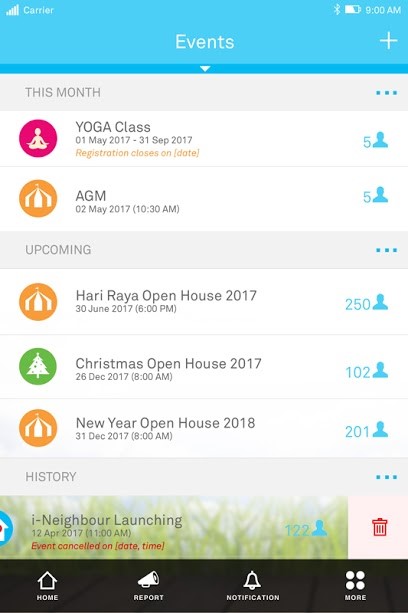
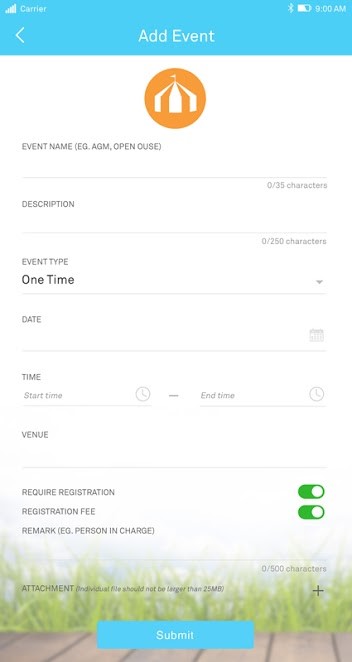
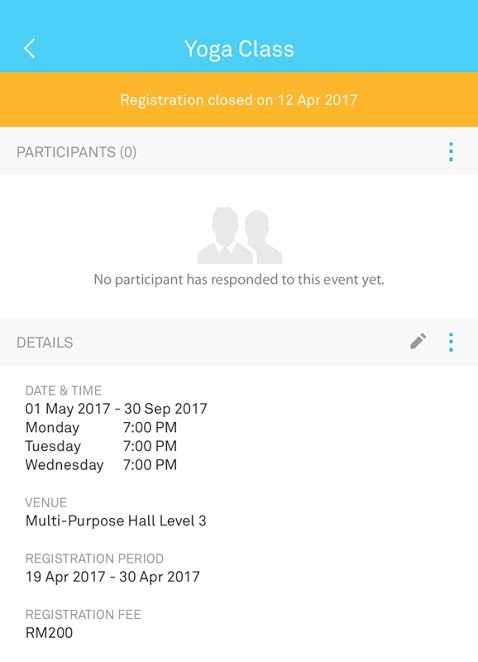
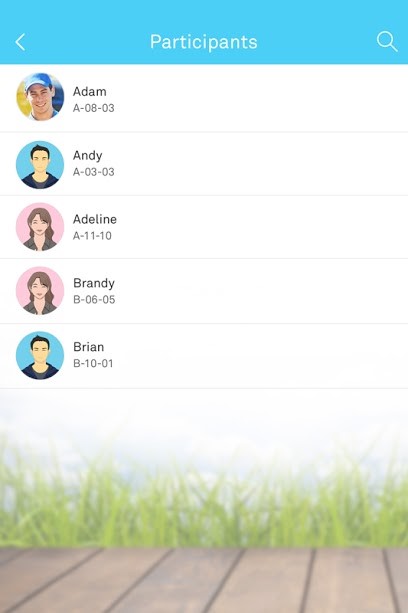
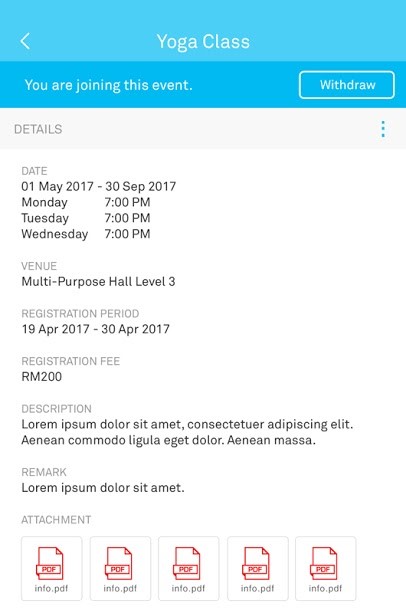
| 6. Event Module | |||||||
| ● Administrators are also able to add neighbourhood event via i-Neighbour Mobile App. Similar to the Web Portal, administrators can create an event, attach multiple photos to said event and send notice about the event as well as view its participants. Subsequently, residents will be able to view the event’s detail, send in inquiries or even respond to the event. | |||||||
|
|||||||
|
|||||||
|
|||||||
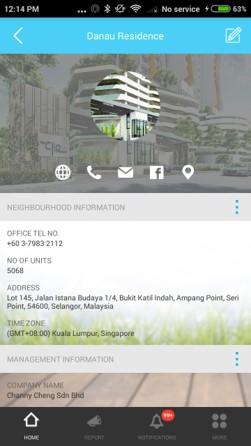
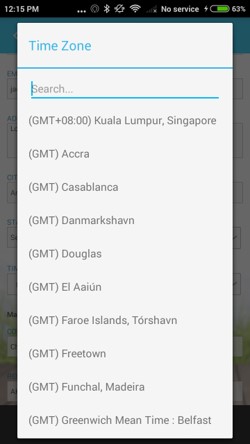
| 7. Time Zone Settings | |||||||
| ● Administrators are now able to set the neighbourhood time zone according to their countries. Go to Neighbourhood Profile, tab on the edit icon at the top right, and proceed with the selection on time zone accordingly. | |||||||
|
|||||||


| Note: Some of the screenshots viewed here might be different from the ones in the current system due to our continous effort to improve TimeTec from time to time. |