 |
| i-Neighbour Features: User Guide Updates |
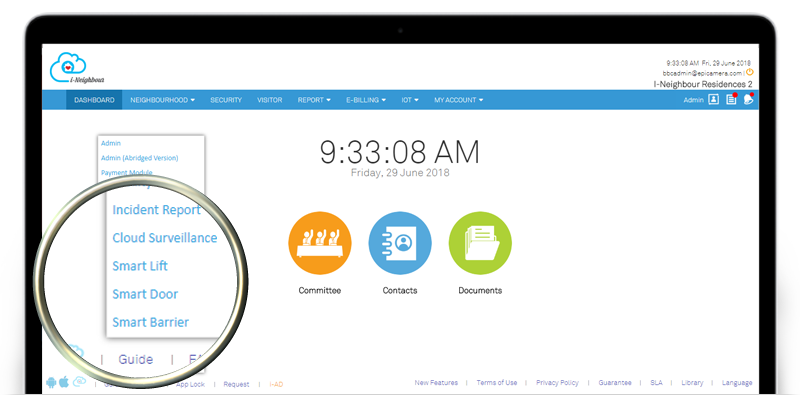
| For both Administrator’s and Resident’s role, the user guides for the latest modules have been updated and is now available. This is to assist both the Administrators and Residents in better understanding how the overall process works. Besides, Administrators and Residents can also access the user guides by clicking on the “Tips” icon located at the top right of each module. List of updated modules are E-Announcements, Cloud Surveillance, Visitor Management, Smart Lift, Smart Door and Smart Barrier. 1. Administrator’s View |
 |
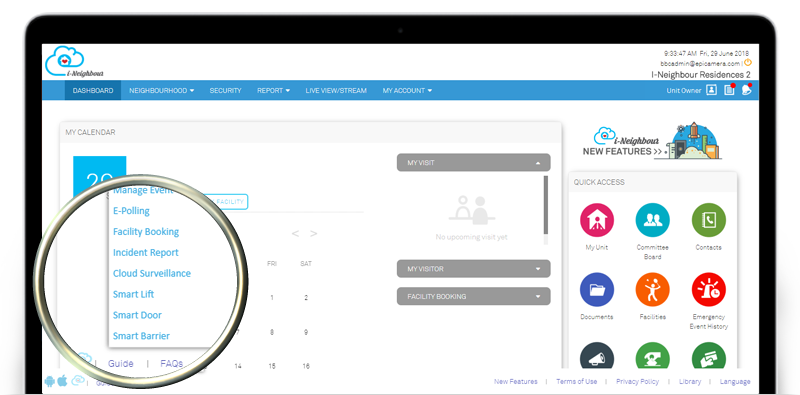
| 2. Resident’s View |
 |
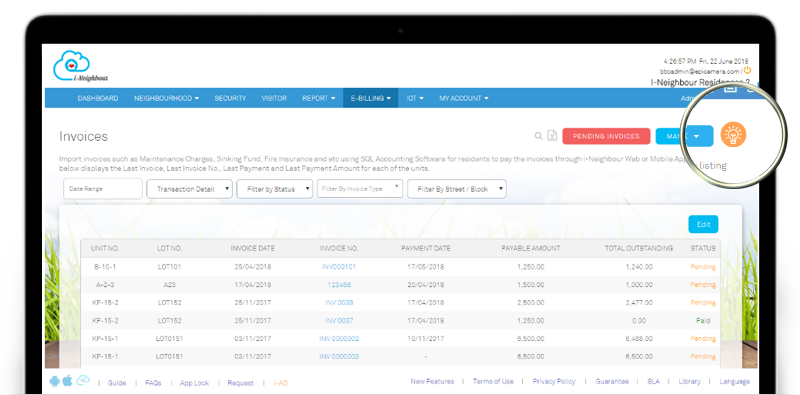
| 3. Details Page |
 |
| Manage Unit: Add Owner to Unit |
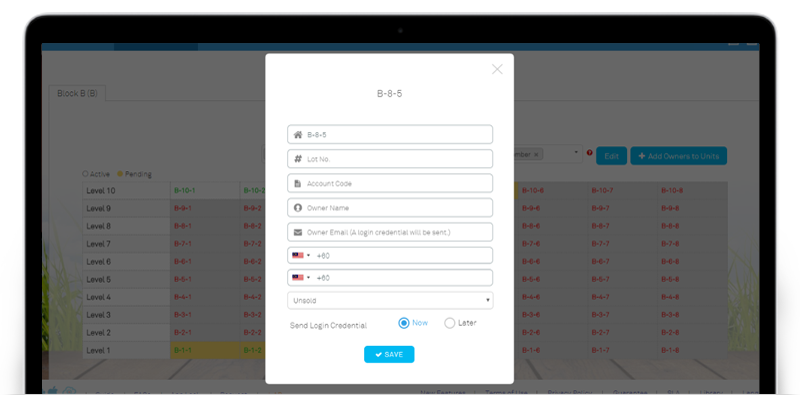
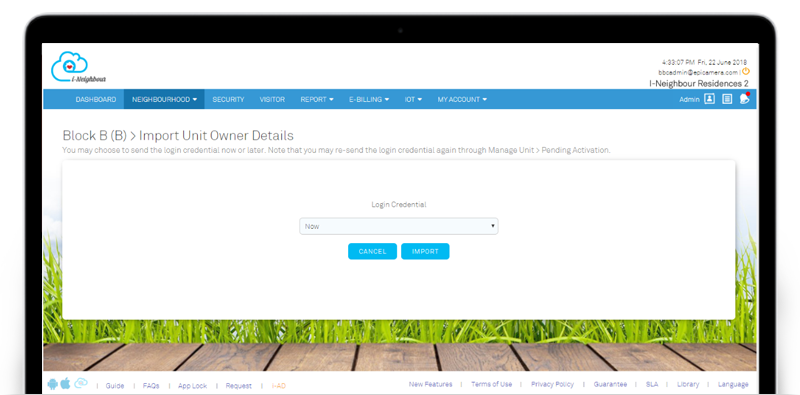
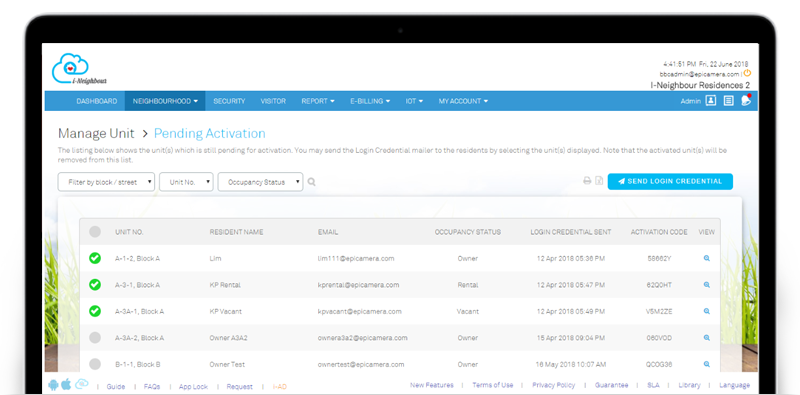
| To add owner into the unit, there are 3 different options for the Administrators to choose based on their preference. Available options are Add Individually, Add In Bulk or Import via Excel File. Besides, Administrators are now able to choose to either send the login credential (via email) Now or Later to the unit owners. If chosen Later, Administrators can proceed to Manage Unit > Pending Activation and determine which unit(s) login credential has been sent. Tick on the unit(s) to send or resend the login credential if necessary. Sample screenshots are shown as below: 1. Add Owner to Unit (Individually) |
 |
| 2. Add Owner to Unit (In Bulk) |
 |
| 3. Add Owner to Unit (Import via Excel File) |
 |
| 4. Pending Activation Unit Listing |
 |
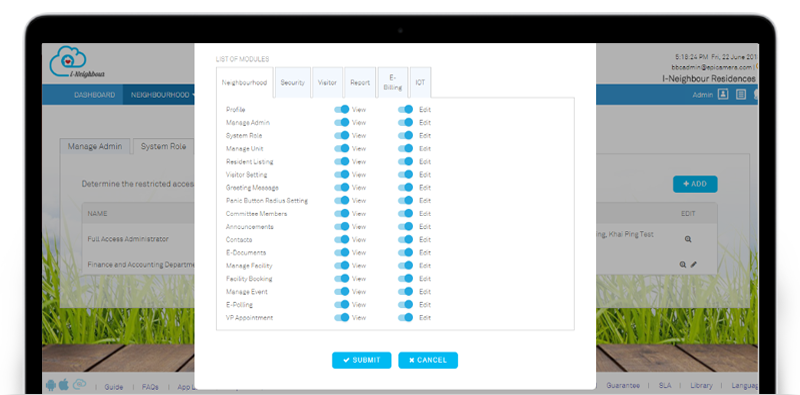
| System Role: Module Updates |
| System Role module now allows Master Administrator to create and customize the restricted access in order to limit the Administrators’ access in the System settings. Due to i-Neighbour continuous efforts in enhancing the system and adding in more features, the list of modules have been updated accordingly. For more details, please click on this module at the top menu bar: Neighbourhood > Manage Admin > System Role. |
 |
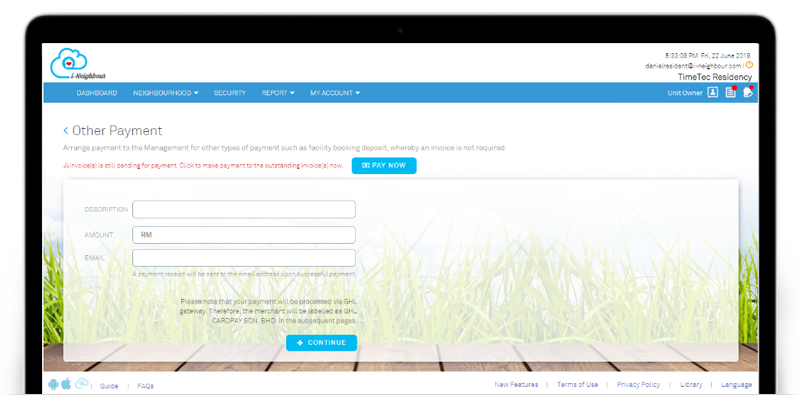
| E-Billing: Other Payment (Pending Invoice Alert) |
| For Residents, under Other Payment module, Pending Invoice Alert will be displayed if the respective resident has an outstanding balance invoice(s) which has yet to be cleared. This is to alert the resident in repayment on invoice(s) and simultaneously, help residents to avoid from paying to the Other Payment account, instead of the Invoices account. Resident can thus proceed with Invoice payment by clicking on “Pay Now”. Sample screenshots are shown as below: 1. Other Payment |
 |
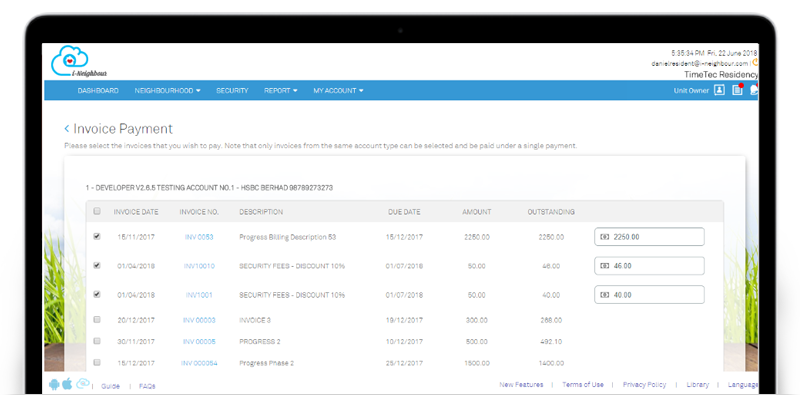
| 2. Invoice Payment |
 |
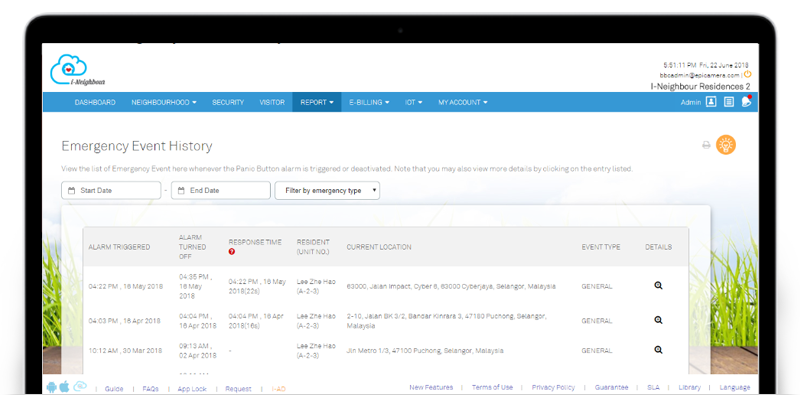
| Emergency Event History: Triggered by Guardhouse |
| Once the Residents triggered the Panic Button, all the Administrators and Committee Members (assigned as Emergency Contact Person) will receive a panic alarm alert and simultaneously, the event will be recorded and displayed in the Emergency Event History listing page. Now, Security Guards are allowed to trigger the Panic Button via Siren Kit. Emergency Contact Person will then receive the panic alarm alert and be notified about the event. Sample screenshots are shown as below: 1. Emergency Event History |
 |
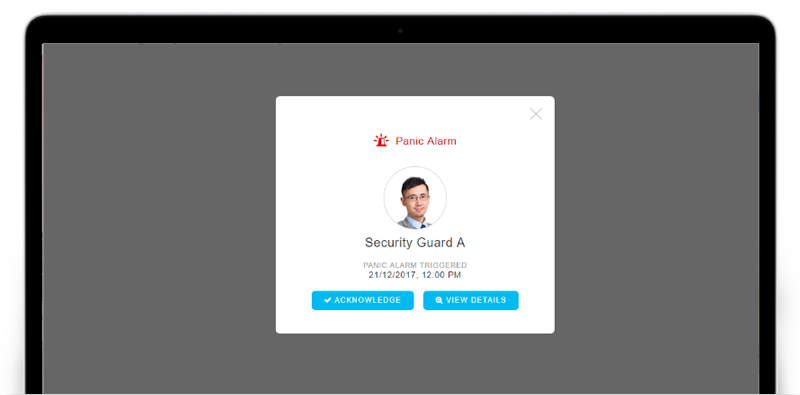
| 2. Panic Alarm Alert |
 |
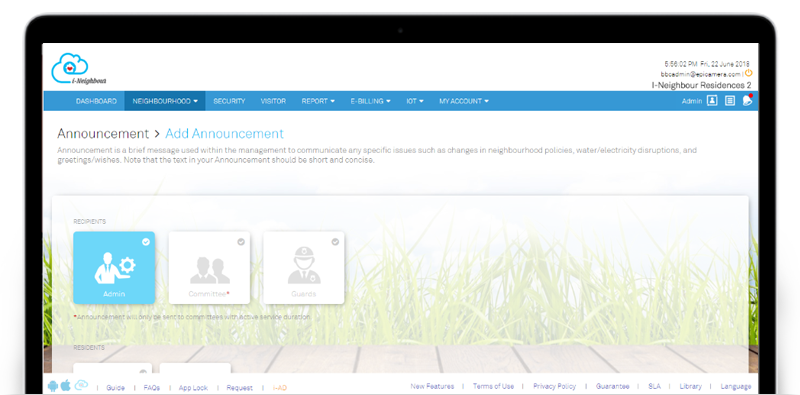
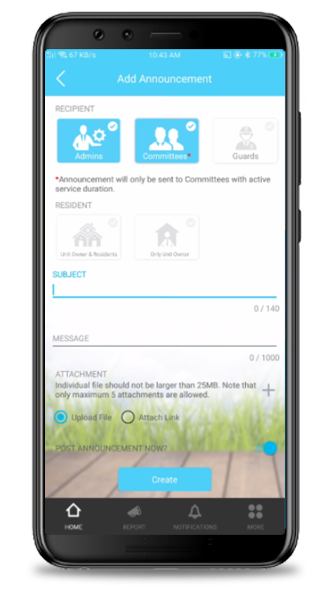
| E-Info: Announcements |
| Announcement module has been enhanced which allows the Administrator to schedule the posting date. Besides Post Now, Administrators are able to create the announcement and scheduled the post on a selected date and time. Furthermore, selecting the Types Of Recipient while posting an announcement is also available too. Administrators can now choose to send the announcement to Committee Member, Security Guard, Only Unit Owner or Unit Owner and Resident. Additionally, attachments are enhanced to allow the Administrators to insert web link, rather than just attaching documents. Sample screenshots are shown as below: 1. Add Announcement |
 |
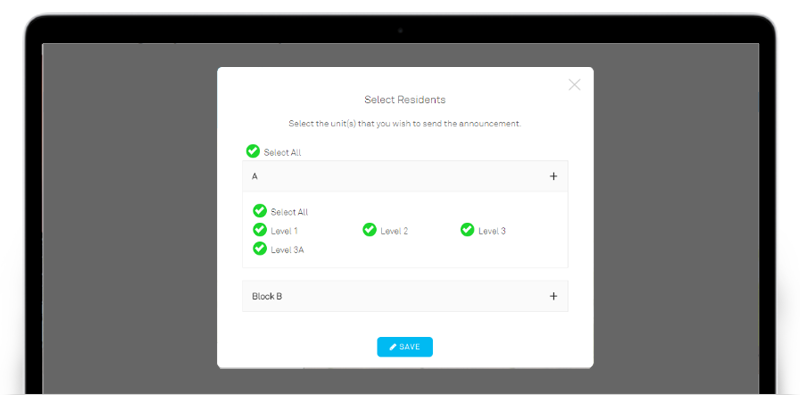
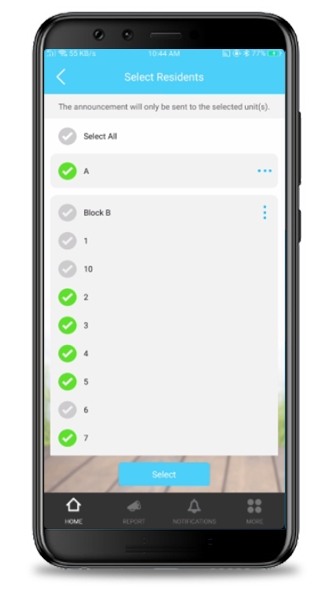
| 2. Select Residents |
 |
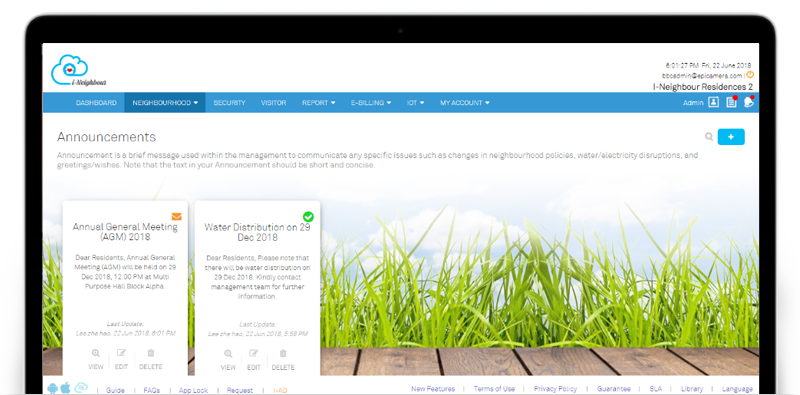
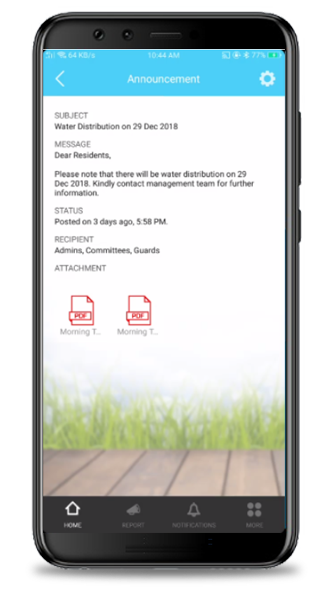
| 3. Announcement Listing |
 |
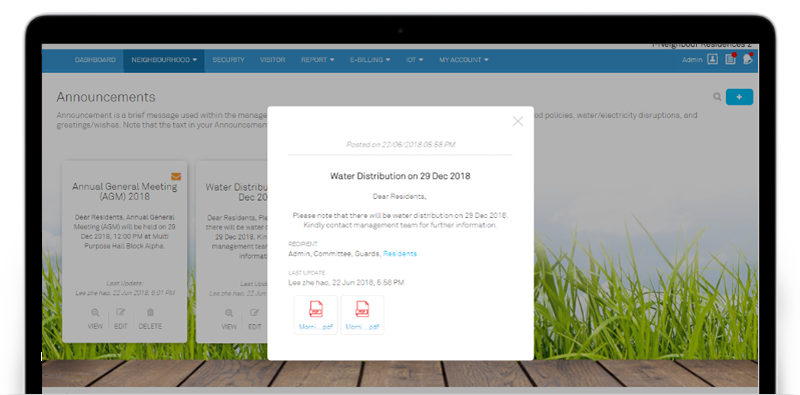
| 4. Announcement Details |
 |
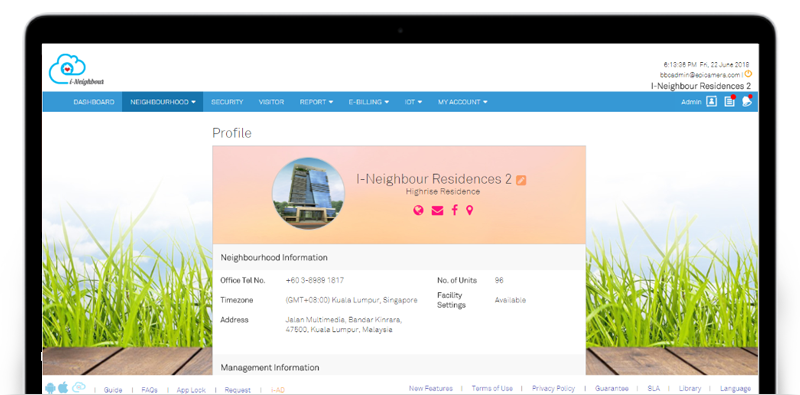
| Neighbourhood Profile |
| Mandatory and Optional fields for Neighbourhood Profile has been standardized between the Web Portal and Mobile App. Example list of Mandatory fields are Neighbourhood Name, Neighbourhood Type, Time Zone and Management Office Name. To configure the Neighbourhood Profile, please click on: Neighbourhood > Profile > Edit. |
 |
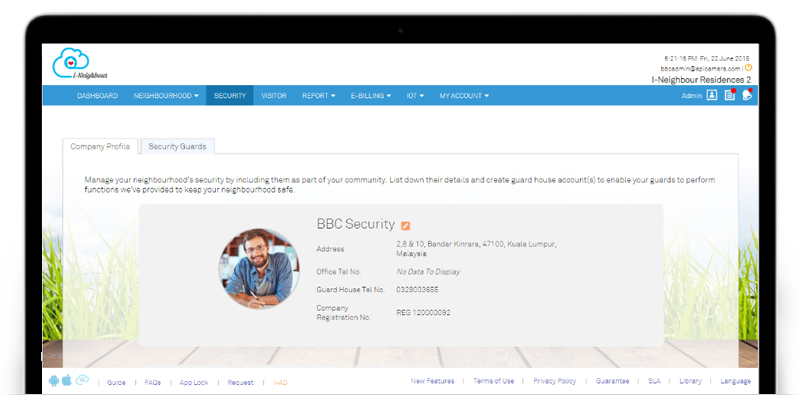
| Security Company Profile |
| The fields Security Company Contact No., Guard House Contact No. A and B are now optional. Note that the contact information will be hidden from the Resident’s view, if left empty. Sample screenshots are shown as below: 1. Security Company Profile |
 |
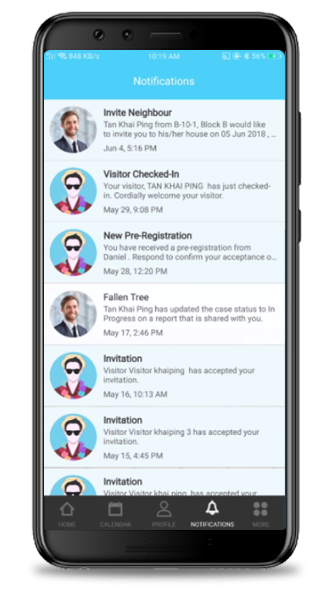
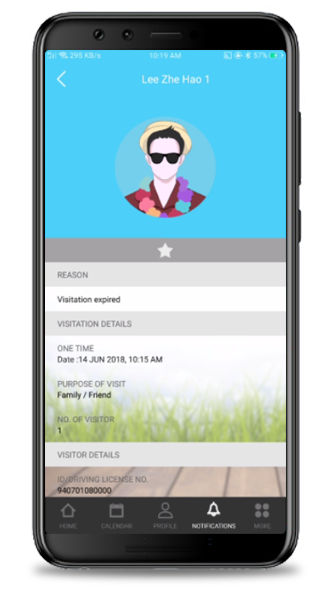
| i-Neighbour App Updates |
| Notification Center Users can now click on the push notification and be directed to the event details page. In the event details page, click on “<” icon and be directed back to the notification center listing page, which allows user to view all the notifications. For users with multiple accounts, they will still receive the push notification for all accounts. Click on the push notification and login to the respective account in order to view the event details page. |
  |
| More Listing In More Listing page, IOT has been added as one of the section. All the IOT access (if any) will be stored under this section. IOT includes Smart Access (Barrier Gate, Smart Lock/Reader) Smart Lift and EpiCamera. |
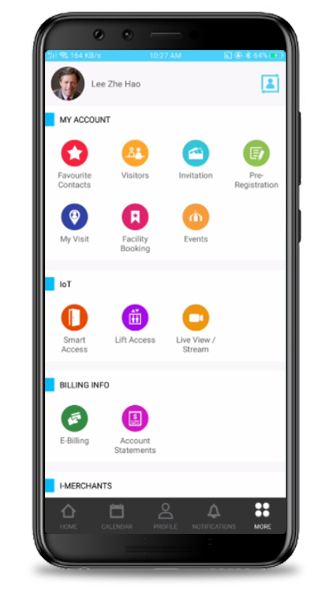 |
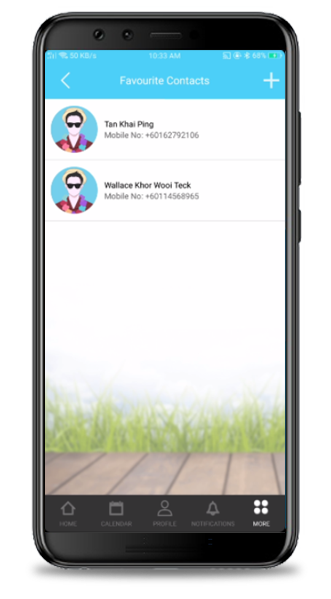
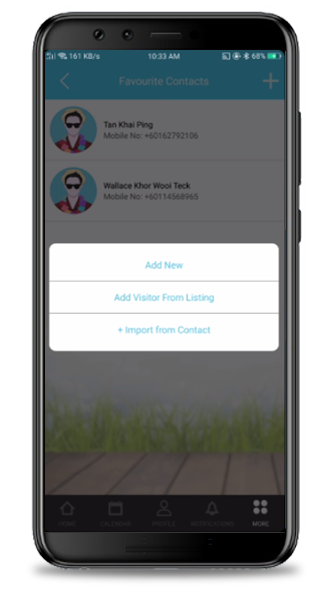
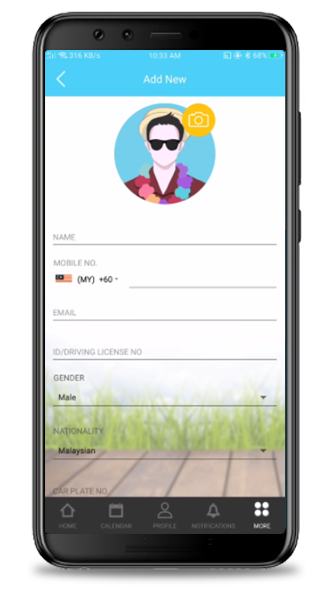
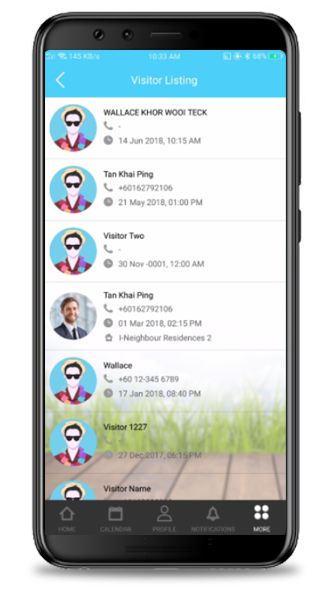
| Favourite Contacts Through Favourite Contacts, Residents are allowed to save their favourite visitor details. This helps to fasten up the steps needed when inviting/visiting visitors. Residents can now also add Favourite Contacts through Add New and Import from Contact List. Add New - Create a new Favourite Contact by inserting Name, Contact No., Email, Car Plate No. and etc. Import from Contact List - Select from the user’s phone contact list, whereby the Name and Contact No. will be auto-filled. |
  |
  |
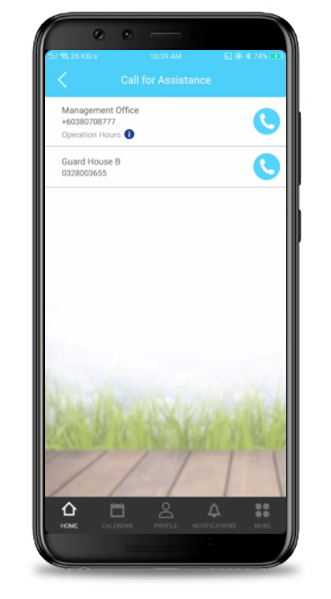
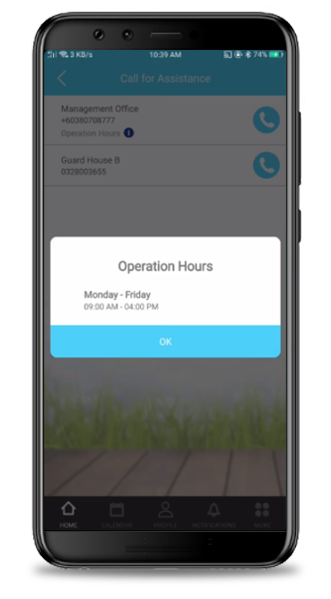
| Call for Assistance Contact No. for Management Office and Guardhouse (if any) will be displayed under the module Call for Assistance which allows resident to obtain the contacts in case of an emergency. In the listing, Management Office’s Operation Hours is also added for Residents to be alerted on the operation hours. |
  |
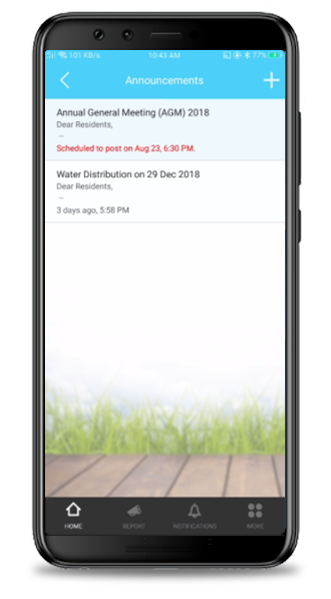
| Announcements Similar with Web Portal, Administrators can also post the announcement through Mobile App. Besides Post Now, Administrators are able to create the announcement and scheduled the post on a selected date and time. Furthermore, Administrators can choose to send the announcement to Committee Member, Security Guard, Only Unit Owner or Unit Owner and Resident. The attachments are enhanced to allow Administrators to insert web link, rather than just attaching documents. |
  |
  |
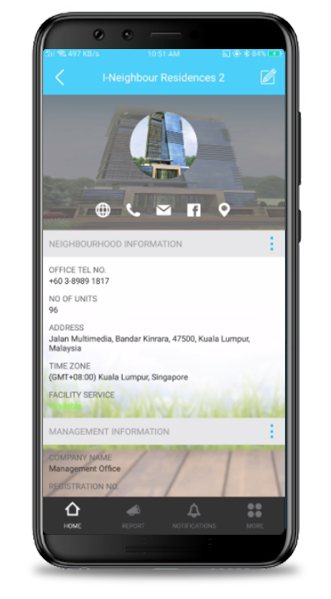
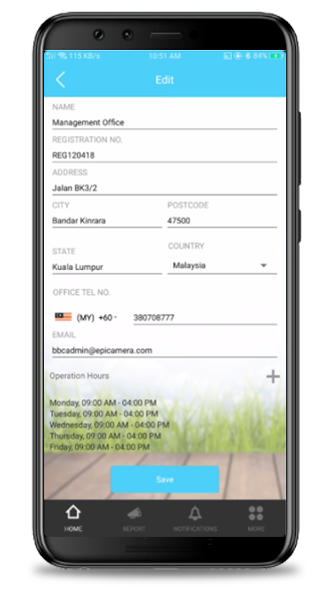
| Neighbourhood Profile Administrators are now able to configure the Office’s Operation Hours, if necessary. This allows the residents to be informed of the operation hours before visiting the office. Furthermore, for the neighbourhoods without a Management Office or wish to hide the Office’s Information from the residents; Administrators are allowed to disable the Management Office section. To configure Neighbourhood Profile, kindly proceed to More > Neighbourhood > Profile > Edit. |
  |
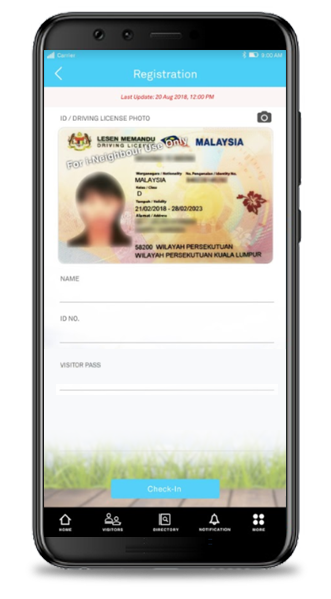
| Visitor’s ID / Driving License Photo: Watermark Through Web Portal, Administrators are allowed to configure the text of the watermark which will be used to cover the captured ID / Driving License Photo (if any), as to protect the original image. Security guards are allowed to capture the Visitor’s ID / Driving License Photo through Walk-In Registration Form or Scan QR Code Form, while checking in the visitor. |
 |
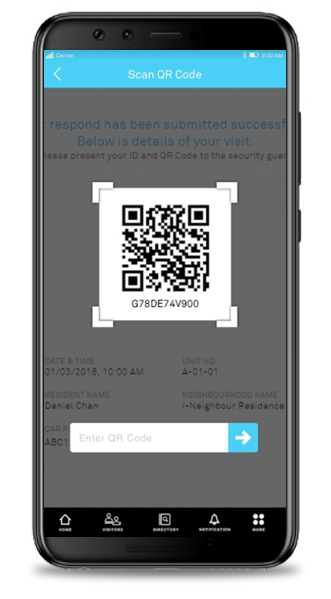
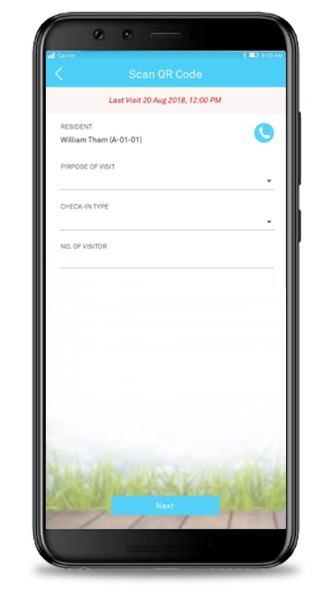
| Scan QR Code Form For the pre-registered visitors, they are allowed to check-in via the provided QR Code to fasten the registration process. Security Guards are required to scan the QR Code through the Scan QR Code module, and will be directed to the registration form which then allows the editing of the visitation information as well as call for approval (if necessary). |
  |
| Checked-In Visitors Both Administrators and Security Guards are allowed to view the captured Visitor’s ID Profile Photo by clicking on the respective visitor at Checked-In Visitors listing page. Note that this feature is only available if paired with the OCR feature. |
 |
| Previous Issue: May 2018 • April 2018 • March 2018 |
| Note: If some of the screenshots or steps viewed here are different from the ones in the current system, this is due to our continuous effort to improve our system from time to time. Please notify us at info@i-neighbour.com, we will update it as soon as possible. |