 |
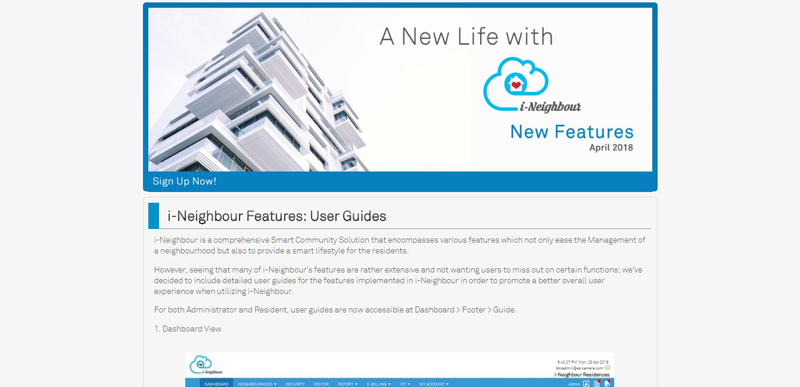
| i-Neighbour Features: User Guides Updates |
|
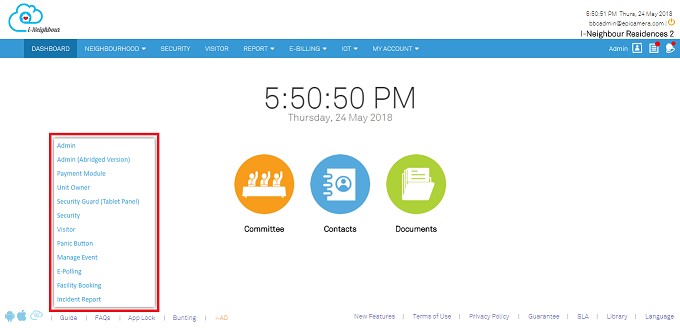
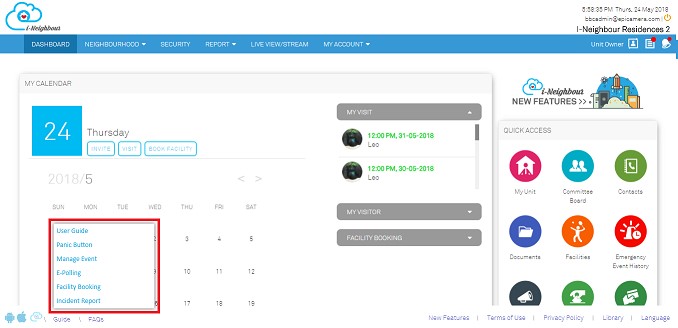
For both Administrator’s and Resident’s role, detailed user guides have been updated by including more modules, such as Manage Facility, Incident Report, Payment, Security Guard (Tablet Panel) and etc.
The user guides are now accessible at Dashboard > Footer > Guide. 1. Administrator’s View |
|||
 |
|||
| 2. | Resident’s View | ||
 |
|||
| Monthly New Features |
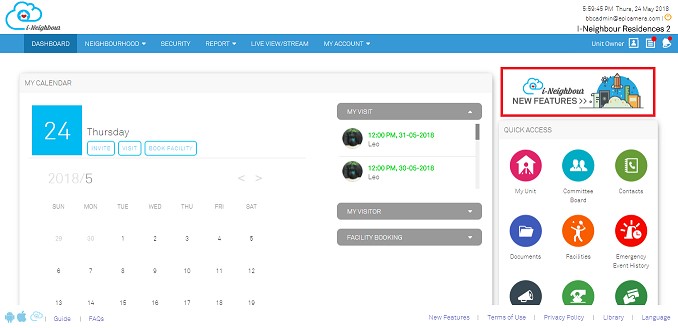
| i-Neighbour New Features will be updated monthly and is available for all residents to be informed of the new updates in i-Neighbour Web Portal and Mobile App. Login to your resident’s account, and click on the banner located at the top right of the Dashboard page. You will then be directed to the new features web link.
1. Resident’s Dashboard |
|||
 |
|||
| 2. | Monthly New Features | ||
 |
|||
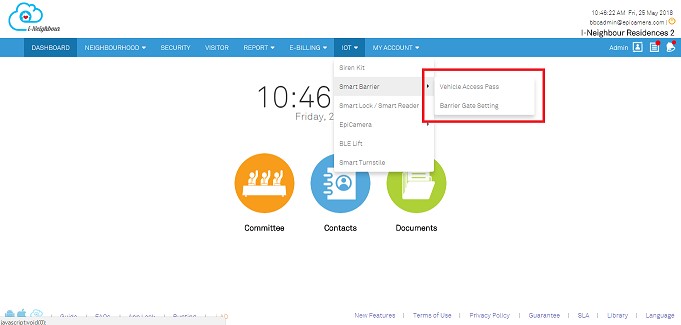
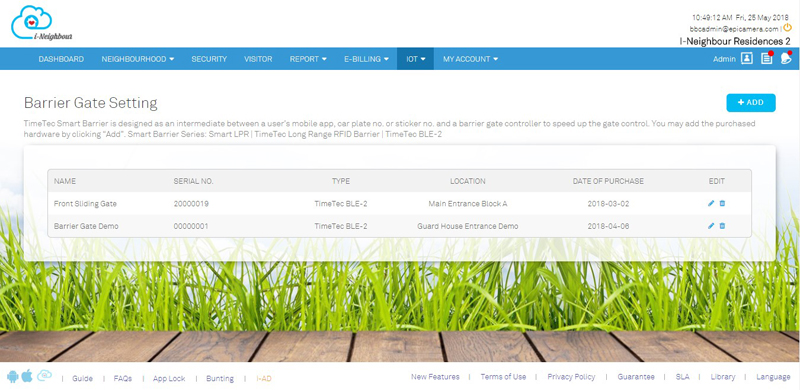
| Smart Barrier: Vehicle Access Pass and Barrier Gate Setting |
| Located under IOT section in Top Menu Bar, Smart Barrier module is now separated into two sub-modules, which are Vehicle Access Pass and Barrier Gate Setting.
Vehicle Access Pass allows Administrators to configure the parking lot details (Parking Lot No., Access Card No., Remark, Smart Phone Access Users) and types of access pass (Smart Phone Access, UHF Card Access and License Plate Recognition Access). While for Barrier Gate Setting, Administrators will be allowed to add the Smart Barrier into i-Neighbour system. Administrator is also able to insert name and location of the installed Smart Barrier for future reference (if necessary). Sample screenshots are shown as below: 1. Module’s Placement |
|||
 |
|||
| 2. | Vehicle Access Pass | ||
 |
|||
| 3. | Barrier Gate Setting | ||
 |
|||
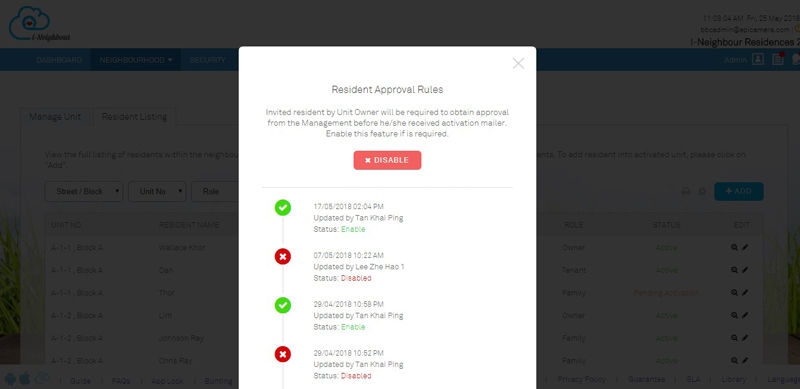
| Manage Unit: Resident Listing |
| In Resident Listing module, Administrators are now allowed to enable the approval rules which requires the approval from the Management whenever Unit Owners add in a new resident.
Hence, the system has been enhanced to capture and store all of the enabled and disabled approval rules history, including Administrator’s name and action’s date. To view all the history, kindly proceed to Manage Unit > Resident Listing > Settings icon. |
|||
 |
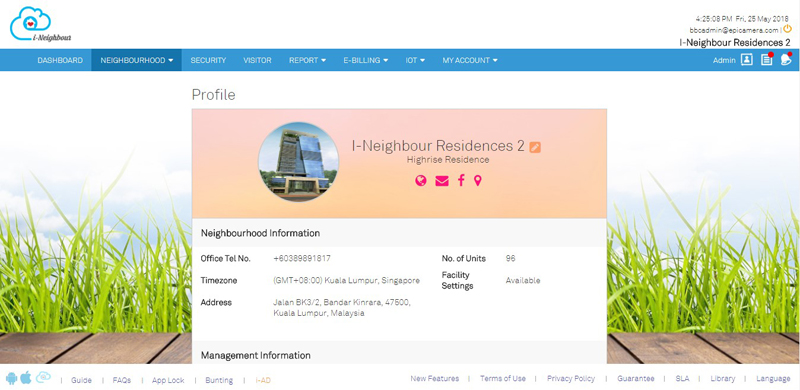
| Neighbourhood Profile |
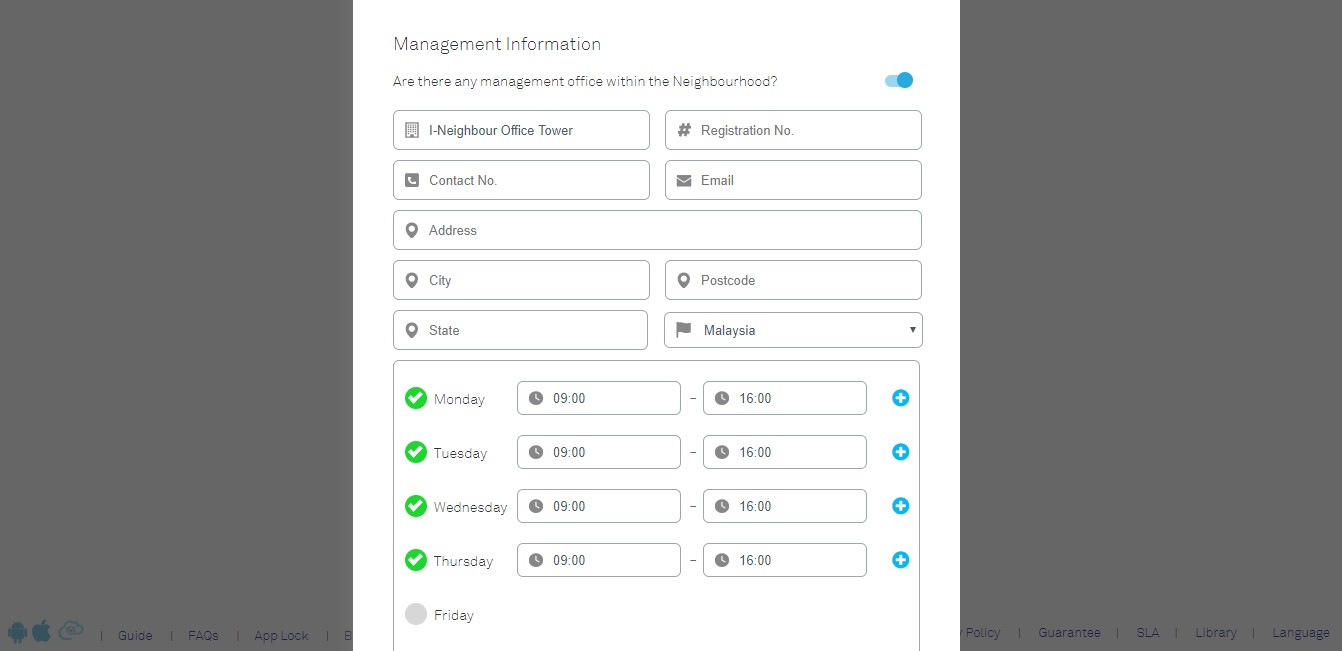
| UI design for Neighbourhood Profile module has been updated according to the latest version. Besides, Administrators are now able to configure the Office’s Operation Hours, if necessary. This allows the residents to be informed of the operation hours before visiting the office.
Furthermore, for neighbourhoods without a Management Office or wish to hide the Office’s Information from the residents, Administrators are allowed to disable the Management Office section. Sample screenshots are shown as below: 1. Neighbourhood Profile (View) |
|||
 |
|||
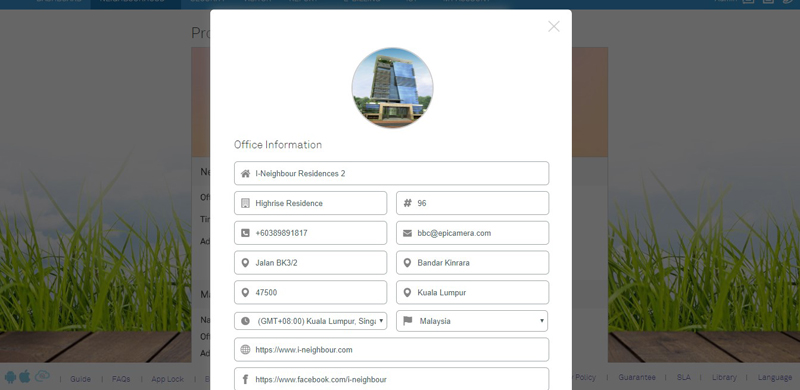
| 2. | Office Information (Edit Mode) | ||
 |
|||
| 3. | Management Information (Edit Mode) | ||
 |
|||
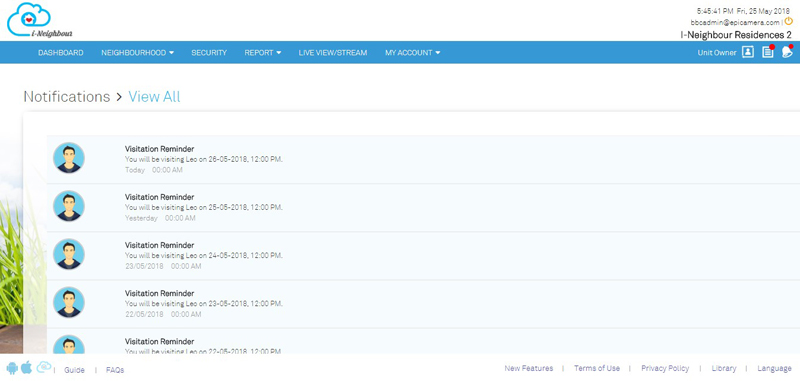
| Notification Center |
|
Notification Center provides an overview of alerts regarding the activities in i-Neighbour. As for now, Administrators and Residents are allowed to click on the notification, and will be redirected to the respective event details page.
Sample screenshots are shown as below: 1. Notification Center |
|||
 |
|||
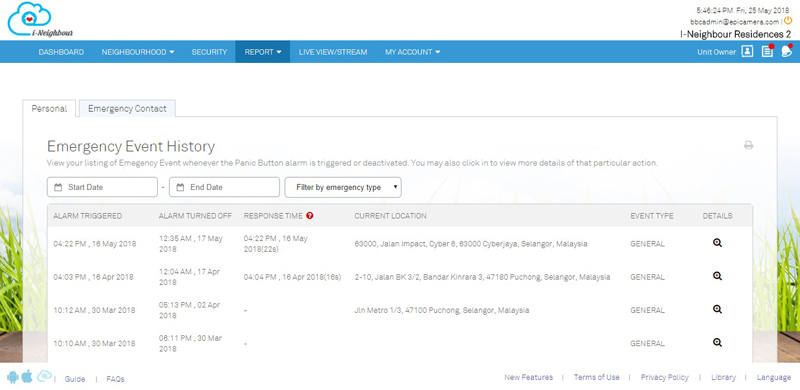
| 2. | Event Details Page (Emergency Event History) | ||
 |
|||
| Visitor’s Detail Settings & Visit Rules |
| Administrators can now configure the visitor settings through Web Portal. The settings are divided into two sections, which are Visitor’s Detail Settings and Visit Rules. With this, Administrators are able to capture the visitor’s information and visitors on the other hand, will be alerted with the neighbourhood’s visit rule.
Visitor’s Detail Settings
Visit Rules |
|||
| ● | Visitor Check-In Time | ||
| Configure the duration for pre-registered or invited visitors to check-in within the fixed hour before and after the estimated arrival time. | |||
| ● | Approval Request | ||
| Security guards will have to obtain the approval from the resident (through intercom) before proceeding to check-in the visitor. | |||
| ● | Watermark | ||
| The captured ID / Driving License Photo (if any) will be covered with the preset watermark, as to protect the original image. | |||
| ● | Neighbourhood Visit Rule | ||
| Upload the visit rule (if any) which alerts the visitor regarding the rules. | |||
| To configure the Visitor’s Detail and Visit Rules, please click on: Neighbourhood > Settings > Visitor Setting. | |||
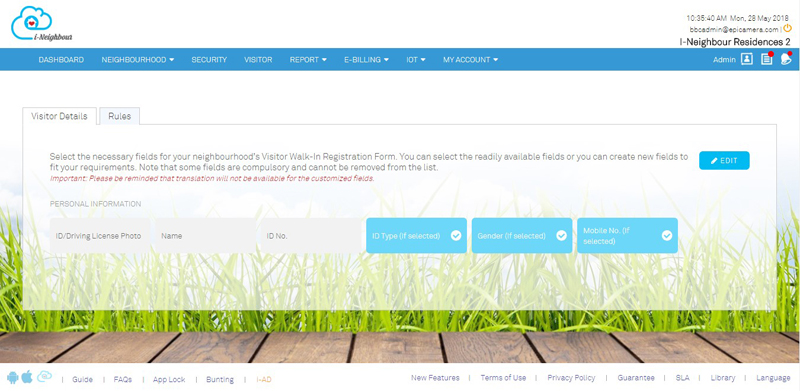
| 1. | Visitor’s Detail | ||
 |
|||
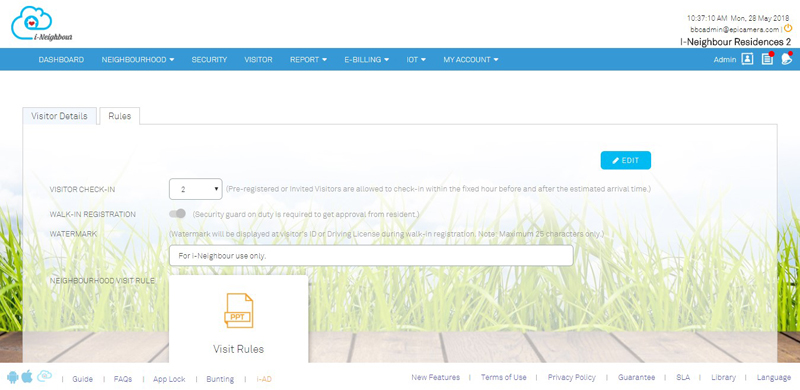
| 2. | Visit Rules | ||
 |
|||
| (Visitors) Invitation Response Form |
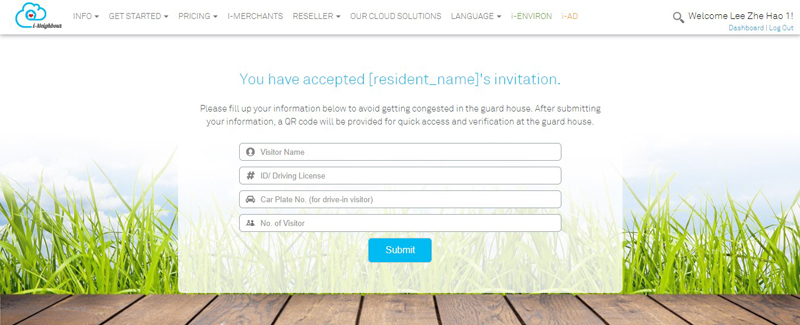
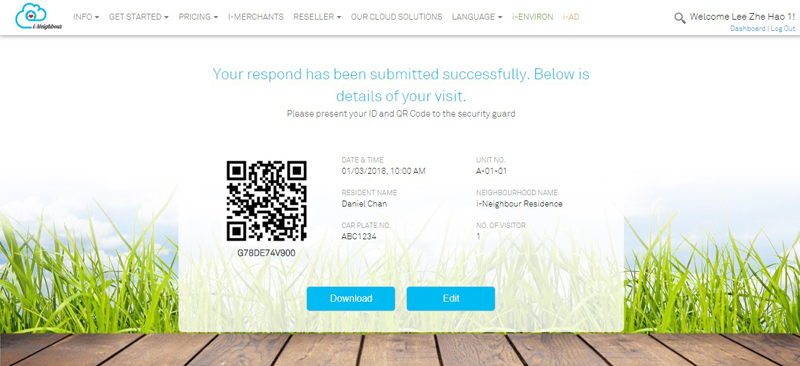
| Invitation Response Form (for invited visitors) has been simplified whereby visitors will only have to fill in their ID / Driving License No. and Car Plate No. (for drive-in visitor). After submitting the information, a QR code will be provided for quick access and verification at the guardhouse during check-in. Besides, visitors can choose to download or print out the copy of the visitation details to avoid getting congested at the guardhouse. Sample screenshots are shown as below: 1. Invitation Response Form |
|||
 |
|||
| 2. | Invitation Details | ||
 |
|||
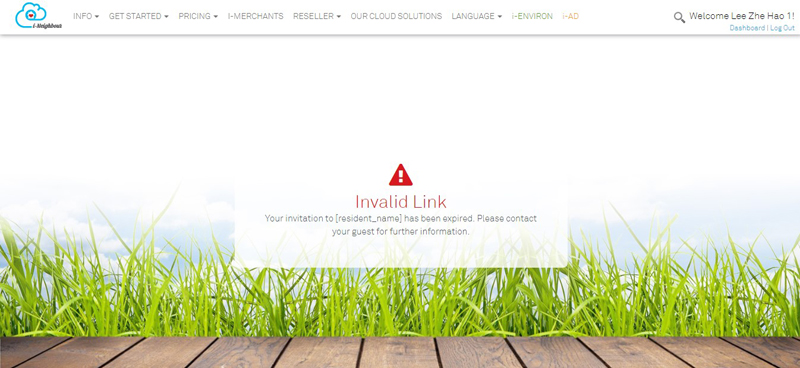
| 3. | Invalid Link or Visitation Expired Alert | ||
 |
|||
| E-Billing: E-Invoice Configuration |
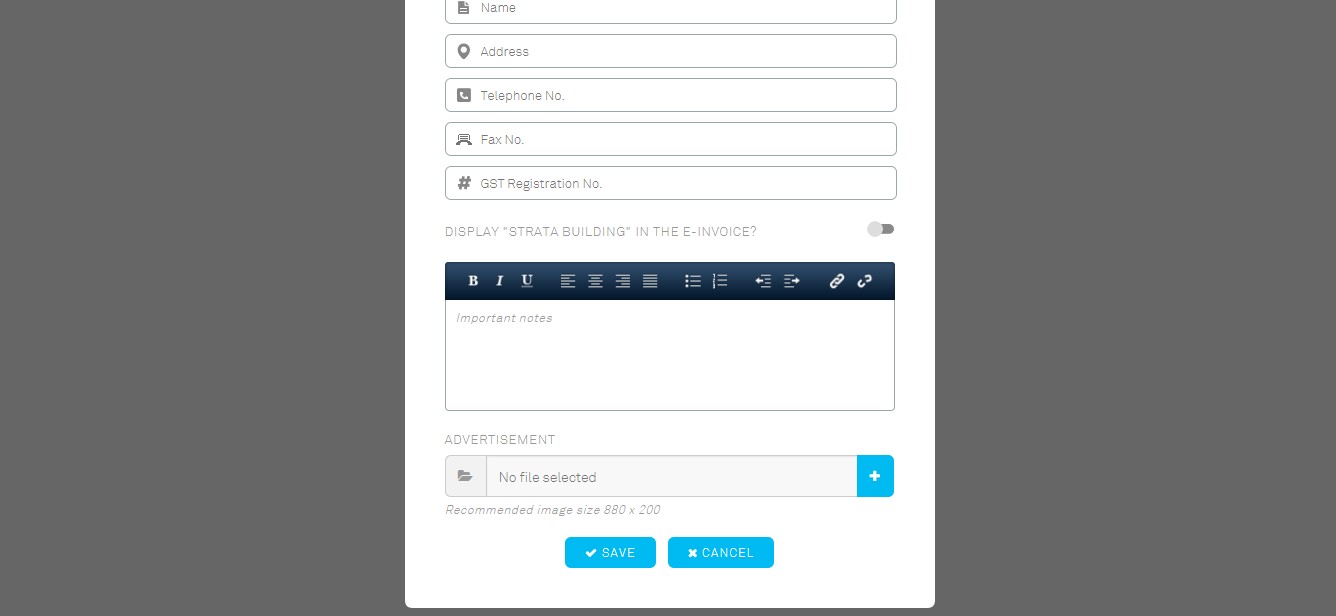
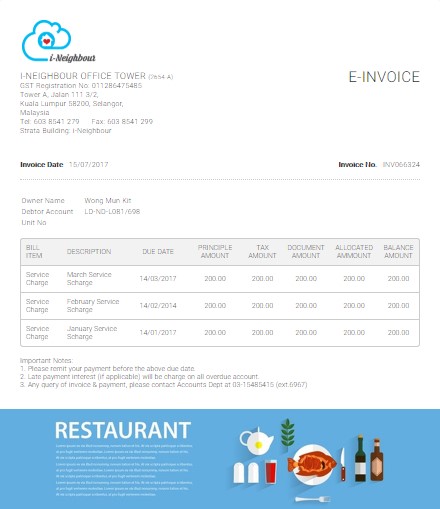
| Through E-Billing, Administrators are allowed to upload invoices for i-Neighbour to generate the uploaded invoices into E-Invoice, in pdf file format. What’s more, Administrators are also able to upload the Advertisement into the E-Invoice. Note that the uploaded Advertisement will be displayed at the bottom page of E-Invoice.
Sample screenshots are shown as below: 1. E-Invoice Configuration Pop Up |
|||
 |
|||
| 2. | E-Invoice Template | ||
 |
|||
| i-Neighbour App Updates |
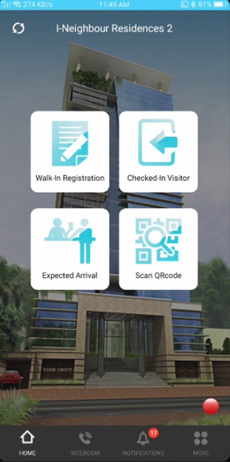
| 1. Security Guard’s Account: Home Page UI Design Enhancement | |||||||
| ● | Modules placement in Home Page has been arranged as shown in the attached screenshot below. This helps to simplify the steps needed to access the modules for registering or checking in-out visitors. | ||||||
| ● | The most commonly used modules, such as Walk-In Registration, Checked-in Visitor, Expected Arrival and Scan QR Code are well displayed at the Home Page. | ||||||
 |
|||||||
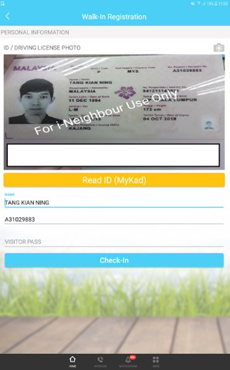
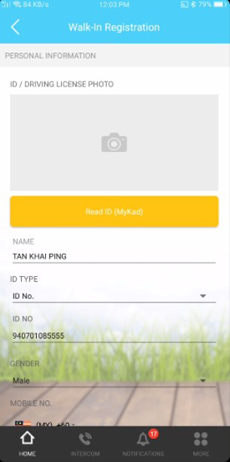
| 2. Walk-In Registration Form | |||||||
| ● | Walk-In Registration Form has been simplified by reducing the redundant fields, whereby visitors will now only be required to provide the Resident’s Details and Personal Details (Name and ID/Driving License No.). | ||||||
| ● | While for Drop Off/Pick Up visitors, only their personal details will be required in order to proceed with the check-in process. | ||||||
| ● | Note: Under the page on “Personal Information”, the fields are based on the Visitor’s Detail Settings, which can be configured through Web Portal. Note that Name and ID/Driving License No. are compulsory fields, while the others are customizable. | ||||||
|
|||||||
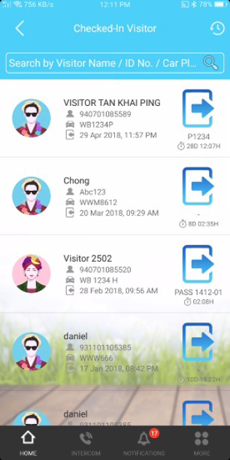
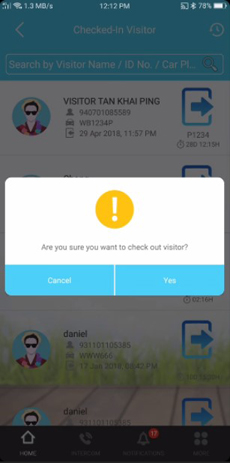
| 3. Checked-In Visitor Listing | |||||||
| ● | This listing page displays all the checked in-out visitors within the neighbourhood. | ||||||
| ● | Security guards are able to better monitor and search for the visitors, as the information such as Name, ID/Driving License No, Car Plate No. (if any), Checked-In Time, Visitor Pass (if any) and Checked-In Duration are clearly displayed. | ||||||
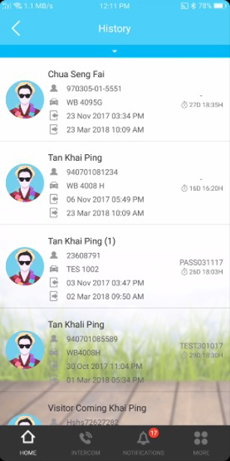
| ● | Besides, history listing on checked-out visitors can be obtained by clicking on the “History” icon located at the top right. The listing will record all of the checked-out visitor’s information, including check in-out activities. | ||||||
| ● | Note: Administrators will be able to view the listing. The only difference is that the Administrators are unable to perform the Check In-Out action. | ||||||
|
|||||||
|
|||||||
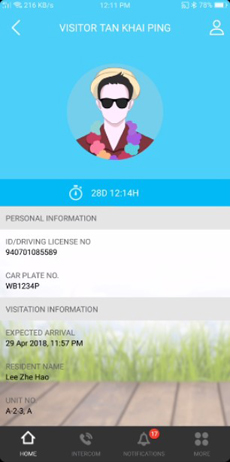
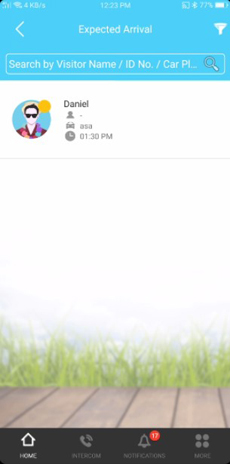
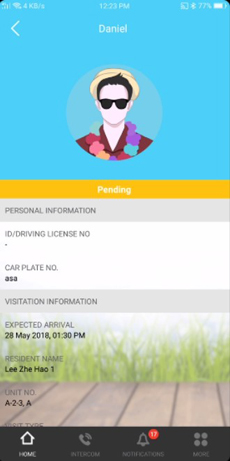
| 4. Expected Arrival Visitor Listing | |||||||
| ● | This listing page displays all of the expected arrival visitors for the current date. | ||||||
| ● | Security guards are able to be informed of the expected arrival visitors, and proceed with check-in without having to ask for the visitor’s personal details. However, this action is only valid for Approved Visitation. If the visitor is still pending for approval, security guards are not allowed to check-in the visitor due to security concern. | ||||||
| ● | Note: Administrators will be able to view the listing. The only difference is that Administrators are unable to perform the Check In-Out action. | ||||||
|
|||||||
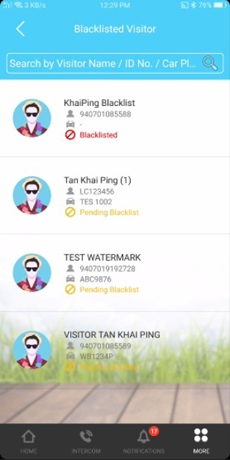
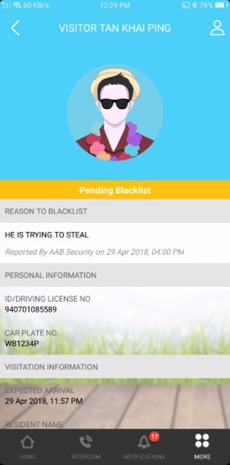
| 5. Blacklisted Visitor Listing | |||||||
| ● | All of the Blacklisted and Pending Blacklist visitors will be displayed in this module. Security guards are allowed to blacklist the visitor by clicking on the “Blacklist” button. However, this action requires the approval from the Management Team. | ||||||
| ● | While for the Administrators, they are allowed to Blacklist the visitors after verification, which will then block the blacklisted visitors from entering the neighbourhood. | ||||||
| ● | If the Administrators wishes to remove the visitor from the Blacklisted status, kindly click on the “Whitelist” button at the visitor’s detail page. | ||||||
|
|||||||
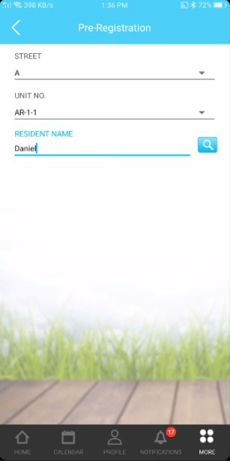
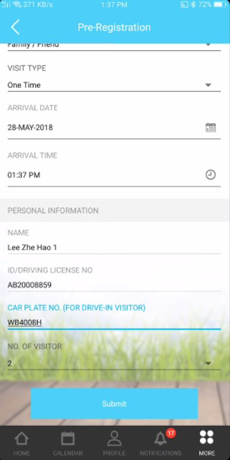
| 6. Pre-Registration Form | |||||||
| ● | Pre-Registration Form has been simplified to only include 3 steps. Just search for the Neighbourhood Name, Insert the Resident’s Detail followed by Visitation Information. | ||||||
| ● | To pre-register, kindly go to More > Pre-Registration. | ||||||
|
|||||||
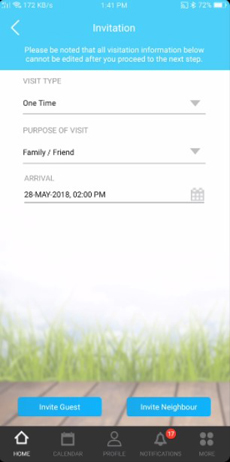
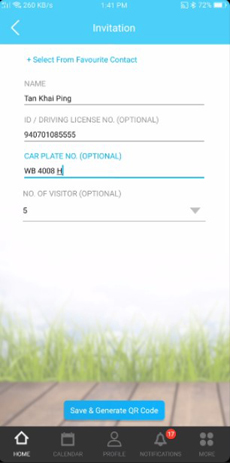
| 7. Visitor Invitation | |||||||
| ● | Invitation flow has been simplified to only require 2 steps, which are Visitation Information and Visitor Information. | ||||||
| ● | Else, residents can also invite the visitor through favourite contact. This helps to reduce the additional steps in filling up the visitor’s information. | ||||||
|
|||||||
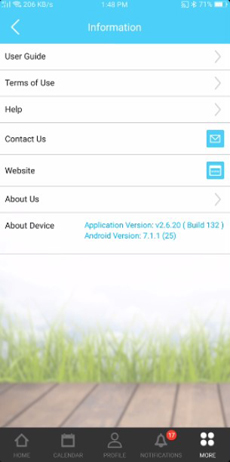
| 8. Settings: Contact Us & Website | |||||||
| ● | Contact Us has been added into Settings page which allows Administrators and Residents to contact the i-Neighbour Support Team via email if necessary. | ||||||
| ● | Besides, detailed information on i-Neighbour such as Company Info, Product List and etc can be obtained through i-Neighbour Website by clicking on the “Website” icon. | ||||||
 |
|||||||
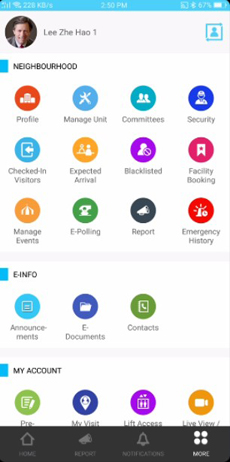
| 9. More Listing | |||||||
| ● | UI Design for More Listing page has been amended to provide a clearer view, whereby Administrators and Residents can now view the full list of modules without having to keep scrolling down. | ||||||
 |
|||||||
| 10. Smart Panel: OCR Module for Walk-In Visitor | |||||||
| ● | As for the current version, Optical Character Recognition (OCR) supports ID and Driving License, in addition to capturing and displaying the profile photo of the visitors as well. | ||||||
| ● | Other than the stated ID types, OCR is also able to support Passport. Visitors especially foreigners can now check-in using Passport as their ID. | ||||||
| ● | Note that the Administrators or Guards are advised to configure the OCR Settings first before proceeding with the OCR feature. Kindly proceed to More > Settings > OCR Settings for the configuration. | ||||||
 |
|||||||

| Previous Issue: April 2018 • March 2018 • February 2018 |
| Note: Some of the screenshots viewed here might be different from the ones in the current system due to our continous effort to improve TimeTec from time to time. |