 |
| Neighbourhood Type: Highrise and Landed |
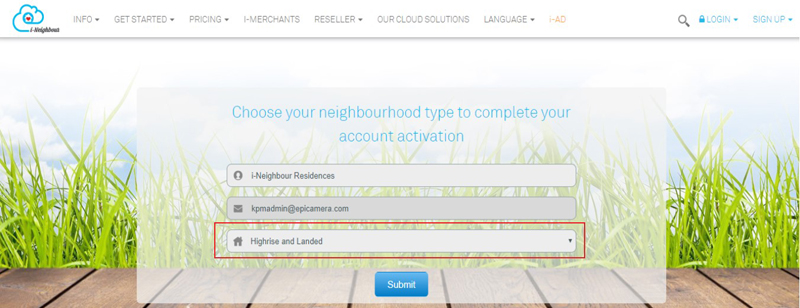
| Highrise and Landed has now been added as one of the Neighbourhood Type. As such, Administrators can select Highrise and Landed type during the Neighbourhood Sign Up process, if the neighbourhood consists of both Highrise and Landed Houses.
Sample screenshots are shown as below: 1. Neighbourhood Sign Up |
|||
 |
|||
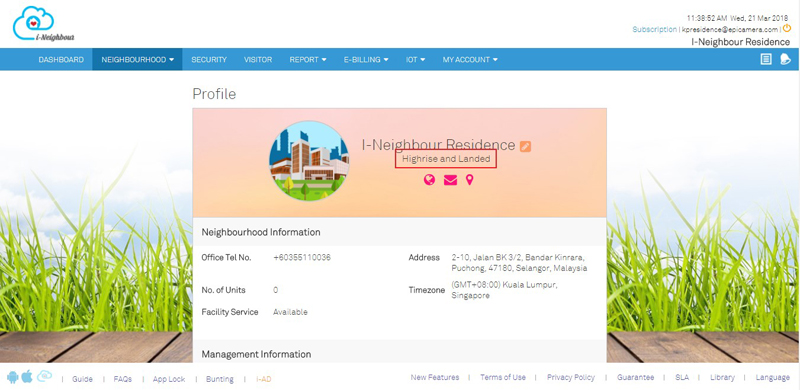
| 2. | Neighbourhood Type | ||
 |
|||
| 3. | Add Highrise or Landed Houses | ||
 |
|||
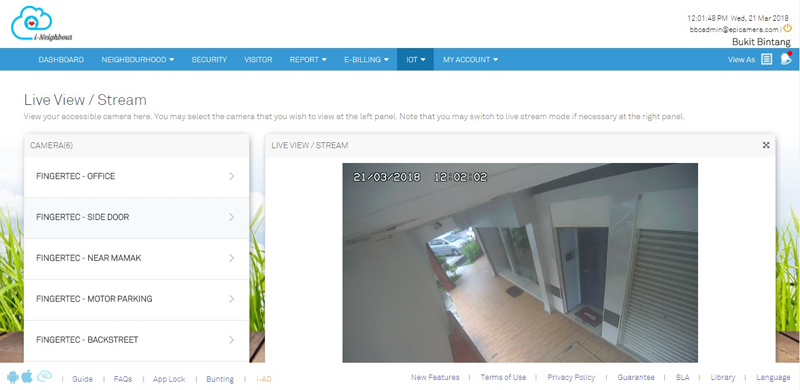
| EpiCamera: Live View/Stream UI Enhancement |
| User Interface (UI) has been enhanced whereby the white background surrounding the page is removed to provide users with a cleaner view of the CCTV Recording. | |||
 |
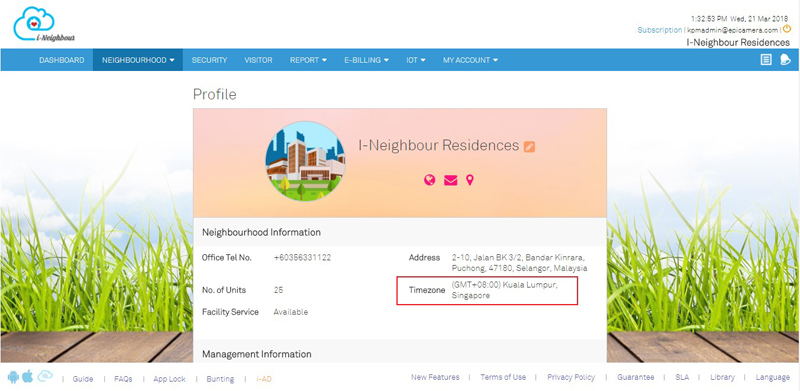
| Time Zone Settings |
| Time Zone Settings is available for the Administrators to configure the neighbourhood time according to the country. Once the time zone is configured, both Administrators and Residents are able to view the date and time through the Dashboard or Header.
To configure the time zone, please click on: Neighbourhood > Profile > Edit > Time Zone. 1. Neighbourhood Profile |
|||
 |
|||
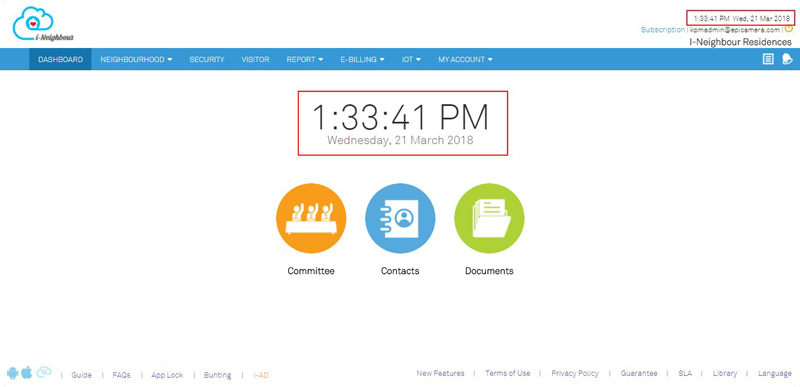
| 2. | Dashboard (Administrator’s View) | ||
 |
|||
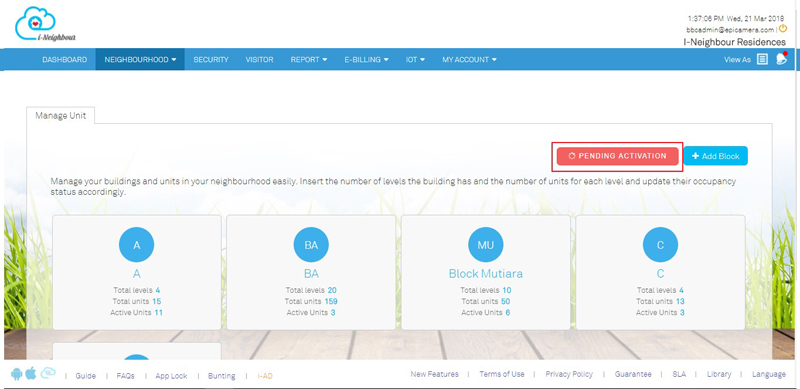
| Manage Unit: Pending Activation Unit |
| In Pending Activation Unit page, Administrators are allowed to view the listing of unit(s) which is still pending for activation. Note that Print and Export to Excel file feature is available for the Administrators to keep a copy of the listing.
Additionally, activation code can also be obtained through the listing, thereby allowing Administrators to provide the activation code to the resident if he/she has lost it, without having to resend the Login Credential mailer. On the other hand, if the Administrators wish to resend the Login Credential mailer, simply select the unit(s) displayed and click on “Send Login Credential”. Thus, the residents will receive a mailer for them to proceed with their account activation. Sample screenshots are shown as below: 1. Manage Unit Listing Page |
|||
 |
|||
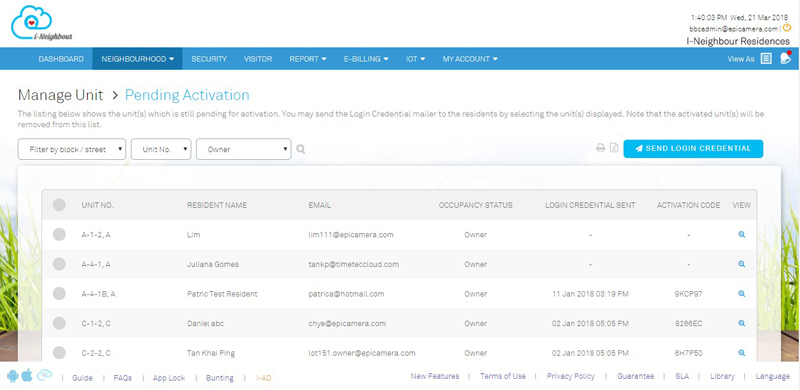
| 2. | Pending Activation Unit(s) | ||
 |
|||
| 3. | Resident Profile | ||
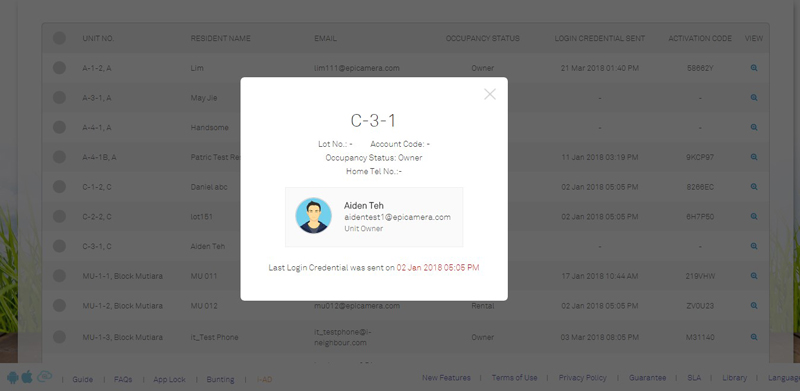 |
|||
| Manage Admin |
| User interface has been improved to be more user friendly. Manage Admin module now allows Administrators to resend the Pending Administrator’s activation mailer. Hence, Administrators will just need to click “Resend” and the Pending Administrator will receive another activation mailer. Note that the system has also been updated to only allow Master Administrator to access “Change Master Admin” feature.
For more details, please click on this module at the top menu bar: Neighbourhood > Manage Admin. 1. Administrators Listing Page |
|||
 |
|||
| 2. | Administrator’s Profile | ||
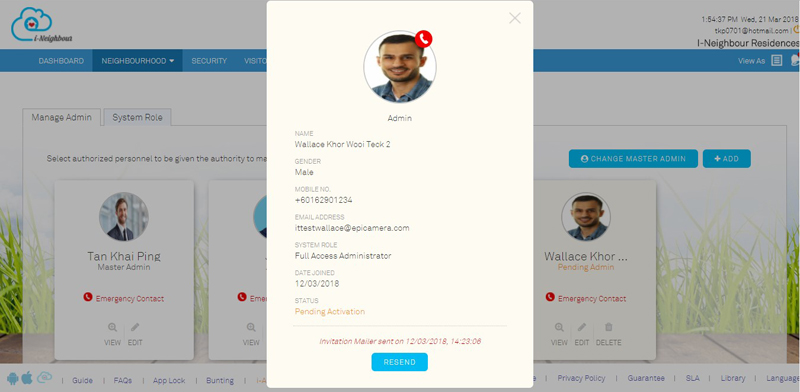 |
|||
| 3. | Change Master Admin | ||
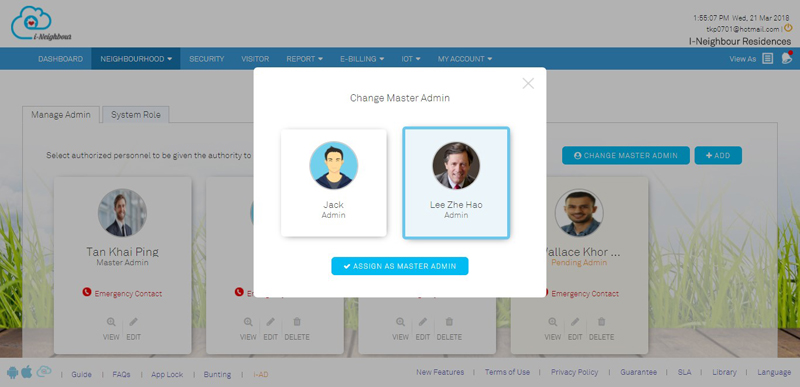 |
|||
| 4. | Add New Administrator | ||
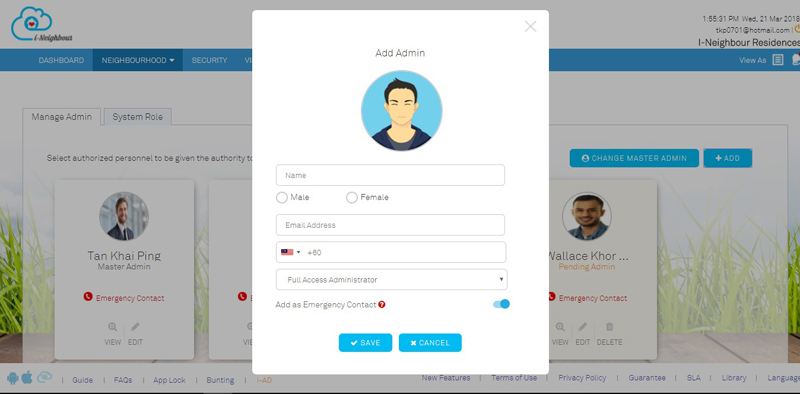 |
|||
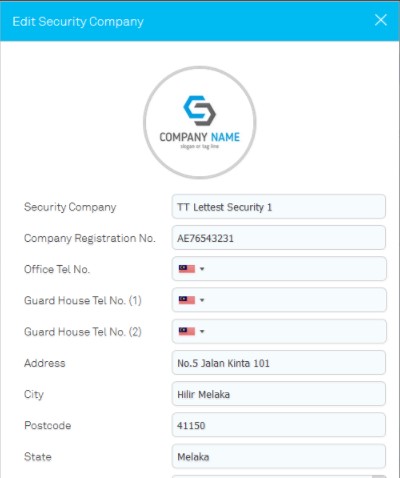
| Security Company |
| While adding Security Company, Administrators can now choose whether to insert Contact Number or not. The fields for “Office Tel No.” and “Guard House Tel No. 1 & 2” have also been set as optional field. | |||
 |
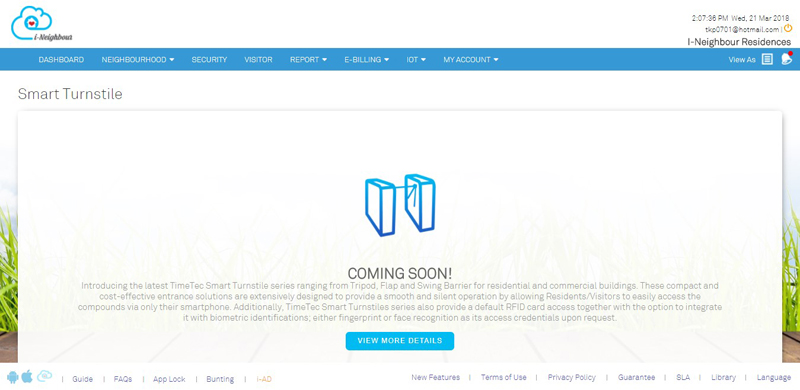
| Smart Turnstile (Coming Soon) |
| Introducing the latest TimeTec Smart Turnstile series ranging from Tripod, Flap and Swing Barrier for residential and commercial buildings. These compact and cost-effective entrance solutions are extensively designed to provide a smooth and silent operation by allowing Residents/Visitors to easily access the compounds via only their smartphone.
Additionally, TimeTec Smart Turnstiles series also provide a default RFID card access together with the option to integrate it with biometric identifications; either fingerprint or face recognition as its access credentials upon request. Stay tuned for this feature as the software development is still in progress. You may view more details on the overall concept of Smart Turnstile at here. |
|||
 |
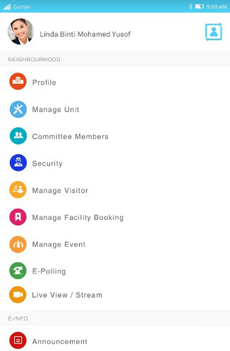
| i-Neighbour App Updates |
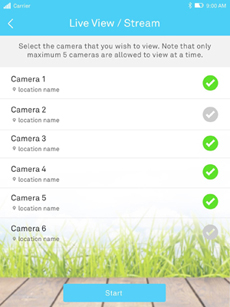
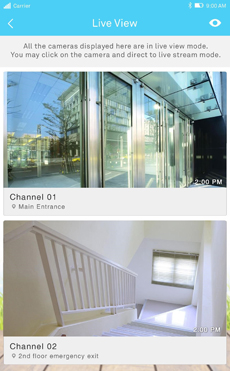
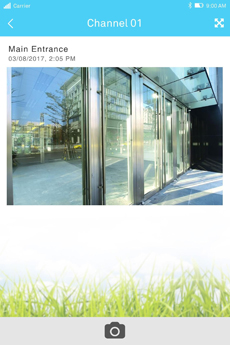
| 1. EpiCamera: Live View/Stream | |||||||
| ● | Through Web Portal, Administrators are now allowed to determine which users are authorized to view the camera. | ||||||
| ● | Once the user has been assigned with the camera access, he/she is allowed to view it via Mobile App. By default, the system will select the top 5 camera to be displayed at the Camera Listing page. The user is then allowed to re-select the cameras and view accordingly. | ||||||
| ● | Additionally, Screenshot feature is also available. Simply click on the “Camera” icon to save the footage. | ||||||
|
|||||||
|
|||||||
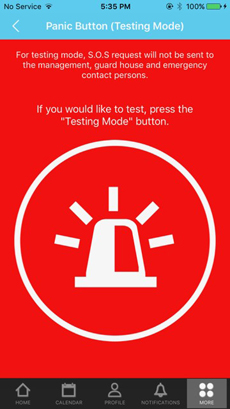
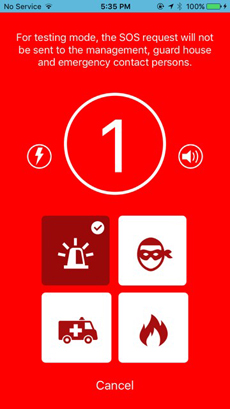
| 2. Panic Button Testing Mode | |||||||
| ● | Panic Button Testing Mode allows residents to try out the Panic Button feature without actually triggering an alarm in the neighbourhood. | ||||||
| ● | This module is entirely similar with the actual Panic Button feature so that residents can be familiarized with the feature at hand and know what can be done during an actual emergency. | ||||||
| ● | Note that pictures taken while using Testing Mode will not be uploaded into i-Neighbour server. | ||||||
|
|||||||
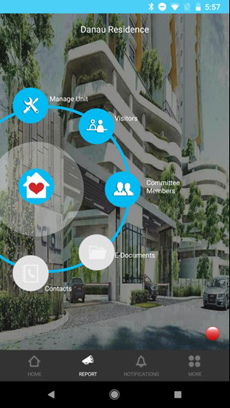
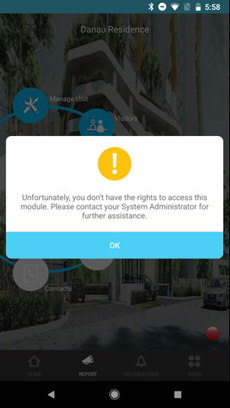
| 3. System Role | |||||||
| ● | Through Web Portal, Master Administrator is now allowed to create and customize the Restricted Access in order to limit the Administrators’ access within the System settings. | ||||||
| ● | Thus, for the affected Administrators, the module will be displayed in “Grey” which means that they are restricted from that particular module. | ||||||
|
|||||||
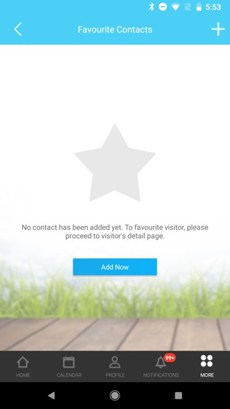
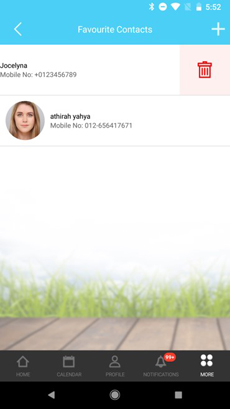
| 4. Favourite Contacts | |||||||
| ● | Favourite Contacts module has been enhanced with the inclusion of “Add New” action button. Residents can now click on “Add New” and will be directed to the Visitor Listing page and proceed to favourite selected visitor. | ||||||
| ● | Besides, residents can also remove the favourite visitor by sliding left and clicking on the “Remove” icon to remove the visitor from the listing. | ||||||
|
|||||||
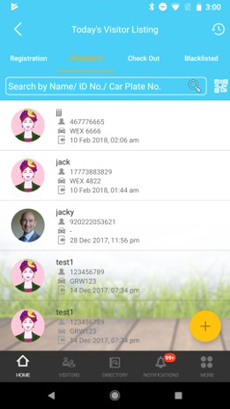
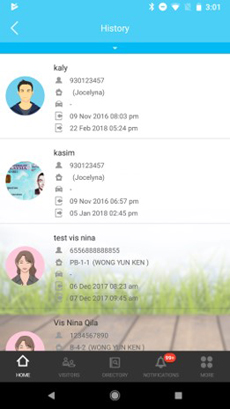
| 5. Visitor Checked In-Out History | |||||||
| ● | A full listing of Visitor Checked In-Out History is now available for both Administrators and Security Guards. | ||||||
| ● | Through the listing, Administrators and Security Guards are able to keep track on the visitation records. | ||||||
| ● | Besides, information such as Visitor Name, ID No., Car Plate No. and Checked In-Out Date & Time will be displayed to ease the Administrators and Security Guards in searching for visitor’s details easily. | ||||||
|
|||||||
| Previous Issue: February 2018 • January 2018 • December 2017 |
| Note: Some of the screenshots viewed here might be different from the ones in the current system due to our continous effort to improve TimeTec from time to time. |