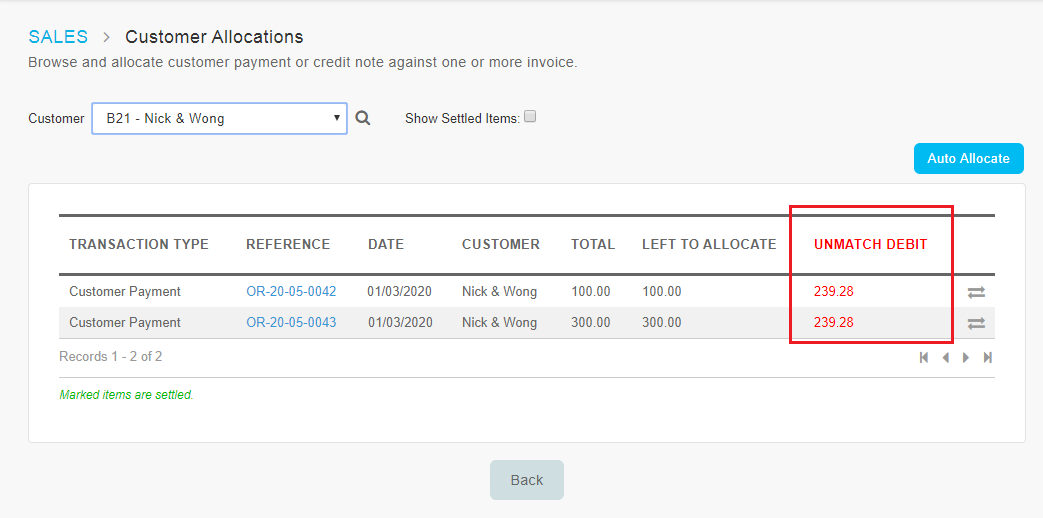
1. Display Unmatched Debit Balance (Unallocated Invoices and Journals)
At the Allocate Customer Payments or Credit Notes page, you can allocate Customer Payment and Credit Note transactions against invoices. However, this allocation can be done only when there are current unallocated invoices. Hence, to inform users of the unallocated invoice balance, we have added a new column for "Unmatch Debit".
For each Owner/Account Code, the balance displayed under Unmatch Debit represents the sum of the amount left to allocate for all their debit journal entries and invoices. |
| a. Allocate Customer Payments or Credit Notes – Added Unmatch Debit Column |
 |
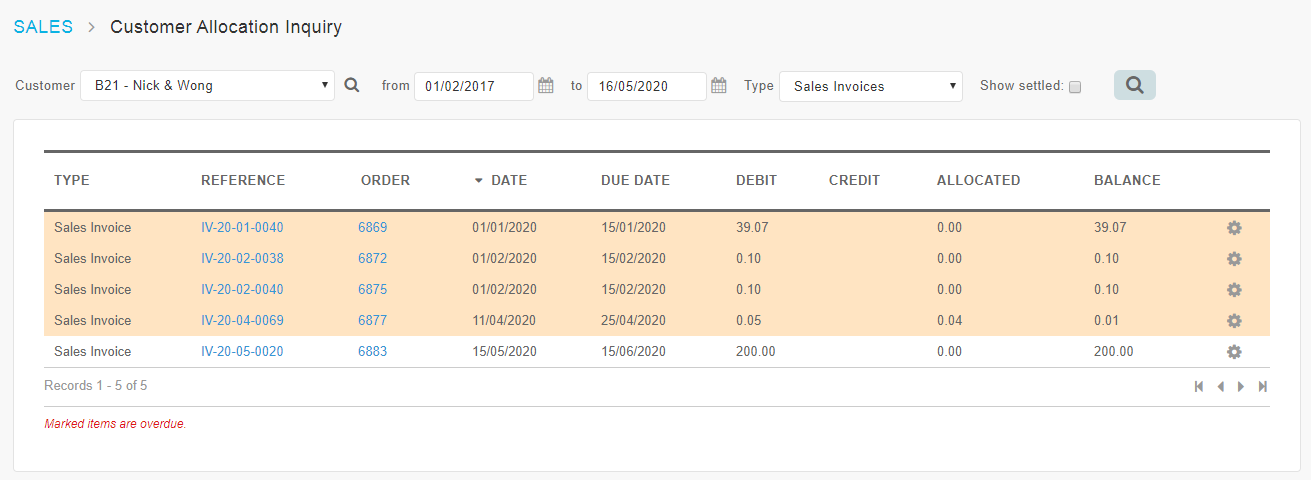
| b. List of Unallocated Invoices |
 |
2. New Feature: Auto Allocate Payment to Invoices
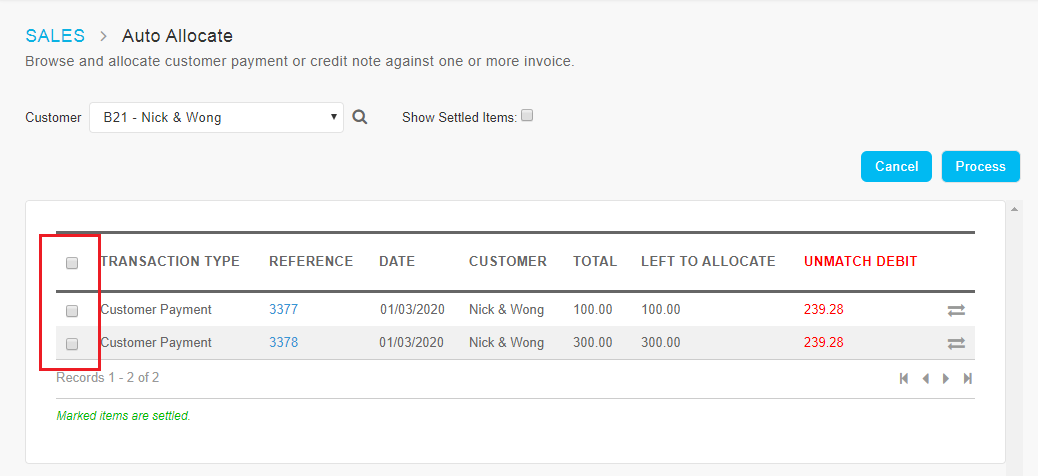
Next, on the same Allocate Customer Payments or Credit Notes page, we have added a new Auto Allocate function. This function can be used to allocate all unallocated payments and credit notes against all outstanding invoices at once (to the extent possible). More details are as follows: |
| i. |
Go to Allocate Customer Payments or Credit Notes page, click “Auto Allocate” button. |
| ii. |
On the Auto Allocate page, there will be a checkbox next to every Customer Payment or Credit Note. |
| |
- The checkbox is used to select which entries to allocate
- Tick the checkbox at the top to select all
- Untick to exclude from allocation
- System will auto allocate the selected payment or credit note transactions against the Unmatch Debit amount based on a first come first served basis
|
| iii. |
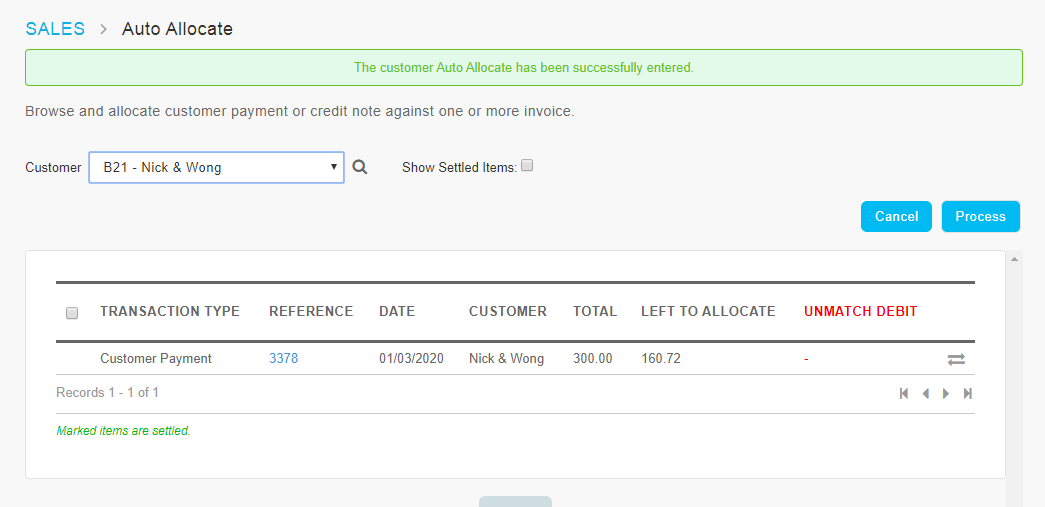
Once you have done selection, click on the “Process” button. |
|
| a. Allocate Customer Payments or Credit Notes – Added “Auto Allocate” Button |
|
| b. Auto Allocate – Select the Payment to Allocate |
 |
 |
| c. Auto Allocate – Success Message |
 |
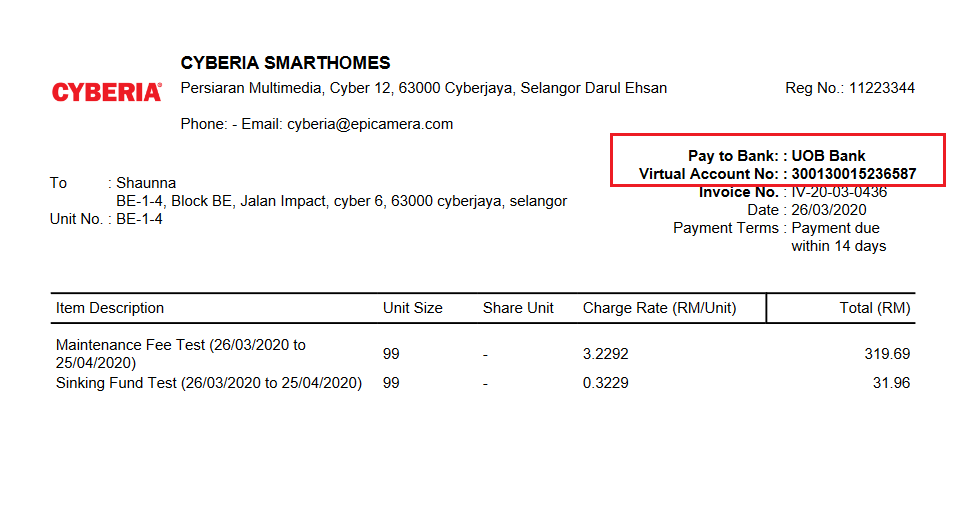
3. New Setting- Display Virtual Account Number on Invoice
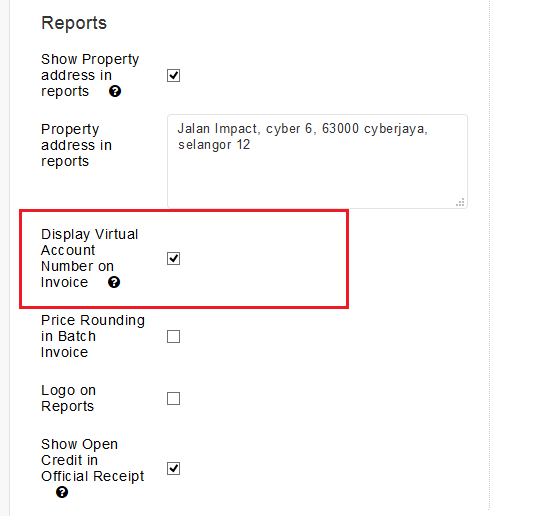
At the General Setup page, we have added an option to display the unique Virtual Account Number that has been assigned to each owner on their invoices. This is to cater for customers that are using a service known as Virtual Bank Account Number provided by their bank. When owners are making payment to the JMB/MC’s bank account, they can pay to the Virtual Account Number and this number will be reflected in the bank statement so that the payer can be identified easily.
To display the Virtual Account Number on invoices, Admin can enable the option at Setup > Setup > General Setup. |
| a. Setup > Setup > General Setup |
 |
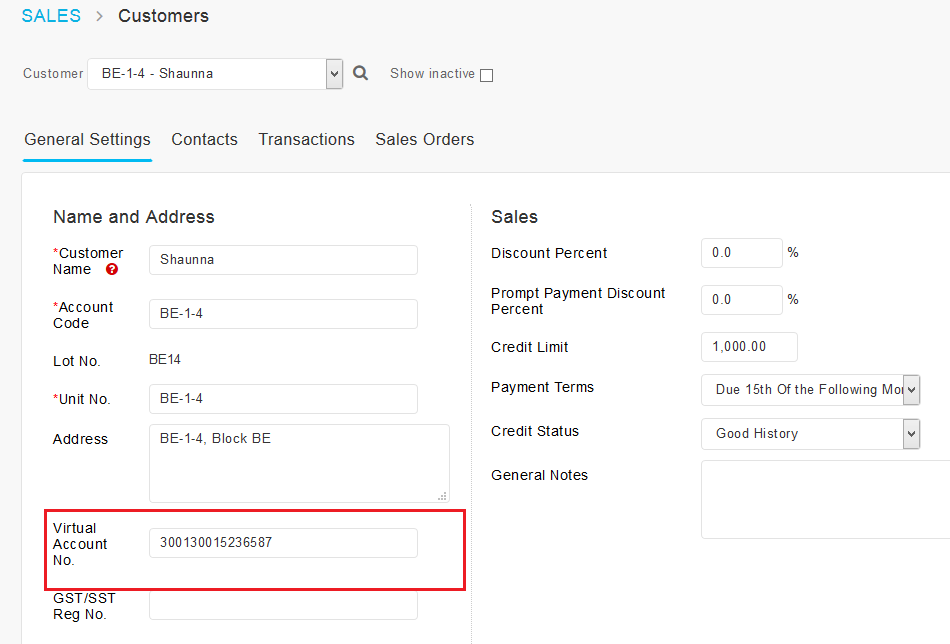
| b. Customers –Virtual Account No. Field |
 |
| c. Sample Invoice with Virtual Account Number Displayed |
 |
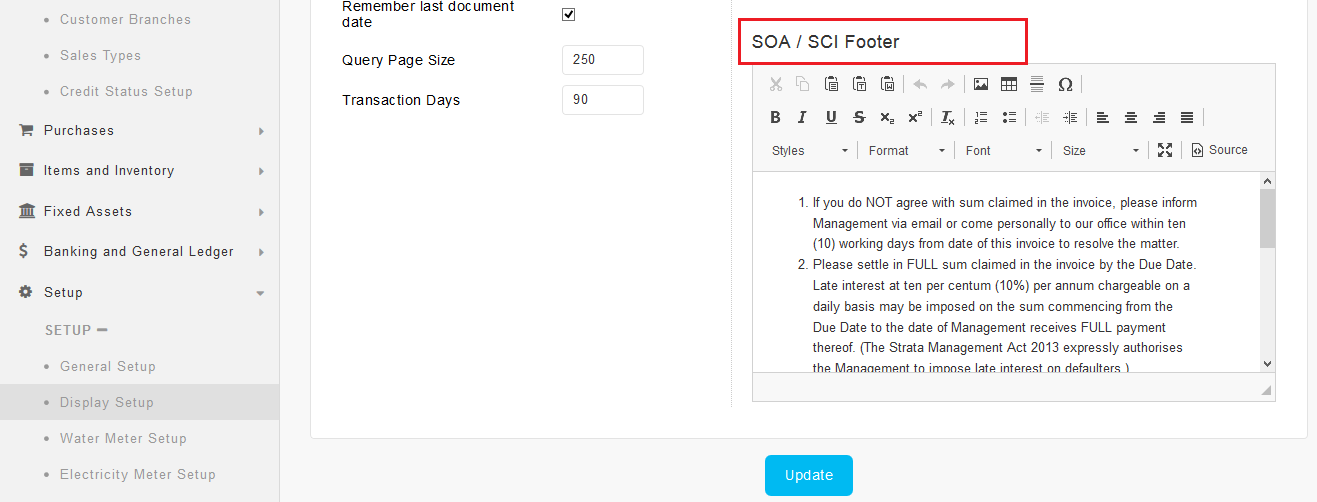
4. New Setting - Customised Footer for Statement of Account and Statement Cum Invoice
For the Statement of Account and Statement Cum Invoice, we've added a new setting at Display Setup (Setup > Setup > Display Setup) for users to customise the statement footer. There is now a text editor where users can enter and edit the text displayed on the statements. |
 |