 |
| i-Neighbour Features: User Guide Updates |
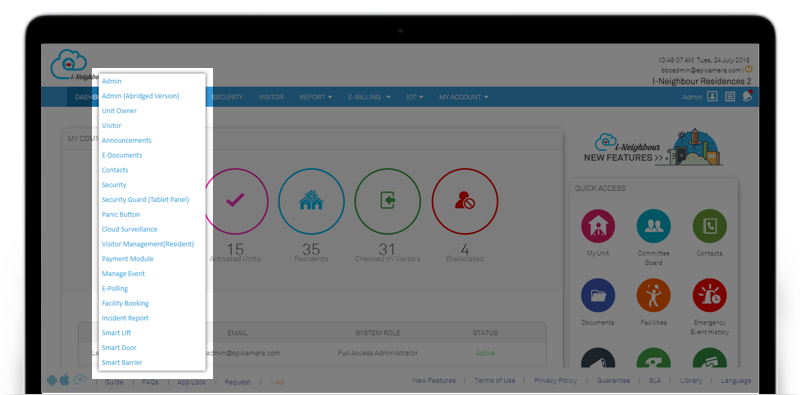
| For both Administrator’s and Resident’s role, the user guides for the latest modules have been updated and are now available. This is to assist both the Administrators and Residents in better understanding how the overall process works. Besides, Administrators and Residents can also access the user guides by clicking on the “Tips” icon located at the top right of each module. List of updated modules are E-Documents, Contacts, E-Billing and Visitor Management (Resident). 1. Administrator’s View |
 |
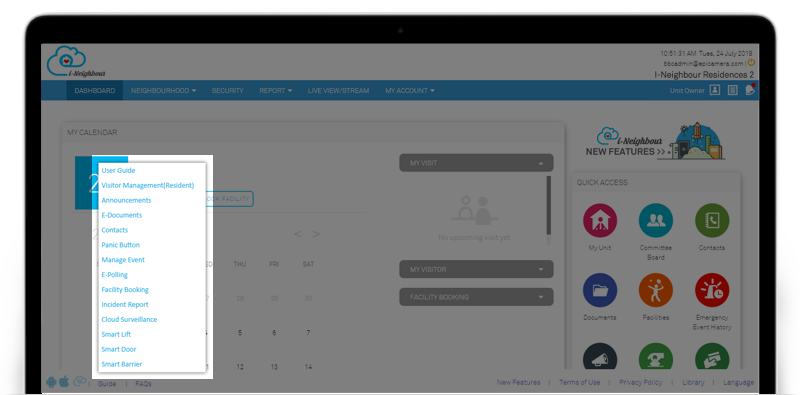
| 2. Resident’s View |
 |
| Smart Barrier: Barrier Gate Settings |
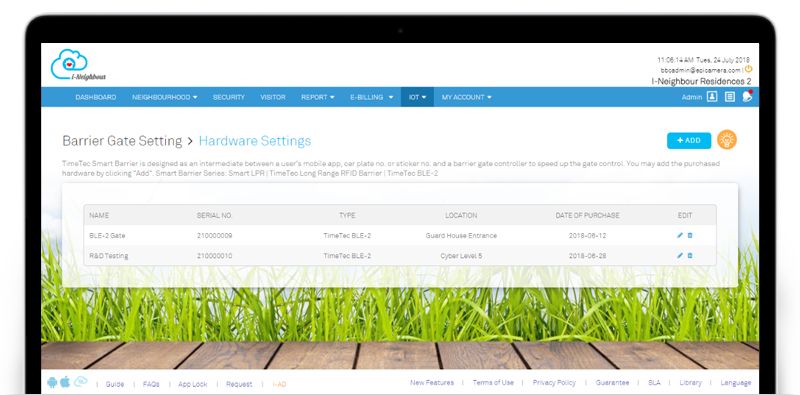
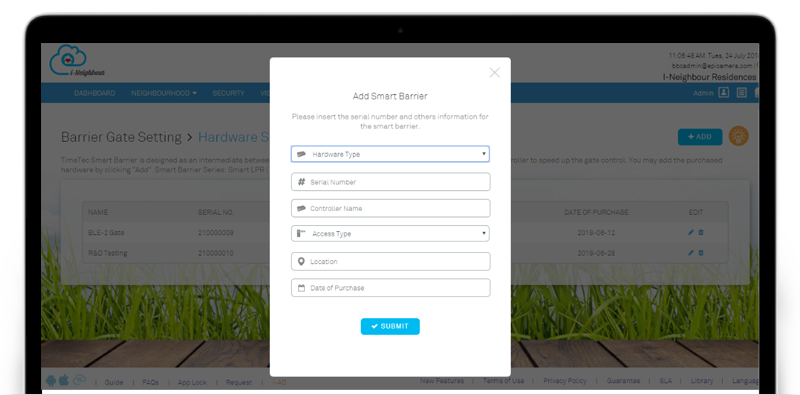
| TimeTec Smart Barrier is designed as an intermediate between a user’s Mobile App, Car Plate No. or Sticker No. and a barrier gate controller to speed up the gate control. In the Barrier Gate Settings > Add Smart Barrier, the hardware drop down listing has been updated according to the available Smart Barriers as mentioned below. 1. TimeTec BLE-2 2. Smart LPR 3. TimeTec Long Range RFID Barrier + TimeTec Bio Security For more information on the Smart Barriers, please click here. |
| 1. Smart Barrier Listing |
 |
| 2. Add Smart Barrier |
 |
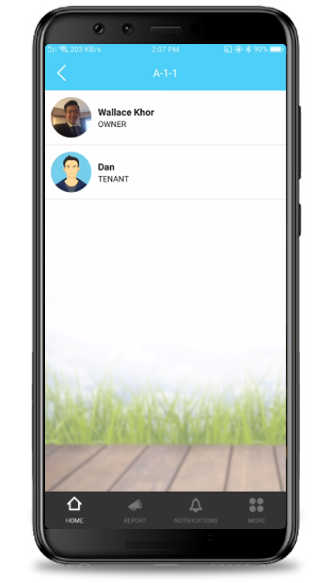
| E-Info: Announcements |
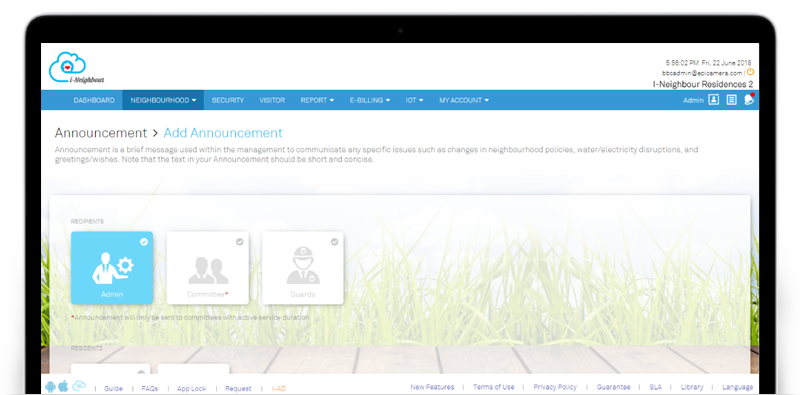
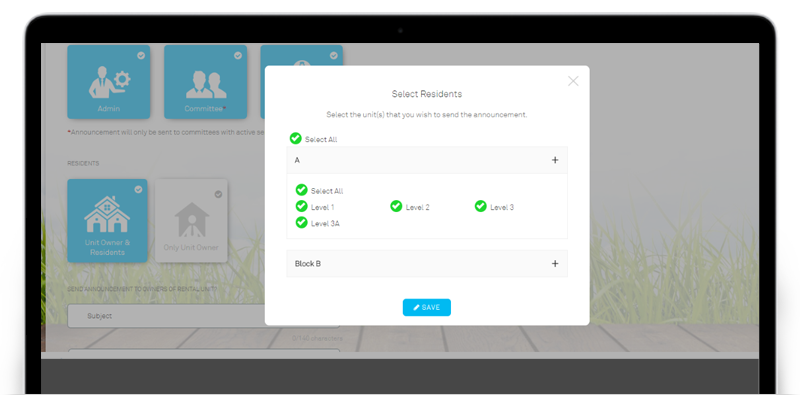
| As indicated last month, Announcement module has been enhanced to allow the Administrator to schedule the posting date, select the Types of Recipient as well as insert a web link rather than just attaching documents. To simplify the steps when creating Announcement, “Unit Owner & Residents” will be selected by default under the field Type of Recipient. This is done to reduce the steps required for Administrators to check the unit. Sample screenshots are shown as below: |
| 1. Add Announcement |
 |
| 2. Select Residents |
 |
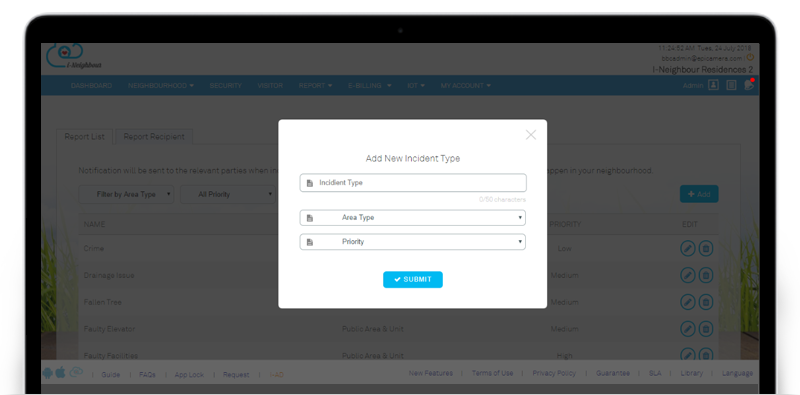
| Incident Report: Incident Type Updates |
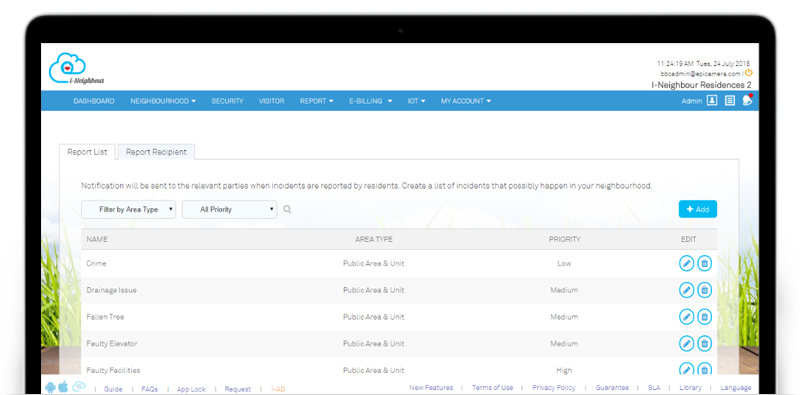
| Residents are able to lodge Incident Report that occurs within the neighbourhood which in turn alerts the Management Team. In the latest update, Administrator can now define the Area Type, such as Public Area or My Unit for each Incident Type. Therefore, residents can only select the Incident Type based on the selected location. This is to prevent the residents from accidentally choosing Public Area’s Incident Type, where supposedly the incident occurs within his/her unit. To configure the Area Type, please click on: Report > Incident Report > Settings. |
| 1. Incident Type Listing |
 |
| 2. Add New Incident Type |
 |
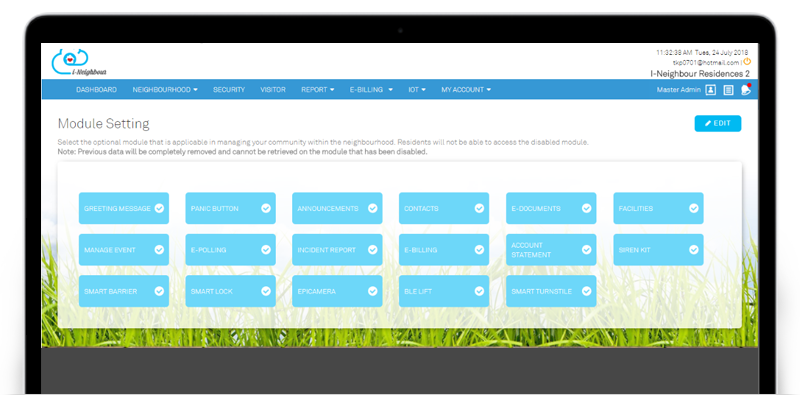
| Module Settings |
| Administrators can now select the optional module that is applicable for managing the community within the neighbourhood via Module Settings. For any unnecessary module, the Administrators can likewise disable it and all the Residents will not be able to access the disabled module. Note that the previous data will be completely removed and cannot be retrieved on the module that has been disabled. Please note to save a copy of the records, if necessary. Sample screenshots are shown as below: |
| 1. Module Settings |
 |
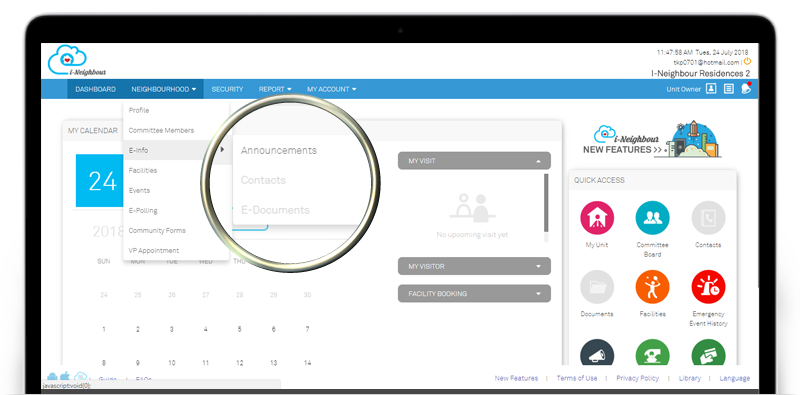
| 2. Resident View (Disabled Module) |
 |
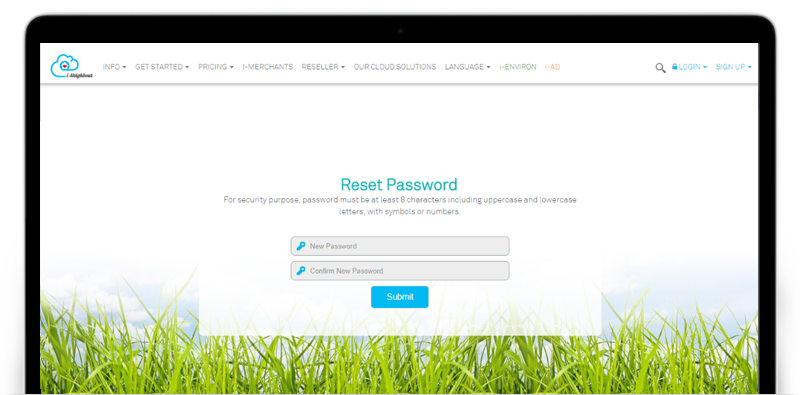
| Reset Password |
| Info message has been added in the Reset Password page to alert both Administrators and Residents to insert the new password according to the requirement. Note that for security purpose, password must be at least 8 characters including uppercase and lowercase letters, with symbols or numbers. |
 |
| Committee Members |
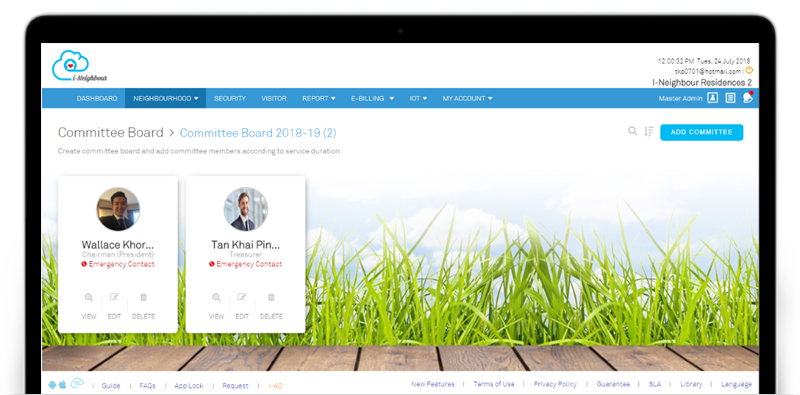
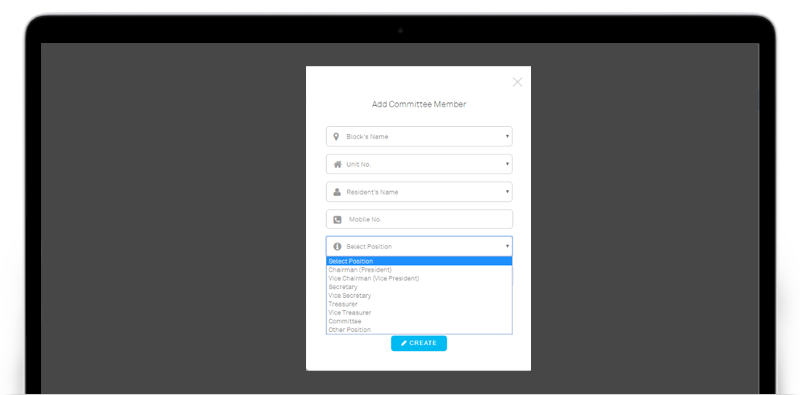
| In the current version, Administrators are allowed to add the appointed Committee Members under a Committee Board. Residents are then able to get in touch with the Committee Members (if profile is shared to public) during emergencies. In the add Committee Member pop-up, the drop down selection for Position has been sorted based on the Position Level: High to Low, such as President, Vice President, Secretary, Vice Secretary, Treasurer, Vice Treasurer, Committee and Others. To add Committee Members, please click on: Neighbourhood > Committee Members > Add. |
| 1. Committee Member Listing |
 |
| 2. Add Committee Member |
 |
| E-Billing: Approval Rules |
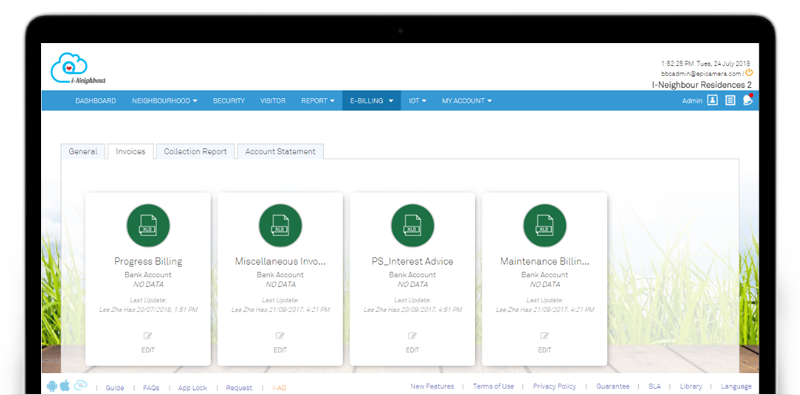
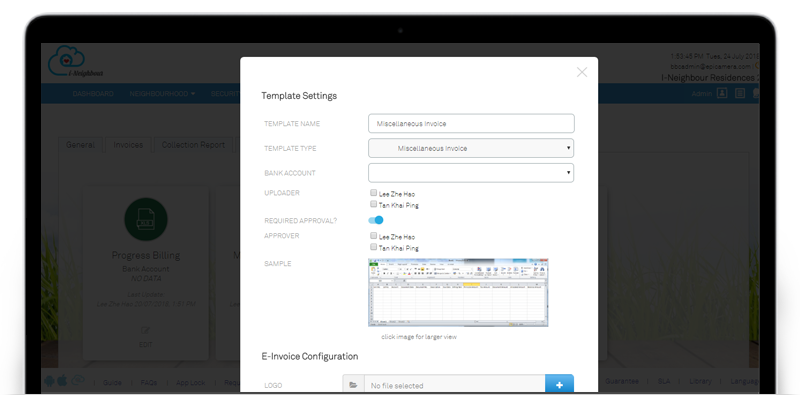
| Administrators are now allowed to upload Invoices, Collection Reports and Account Statements to specific units through the E-Billing module. This allows residents to view the uploaded Invoices as well as proceed with the online payment through i-Neighbour. On the other hand, Approvers must approve or decline the uploaded Invoices, Collection Reports and Account Statements by the Uploader before proceeding. Since this might cause trouble for certain neighbourhoods Administrators are now allowed to disable the Approval Rule settings. To enable or disable the approval rules, please click on: E-Billing > Settings. |
| 1. Invoice Settings |
 |
| 2. Template Settings |
 |
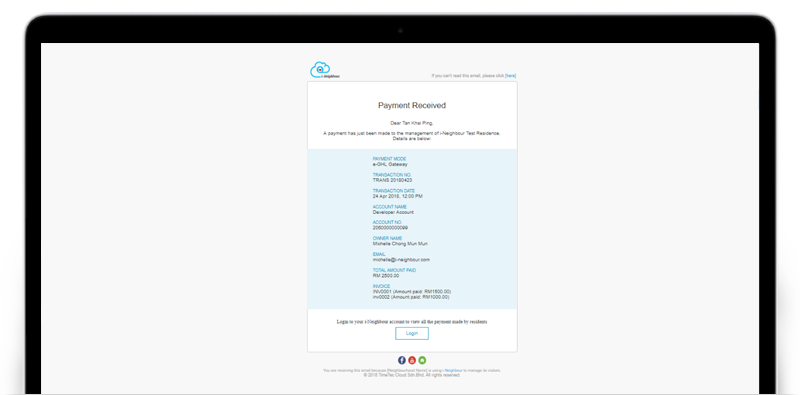
| E-Billing: Payment Received Mailer |
| Once the payment has been successfully made by the residents, a Payment Received mailer will then be sent to the Administrators of the neighbourhood. This allows them to be notified and easily keep track of the collected payment. In the latest updates, additional information such as Lot No. and Unit No. have been included in the mailer. |
 |
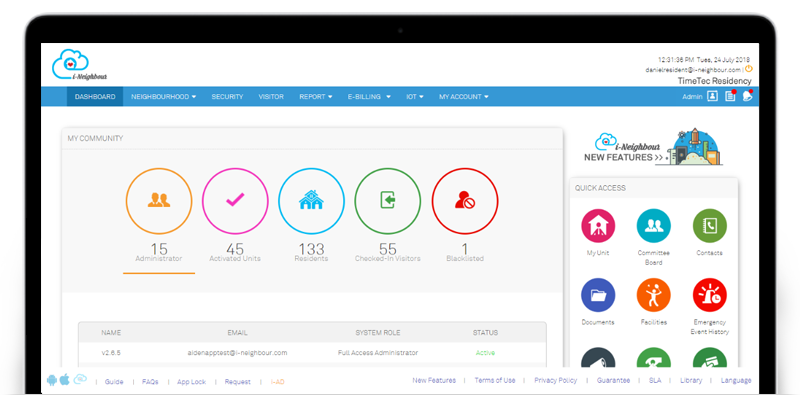
| Administrator Dashboard |
| Dashboard view is now available for Administrators to view the summarized neighbourhood information without having to access into the details page. The information that will be displayed in the Dashboard are Administrator, Activated Units, Residents, Checked-In Visitors and Blacklisted Visitors. A listing table will be displayed for Administrator to view the latest information, where the others can be accessed by clicking on “View Details”. |
 |
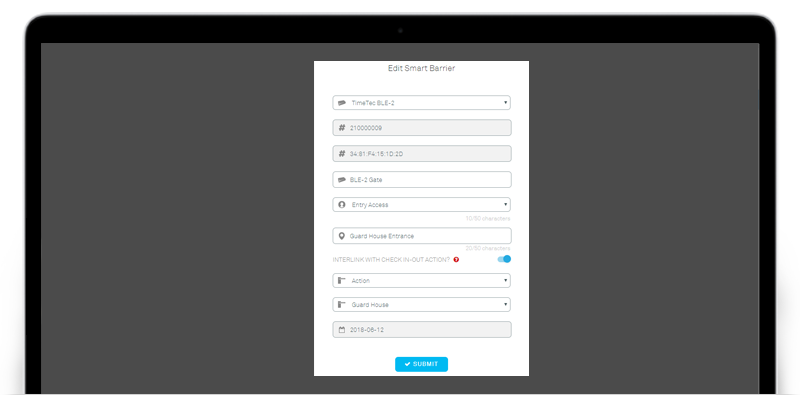
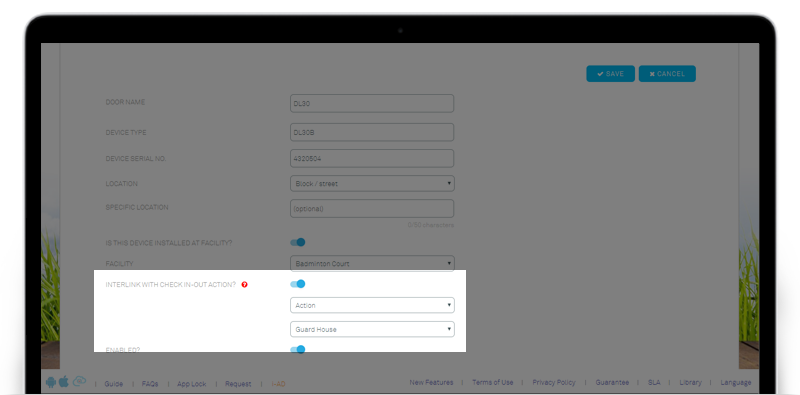
| Smart Devices Interlink with Visitor’s Check In-Out |
| For neighbourhoods using Smart Devices such as Smart Barrier (TimeTec BLE-2), Smart Door (BLE-2) or Smart Lock/Reader, Administrators can now interlink the visitor’s check in-out action with the installed Smart Devices. During visitor check in-out process, the installed Smart Devices will be triggered automatically once the action button Check In-Out is pressed by the Security Guards. This is done to reduce the steps needed to trigger the Smart Devices and simultaneously speeds up the check in-out process. Sample screenshots are shown as below: |
| 1. Add/Edit Smart Barrier |
 |
| 2. Add/Edit Smart Lock/Reader |
 |
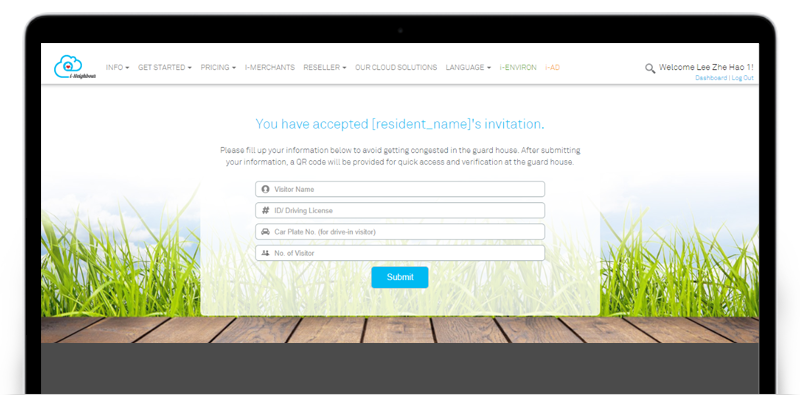
| (Visitors) Invitation Response Form |
| Invitation Response Form will be shared with the invited visitors. Visitors will then have to fill in their ID / Driving License No. and Car Plate No. (for drive-in visitor) before proceeding to obtain the QR code, which will be verified at the guardhouse during check-in. Note that the field ID / Driving License No. or Car Plate No. is compulsory and the visitors are required to fill in their details. |
 |
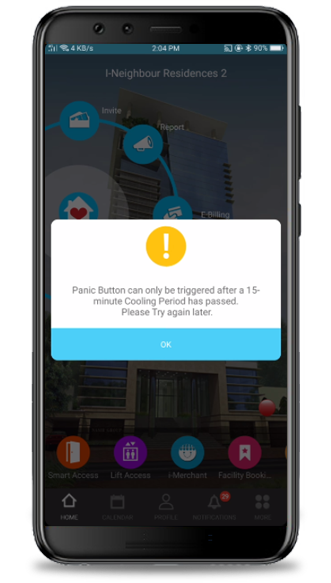
| i-Neighbour App Updates |
| Panic Button Once triggered the Panic Button, the respective resident is not allowed to trigger it again within the next 15 minutes. This is to avoid the misuse of the Panic Button, which might in turn cause trouble for the Administrators and Security Guards to detect which event requires immediate response. |
 |
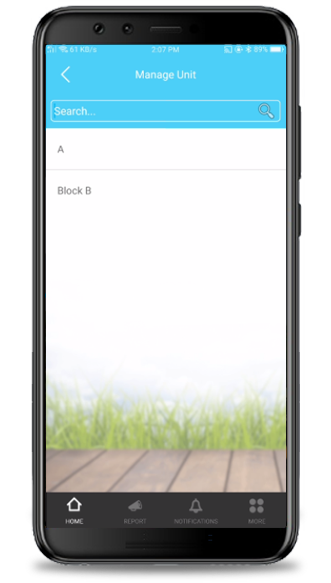
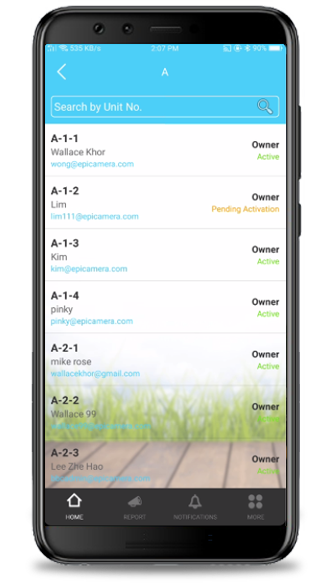
| Manage Unit Administrators are allowed to view the details of the units as well as the residents within the unit via Manage Unit module. The user interface has been enhanced and will be displayed in list view for Administrators to have a clearer view. |
  |
  |
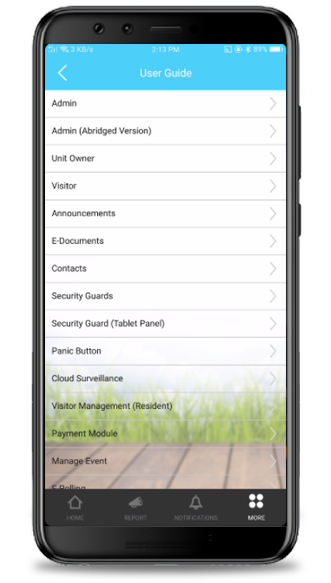
| User Guides For both Administrator’s and Resident’s role, the user guides for the latest modules have been updated and are now available. This is to assist both the Administrators and Residents in better understanding how the overall process works. To view the user guides, please click on: More > Settings/Information > User Guide. |
 |
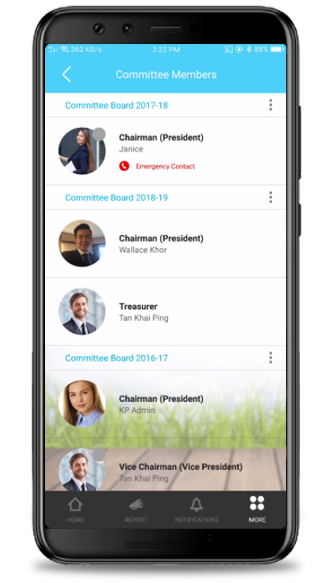
| Committee Members Similar with Web Portal, the sorting in Committee Member listing will be based on the Position Level: High to Low. List of Position Level is mentioned as such: President, Vice President, Secretary, Vice Secretary, Treasurer, Vice Treasurer, Committee and Others. |
 |
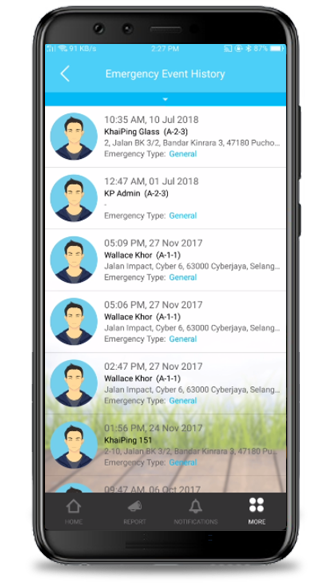
| Emergency Event History: Triggered by Guardhouse Once the Residents triggered the Panic Button, all the Administrators and Committee Members (assigned as Emergency Contact Person) will receive a panic alarm alert and simultaneously, the event will be recorded and displayed in the Emergency Event History listing page. Security Guards are now allowed to trigger the Panic Button via Siren Kit. Emergency Contact Person will also receive the panic alarm alert and be notified about the event. |
 |
| Previous Issue: June 2018 • May 2018 • April 2018 |
| Note: If some of the screenshots or steps viewed here are different from the ones in the current system, this is due to our continuous effort to improve our system from time to time. Please notify us at info@i-neighbour.com, we will update it as soon as possible. |