 |
| i-Neighbour Features: User Guide Updates |
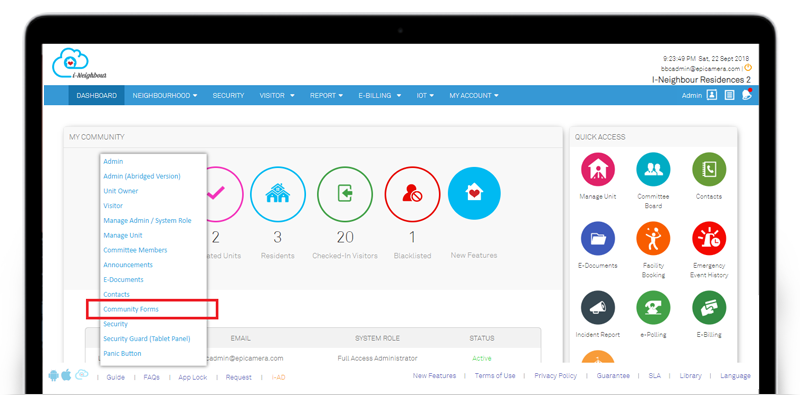
| For both Administrator’s and Resident’s role, the user guides for the latest module, Community Forms has been updated and is now available. This is to assist both the Administrators and Residents in better understanding how the overall process of the stated module works. Besides, Administrators and Residents can also access the user guides by clicking on the “Tips” icon located at the top right of module. |
| 1. Administrator’s View |
 |
| 2. Resident’s View |
 |
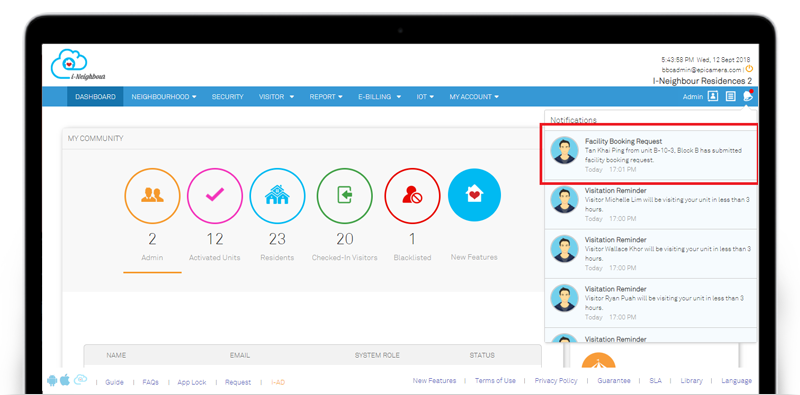
| Facility Booking Request |
| Administrators will now receive an alert notification on “Facility Booking Request”. This helps to alert the Administrators regarding the request and proceed with the approval process. From the notification center, Administrators are allowed to clicked on the notification and will be directed to Facility Booking listing page. |
 |
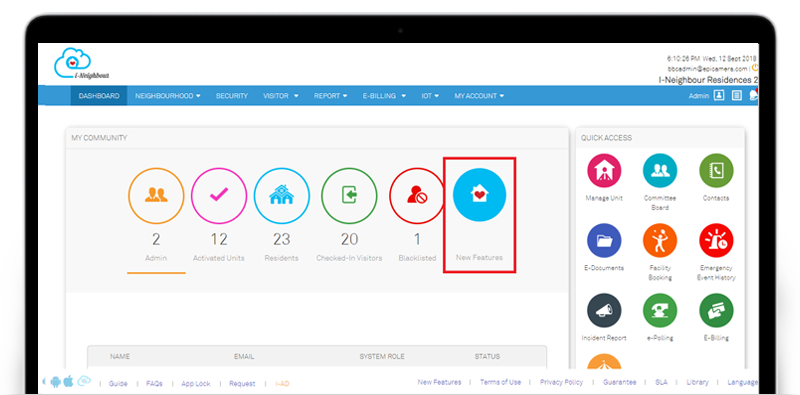
| Dashboard View |
| For both Administrator’s and Resident’s Dashboard, the placement on “i-Neighbour New Features” has been relocated. This is to ensure that the UI design on the dashboard view is more user-friendly. i-Neighbour New Features will be updated monthly and made available for both Administrators and Residents to be informed of the new updates in i-Neighbour Web Portal and Mobile App. Click on the logo to be directed to the new features web link. Sample screenshots are shown as below: |
| 1. Administrator’s Dashboard |
 |
| 2. Resident’s Dashboard |
 |
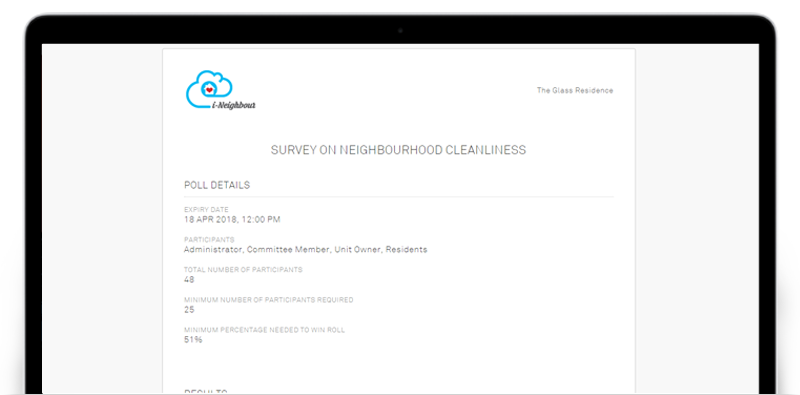
| E-Polling: Print Feature |
| Through E-Polling module, Administrators are allowed to conduct simple survey and collect votes and opinions from the Administrators, Committee Members as well as Residents without having to call up for an actual meeting. As of now, the print function is now available for Administrators to print the E-Polling details, including voting results. To print the E-Polling details, kindly proceed to Neighbourhood > E-Polling > Details > Print. |
 |
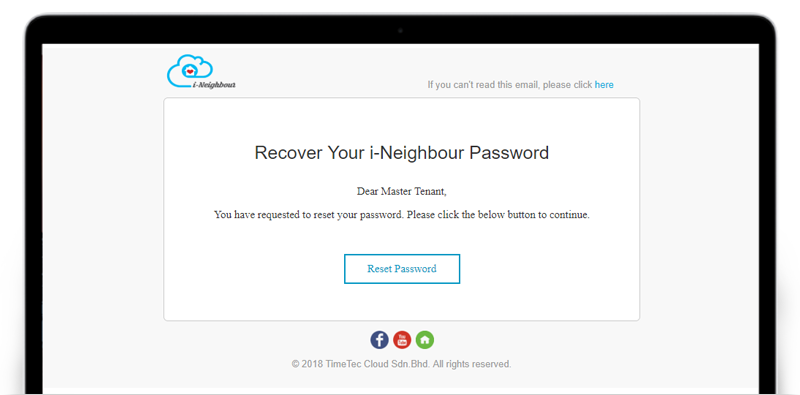
| Reset Password Mailer |
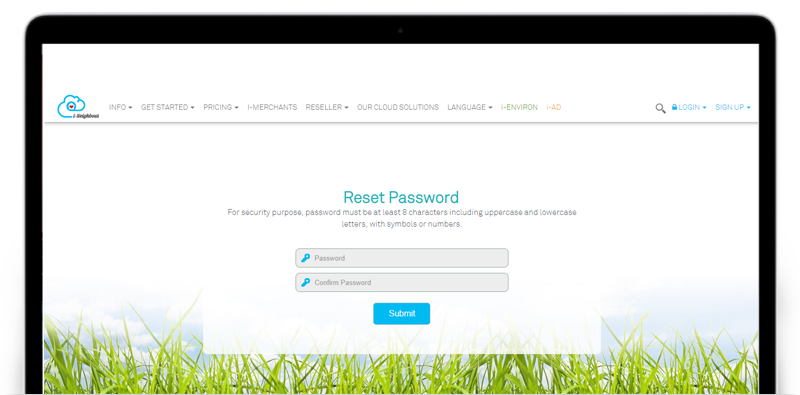
| User interface for Reset Password mailer has been enhanced accordingly to the latest version. Users are allowed to click on the “Reset Password” to proceed with resetting their password. Note that for security purposes, the password must be at least 8 characters including uppercase and lowercase letters, with symbols or numbers. |
| 1. Reset Password mailer |
 |
| 2. Reset Password |
 |
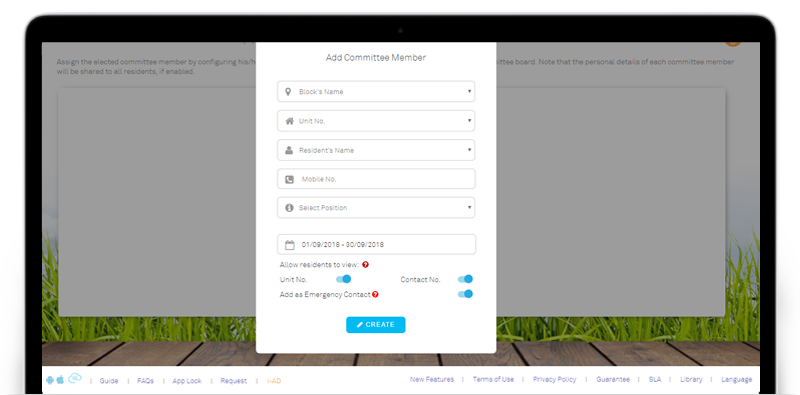
| Committee Members |
| Administrators can now determine whether to display the personal details, such as Unit No. and Contact No. of the elected committees to the residents. This helps in securing the committee’s privacy if he/she don’t wish to expose his/her personal details. Once disabled, Residents will not be able to view the Unit No. and Contact No. of the specific committees. However, the Administrators on the other hand, will still able to view the details. To configure the setting, kindly proceed to Neighbourhood > Committee Members > Committee Board > View > Edit. |
 |
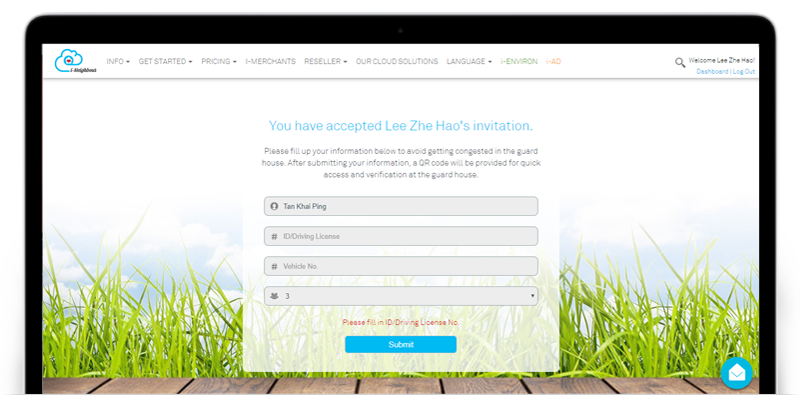
| (Visitors) Invitation Response Form |
| Invitation Response Form will be shared with the invited visitors. Visitors will then have to fill in their ID / Driving License No. and Car Plate No. (for drive-in visitor) before proceeding to obtain the QR code, which will be verified at the guardhouse during check-in. To increase security during visitor check-in, the field on ID / Driving License No. is now made compulsory to be filled before obtaining the QR code. |
 |
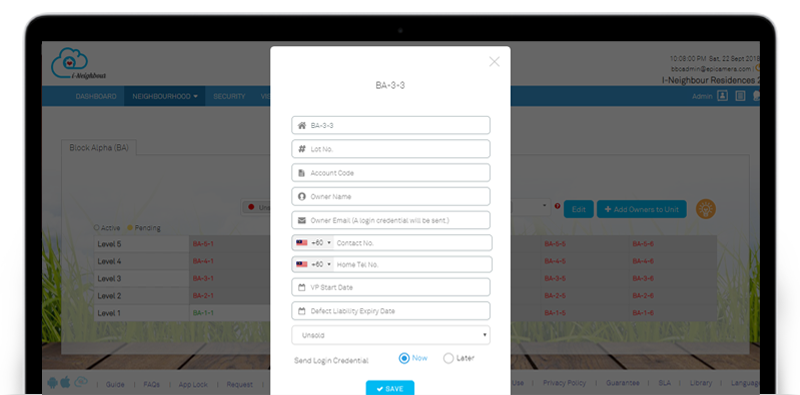
| Vacant Possession (VP) Dates |
| Through Manage Unit module, Administrators can now define the Vacant Possession (VP) Dates of the unit. This helps in monitoring the unit’s VP start date and defect liability period. While adding unit owners, Administrators are allowed to enter the VP Start Date, followed by the Defect Liability Expired Date.
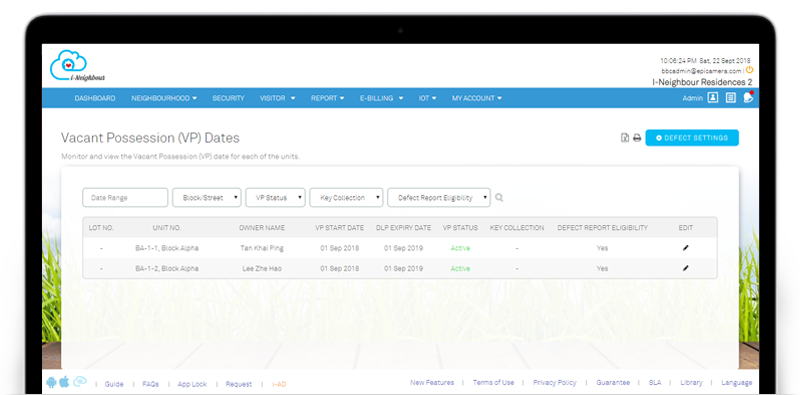
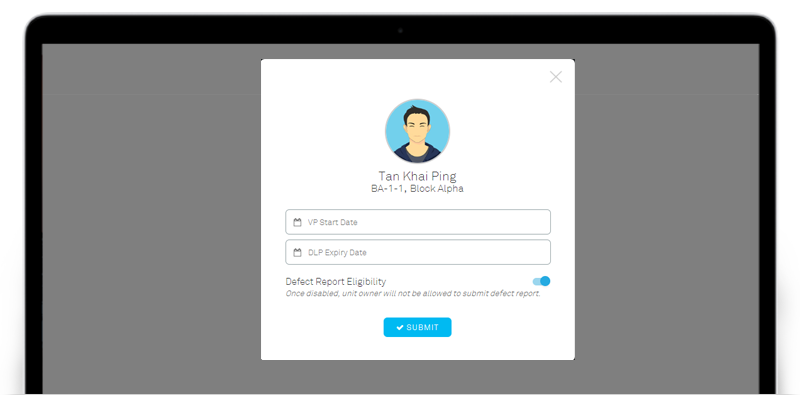
In VP Dates listing view, the table listing will tabulate all the details per unit, such as VP Dates, Defect Liability Expired Date, Defect Eligibility, Key Collection and Defect Report Status. Once the Defect Liability Expired Date has reached, the unit owners will be automatically disabled from submitting new defect reports, if this option is enabled. Sample screenshots are shown as below: |
| 1. Add Unit Owner |
 |
| 2. List View for VP Dates |
 |
| 3. List View for VP Dates |
 |
| Key Collection |
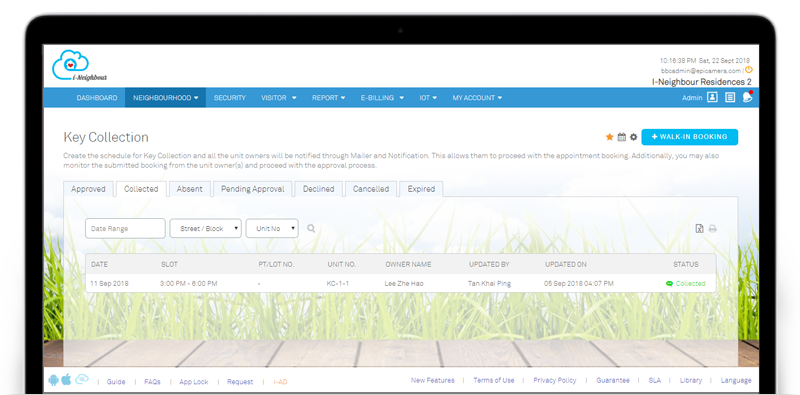
| Key Collection allows Unit Owners to perform Key Collection appointment and proceed for the key collection process. While for Administrators, they will be allowed to monitor and update the status of the submitted appointments.
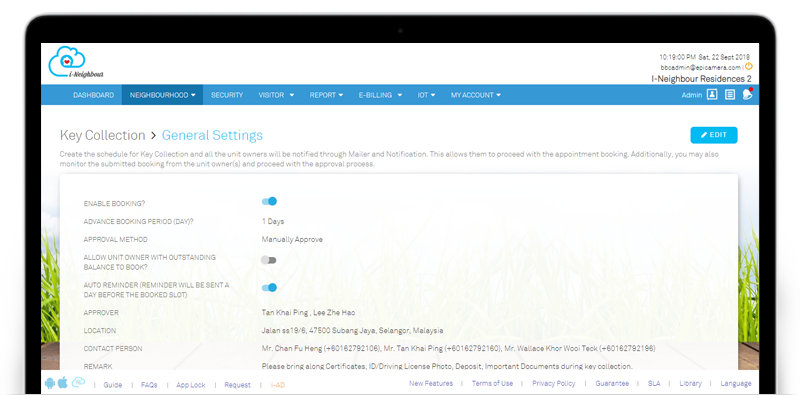
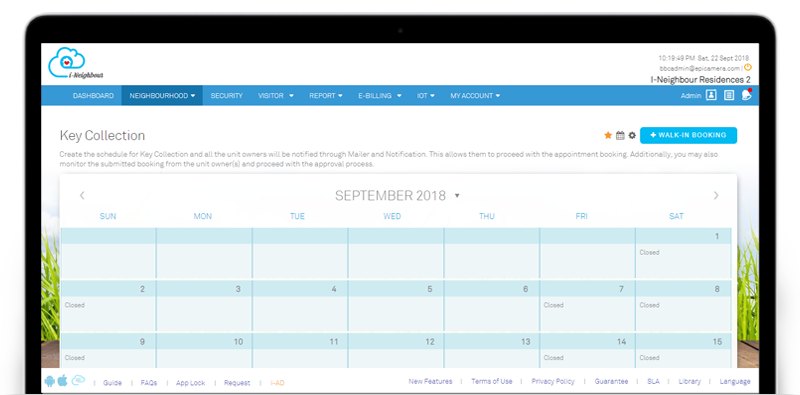
Before allowing Unit Owners to perform any Key Collection appointment, the Administrators have to configure a few settings, such as Approver List, Advanced Booking Period, Contact Person, Additional Remark and etc. Note that only the assigned Approvers are allowed to review the pending approval appointment, while the other Administrators can only view the appointment details or perform walk-in booking on behalf of the Unit Owners. As for the Unit Owners, they are allowed to cancel the submitted appointment, as well as reschedule the appointment by submitting a new appointment request, if necessary. The Administrators will then be notified and proceed with the approval process. Sample screenshots are shown as below: |
| 1. Key Collection Listing |
 |
| 2. General Settings |
 |
| 3. Calendar View |
 |
| 4. Walk-In / Online Booking |
 |
| Defect Report |
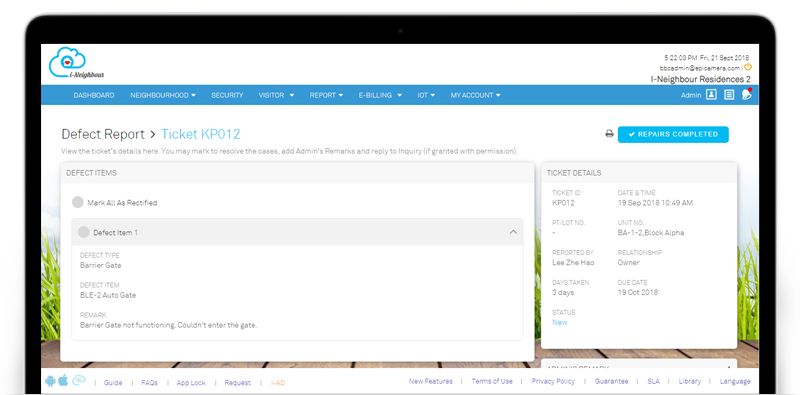
| Defect Report allows Unit Owners to submit the unit’s defect reports to the Management Team. While for the Administrators, they are allowed to monitor and update the progress of the submitted defect reports, such as Rectify Defect Item, Mark as In-Progress/Pending Signature, Close Ticket, Add Admin’s Remark, Reply to Inquiries and etc.
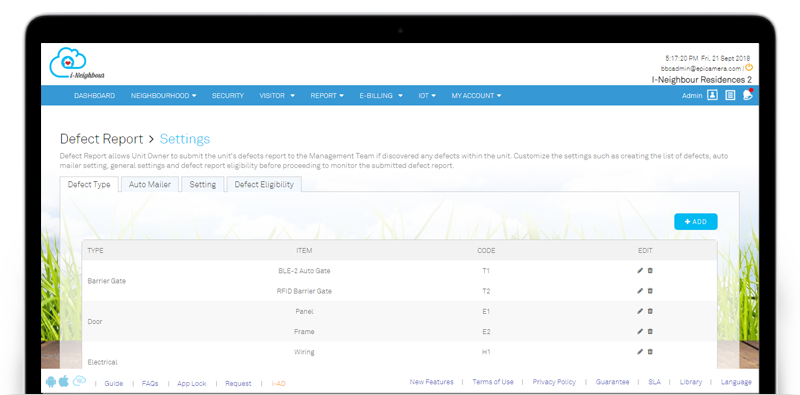
Before allowing the Unit Owners to submit the defect report, Administrators are recommended to configure the settings, such as: |
| Defect Type and Item - Allows Administrators to customize the list of available defect types and items according to the neighbourhood preference. A list of defect types and items has been included by default. |
| Auto Mailer - An auto mailer will be sent to the Unit Owner once he/she has successfully submitted the defect report. Note that the Administrators are allowed to customize the mailer’s message, by inserting the days taken to resolve, contact person and any other informative message as required. |
| General Settings - Settings such as assigning Administrators to CRM/Defect/Contractor team, Days to Resolve Ticket, Required Joint Inspection, Alert Mailer and etc are made configurable. |
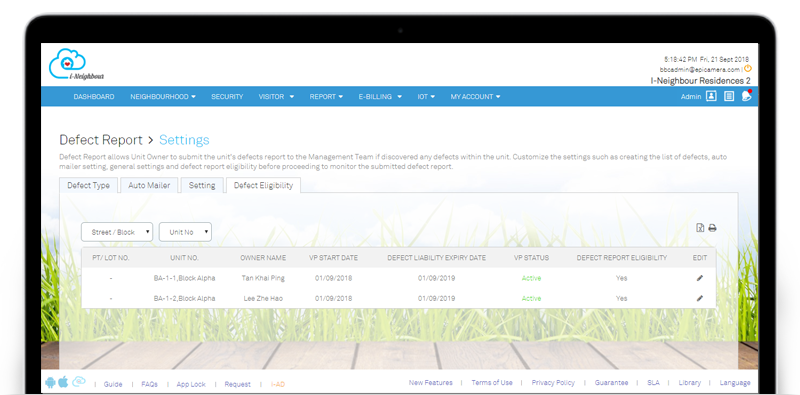
| Defect Report Eligibility - Administrators are able to view the list of units that are eligible for defect report submission. If the unit’s defect liability period has expired, the Administrators are then allowed to disable the unit from submitting any defect report. |
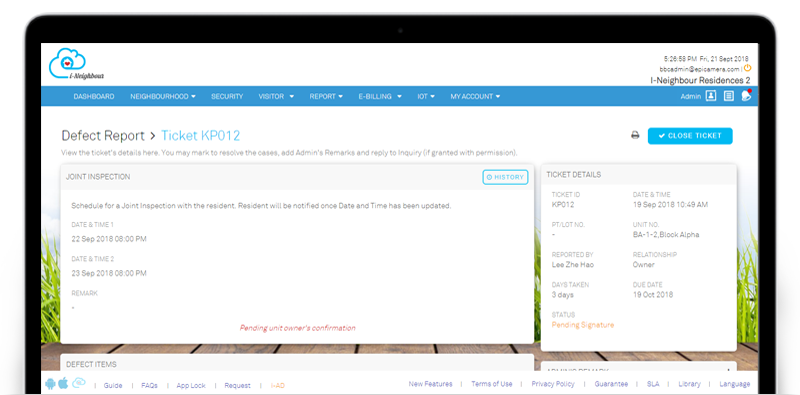
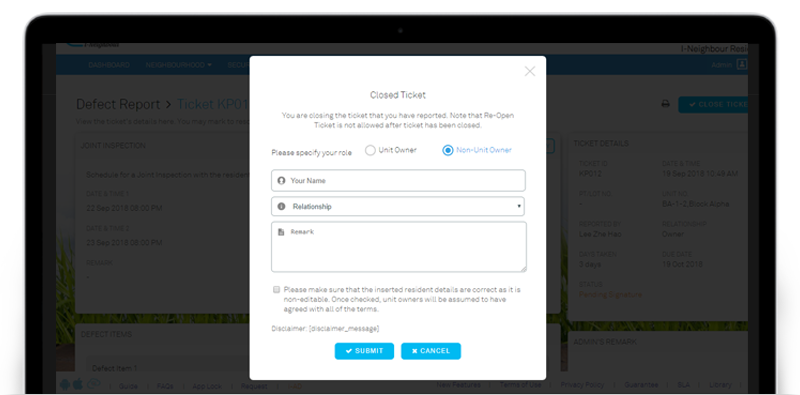
| Besides, Administrators are allowed to schedule Joint Inspection with Unit Owners, which allows both parties to double check on the rectified defect items before proceeding with ticket closure, if necessary. Lastly, once the defect ticket has been successfully closed, Unit Owners will then receive the “Rate and Review” form, which allows them to submit the review or suggestion to the management.
Sample screenshots are shown as below. |
| 1. Settings Configuration |
 |
| 2. Defect Eligibility |
 |
| 3. Defect Reports Listing |
 |
| 4. Defect Report Details |
 |
| 5. Schedule for Joint Inspection |
 |
| 6. Close Ticket Pop-Up |
 |
| i-Neighbour Mobile App Updates |
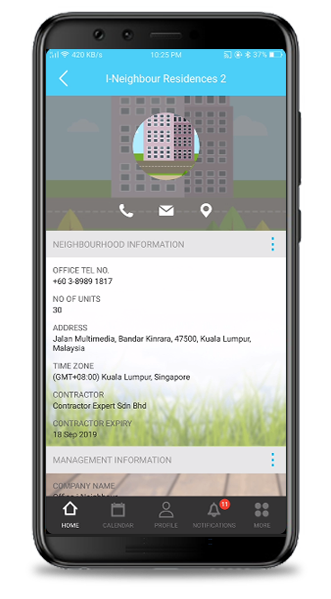
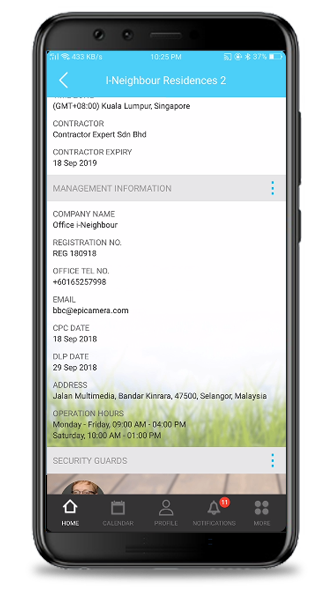
| 1. Neighbourhood Profile
Similar with Web Portal, additional fields such as Contractor Name and Expiry Date have been added into the Neighbourhood, under the section Neighbourhood Information. This allows the Administrators to insert the appointed Contractors and the expiry duration, if necessary.
|
  |
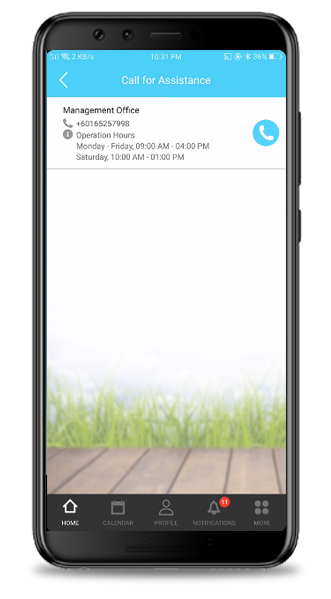
| 2. Call for Assistance
In case of an emergency, Residents are allowed to view the Contact No. for the Management Office and Guardhouse (if any) under the Call for Assistance module.
|
|
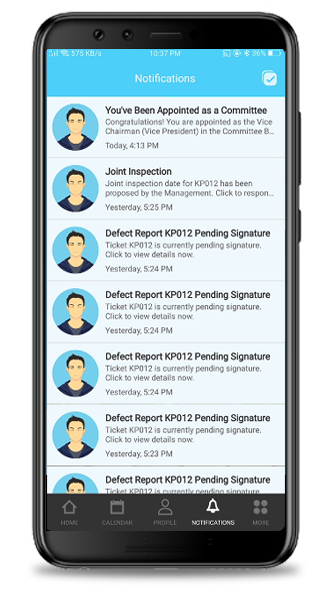
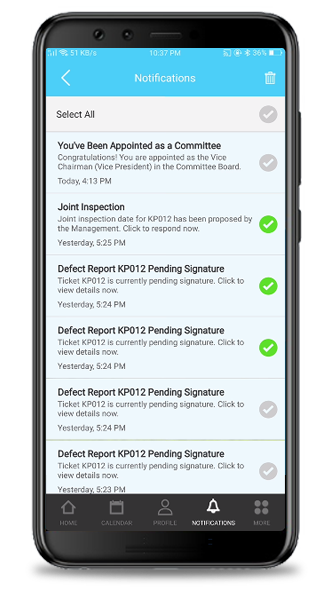
| 3. Notification Center
All activities such as Invitation, Facility Booking, Panic Button Alert and etc will be stored in the Notification Center.
|
  |
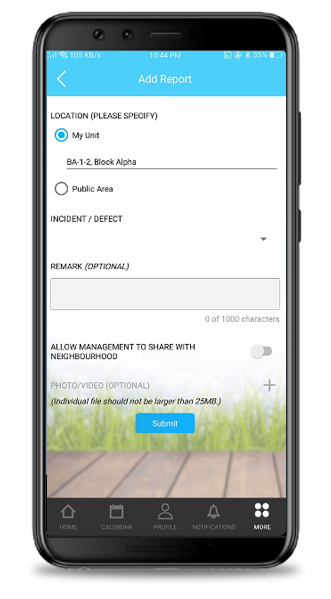
| 4. Incident Report
Residents are able to lodge Incident Report to alert the Management Team.
|
|
| Previous Issue: August 2018 • July 2018 • June 2018 |
| Note: If some of the screenshots or steps viewed here are different from the ones in the current system, this is due to our continuous effort to improve our system from time to time. Please notify us at info@i-neighbour.com, we will update it as soon as possible. |